Aug 11, 2026 • marine
1982 Larson Sundance 13 Rebuild
Overview
Restoring a 1982 Larson Sundance 13 — a small fiberglass speedboat bought as a “solid” project boat with an older Mercury 35 hp outboard. What looked like a light cleanup turned into a full teardown once decades of trapped water damage in the wood and flotation foam came to light.
Bringing Home a 1982 Larson Sundance 13
Every restoration project has to start somewhere, and for this 1982 Larson Sundance 13, it started with a somewhat questionable trip home.
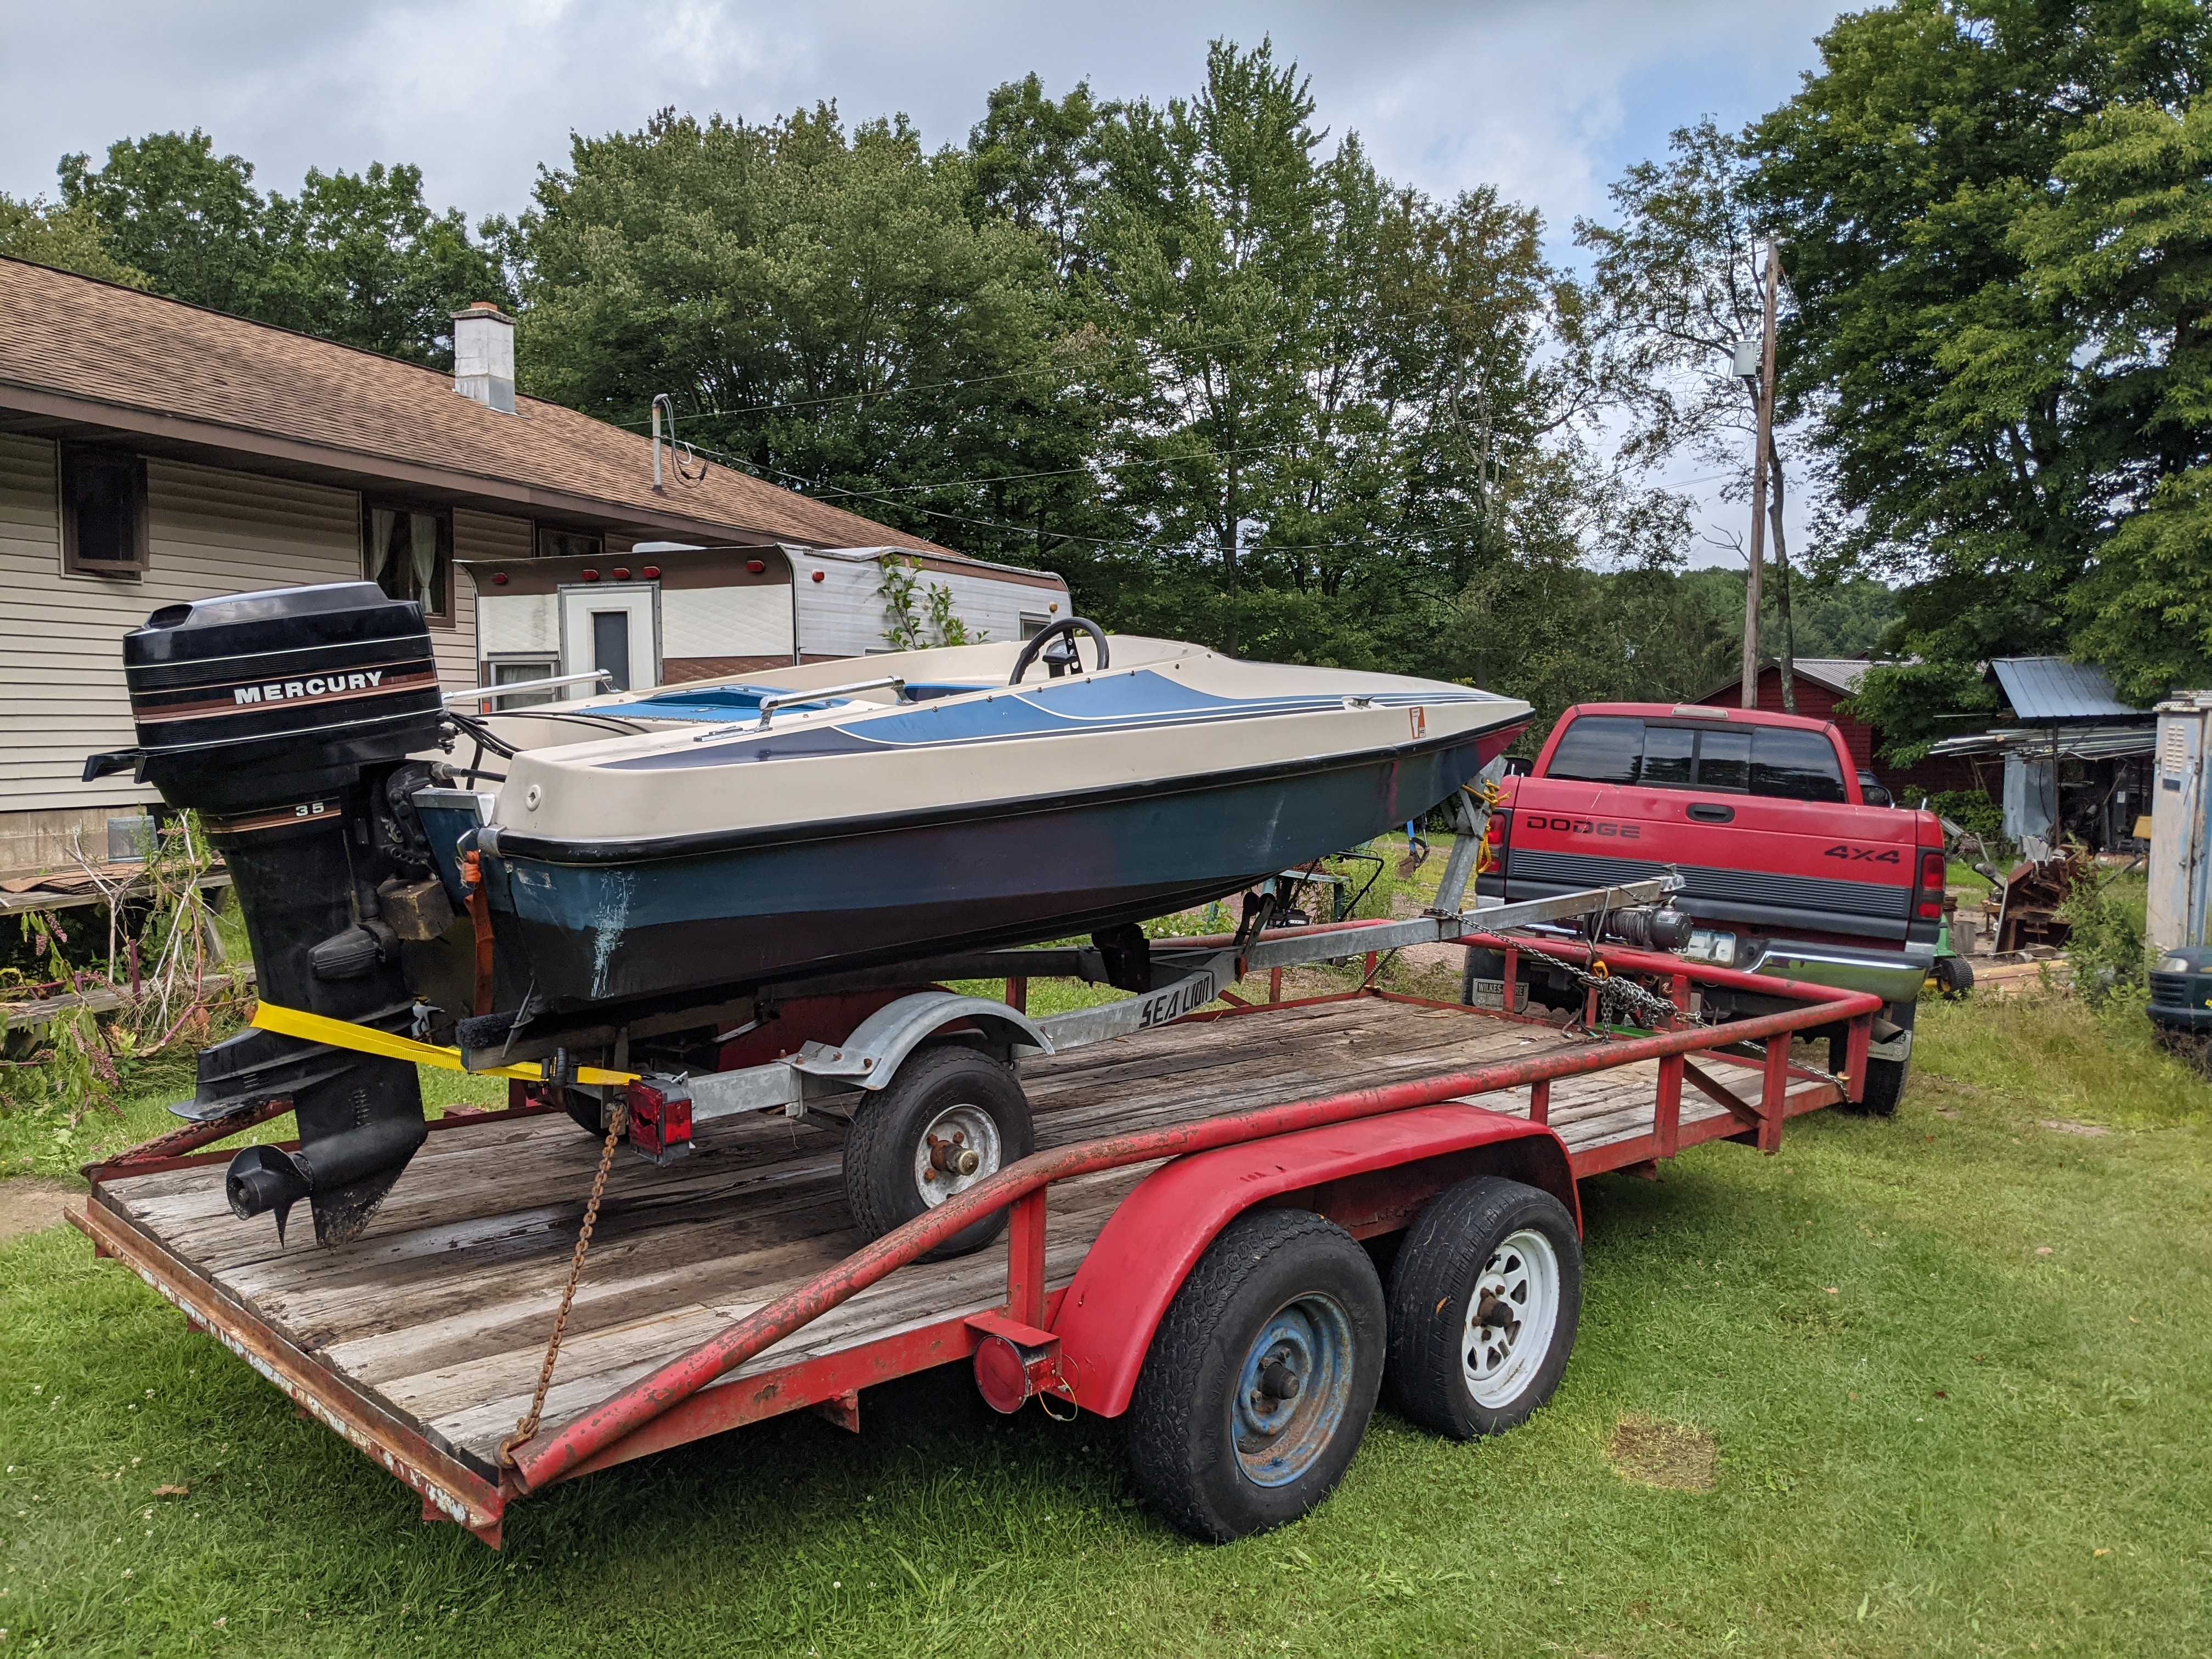
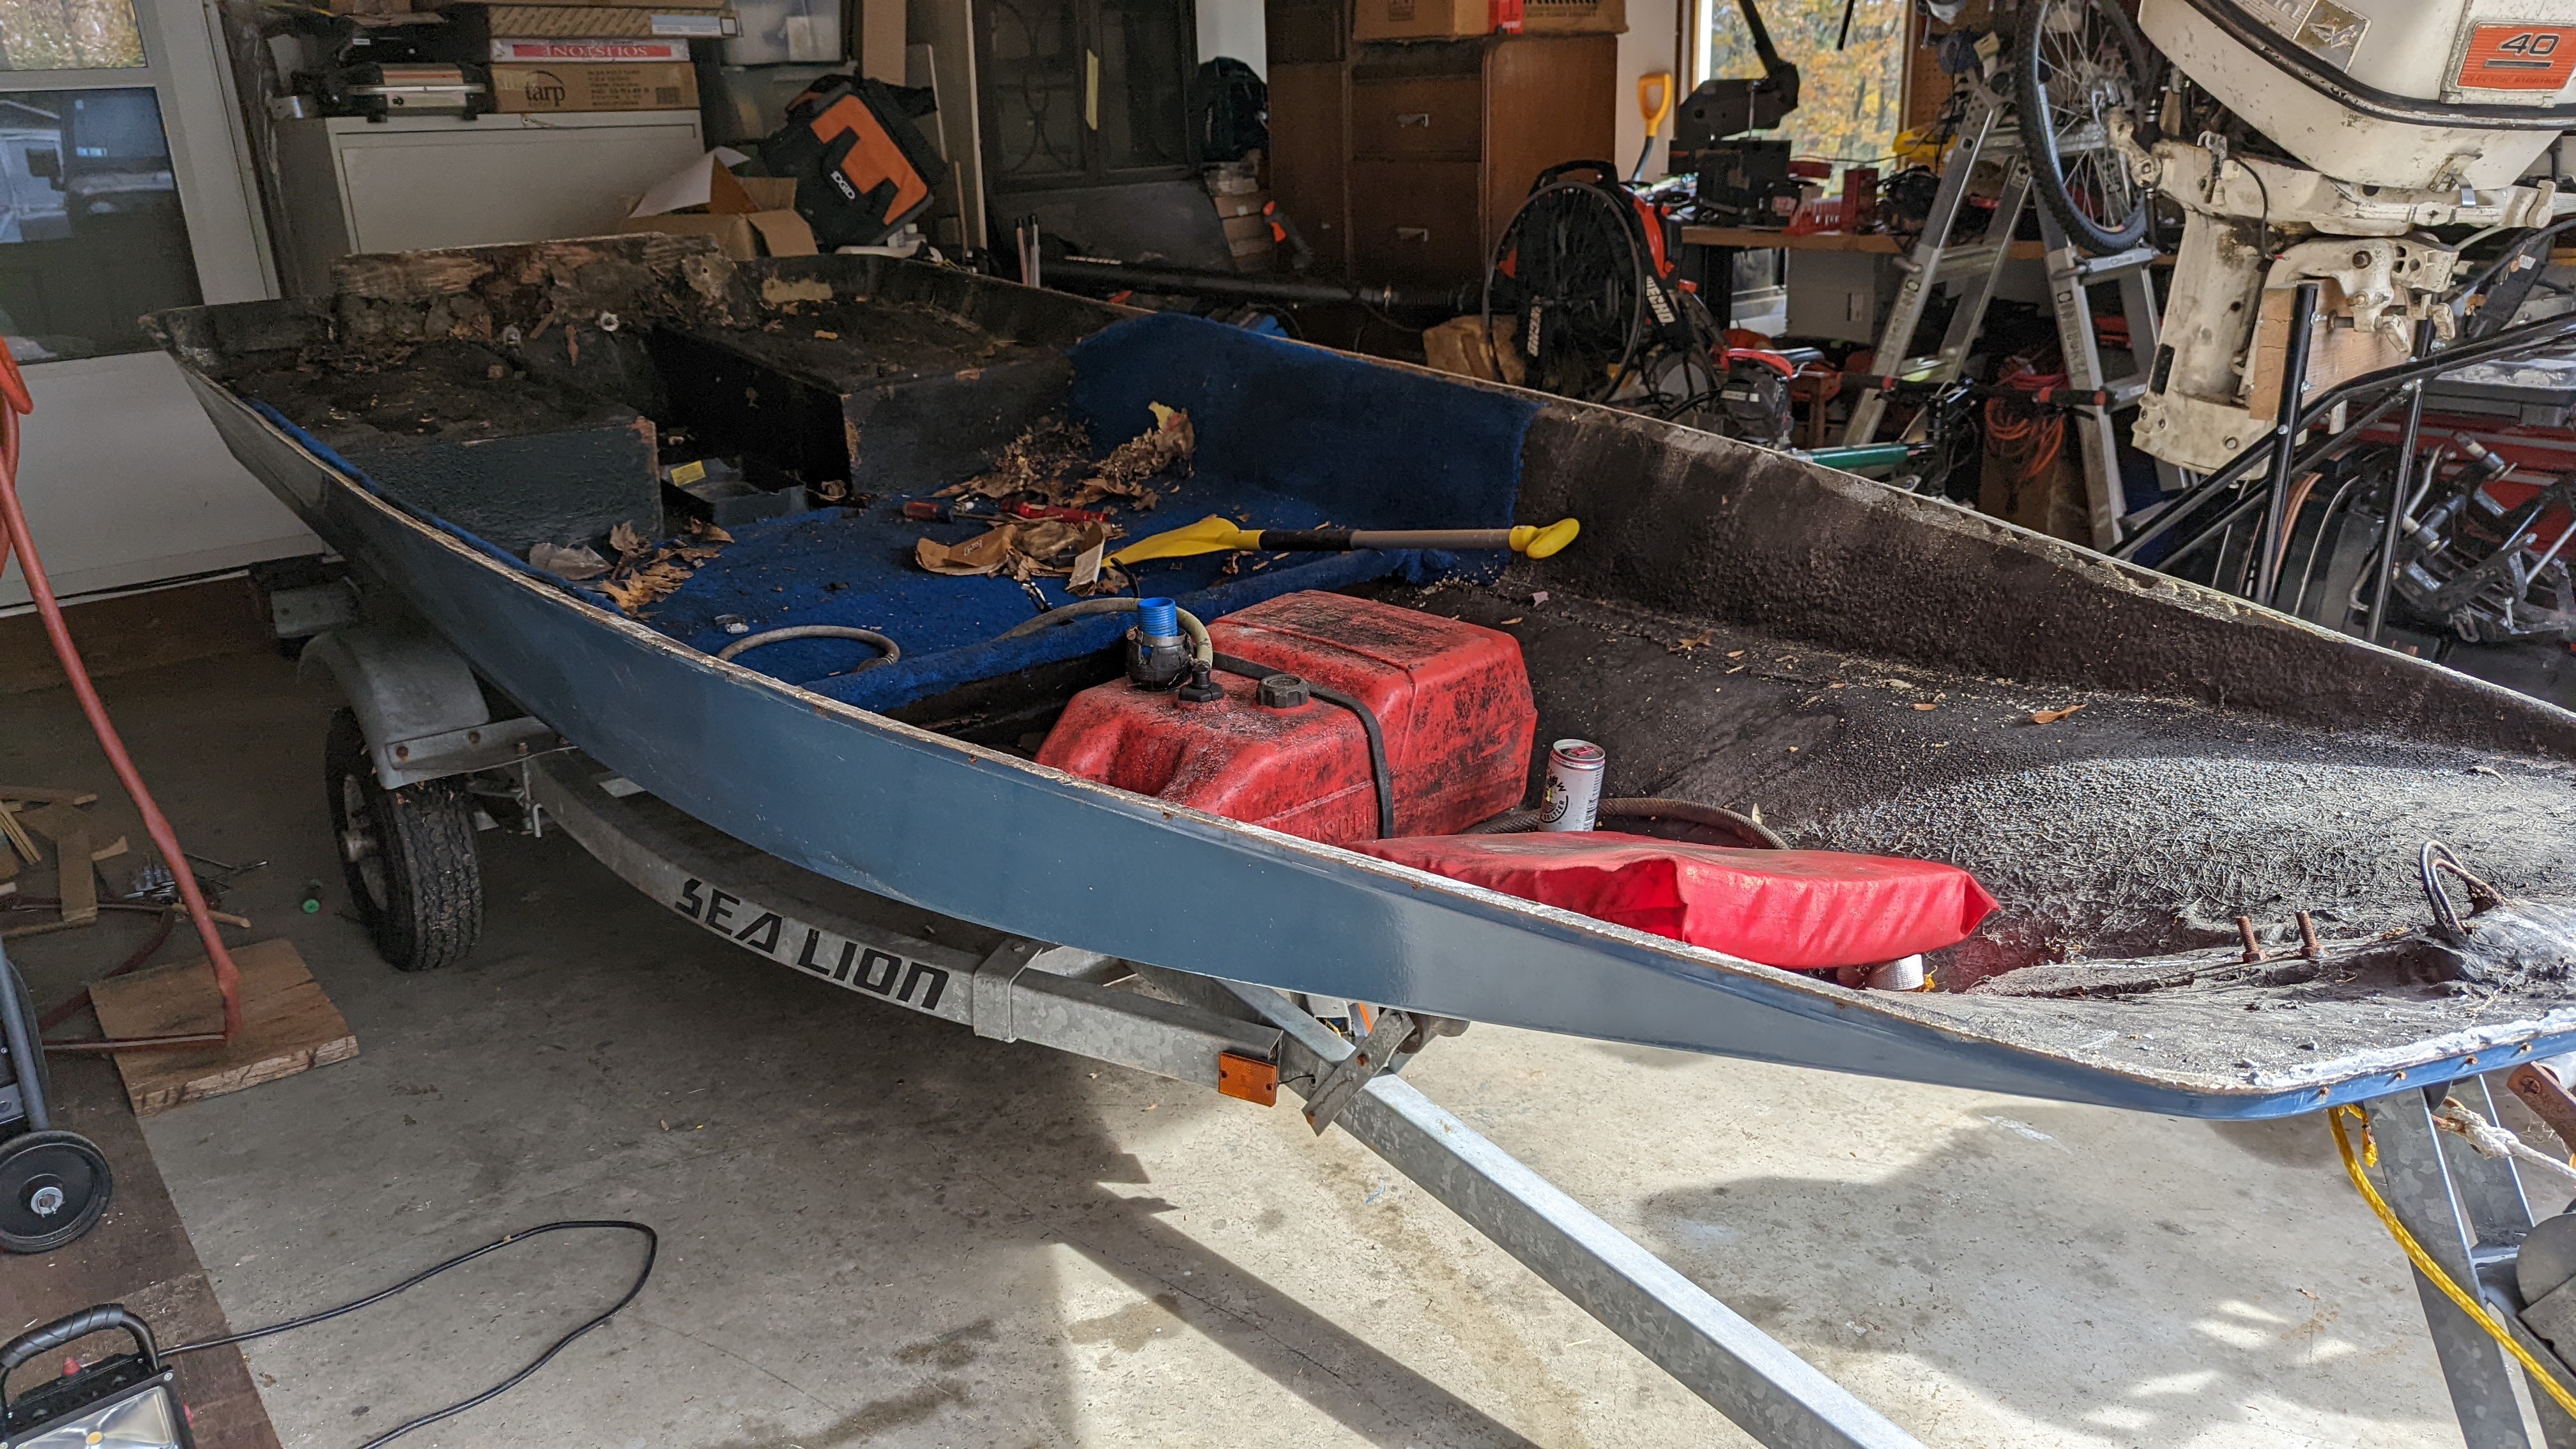
I bought the boat as a “solid” 13-foot speedboat that supposedly needed some attention but had good bones. From the outside, that description seemed at least believable. The hull looked reasonably straight, the original blue-and-white styling was still recognizable, and it came with an older Mercury 35 hp outboard. It looked like the kind of small, lightweight boat that could be cleaned up, repaired, and put back on the water without turning into a major project.
That assessment didn’t last very long.
Even getting it home required some creativity. The bearings on the boat trailer were shot, so towing it normally wasn’t an option. The solution was to load the entire boat and trailer onto a larger utility trailer and trailer the trailer home. It made for a slightly ridiculous-looking setup, but at least the Sundance made the trip without losing a wheel somewhere along the way.
Once I started taking a closer look at the boat, the definition of “solid” became increasingly questionable.
The flotation foam was completely saturated with water, adding a surprising amount of weight to such a small boat. Worse, once the interior started coming apart, it became clear that the water damage wasn’t limited to the foam. Nearly every piece of wood below the rub rail was either badly rotted or essentially turned back into dirt. The floor, structural wood, and anything else that had spent decades trapped around wet foam were going to need attention.
What I thought might be a relatively straightforward cleanup and restoration had quickly become something much closer to a complete rebuild from the hull up.
So this is where the project begins: a 1982 Larson Sundance 13, a 35 hp Mercury, a questionable trailer, several decades of hidden water damage, and considerably less usable wood than advertised.
The goal is to strip it down, figure out exactly what is salvageable, rebuild the structure correctly, and eventually get this little speedboat back on the water.
Splitting the Hull
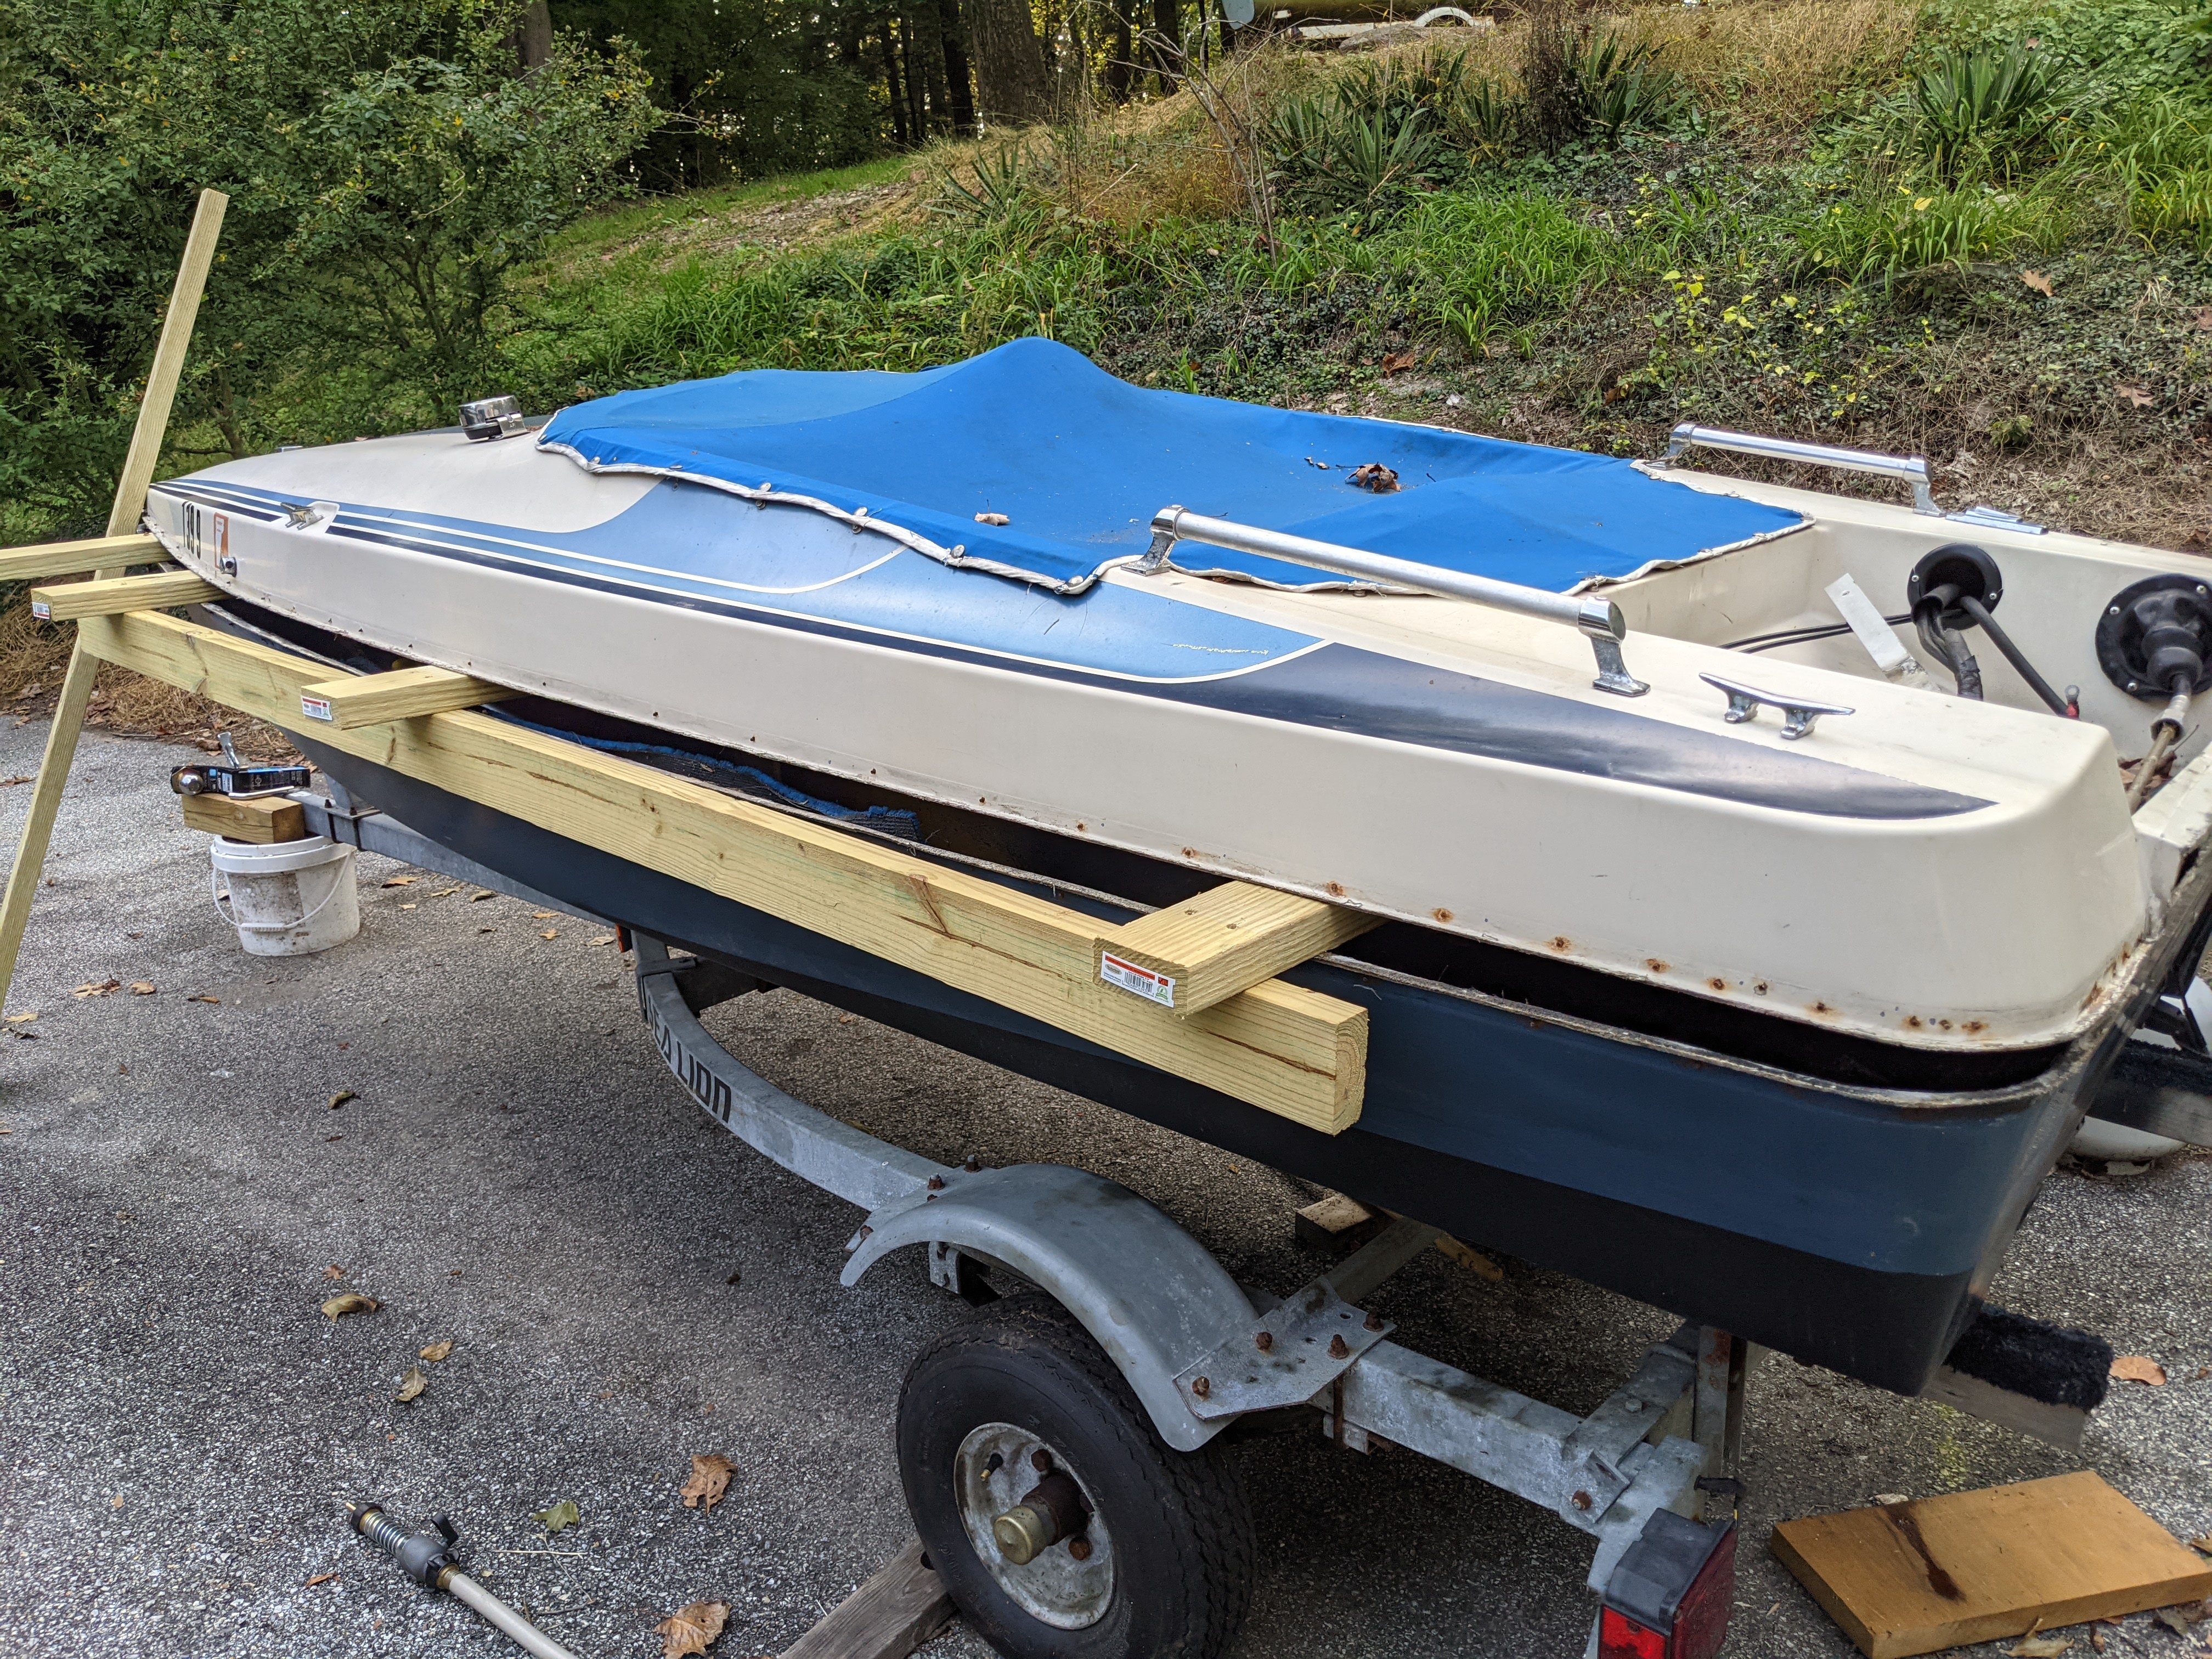
By fall, it was clear this was going to be a full rebuild. I removed the rub rail and fasteners, then separated the deck from the hull to expose the rotten wood and waterlogged interior underneath.
Rub rail removed and temporary wooden bracing installed around the boat in preparation for separating the upper deck from the hull.
Upper deck removed, exposing the stripped interior of the hull and the extent of the deteriorated wood and original structure.
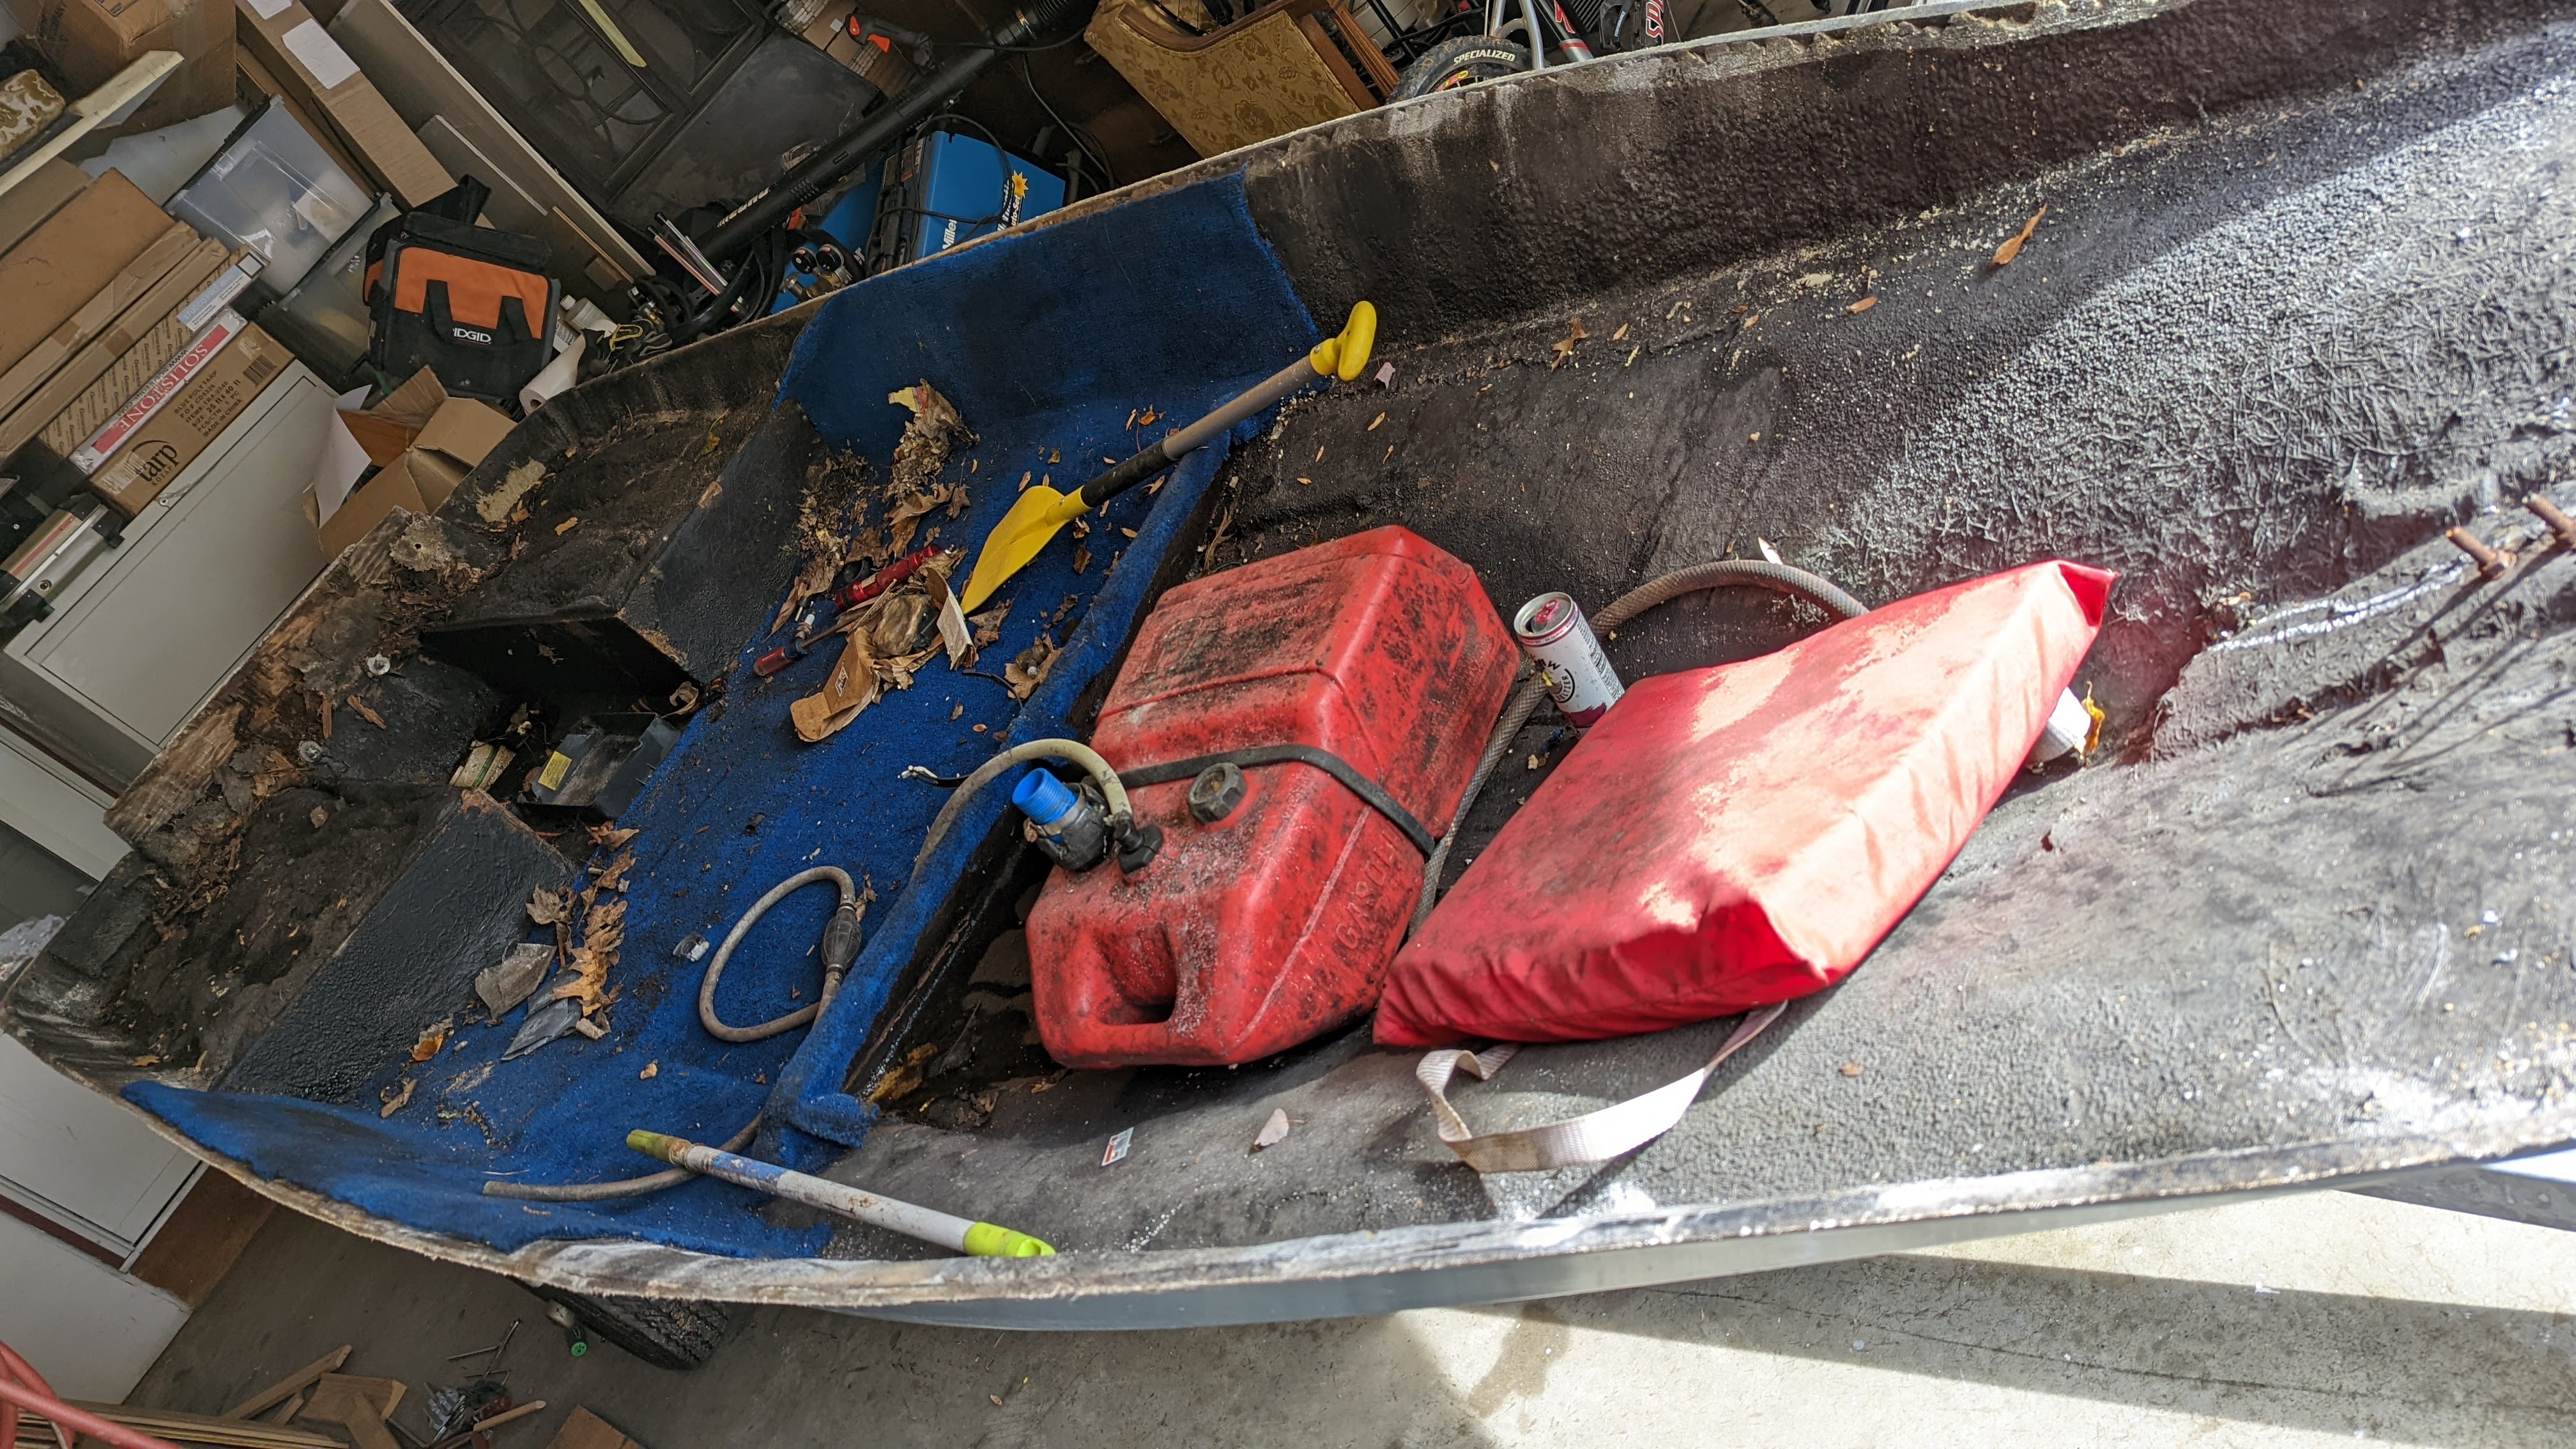
With winter approaching, I also shortened the trailer so the boat would fit inside the garage. Once indoors, the deck was supported separately and the lower hull was ready to be stripped and rebuilt.
Wider view of the bare lower hull in the garage after the deck was separated, ready for removal of the remaining interior material and structural rebuild.
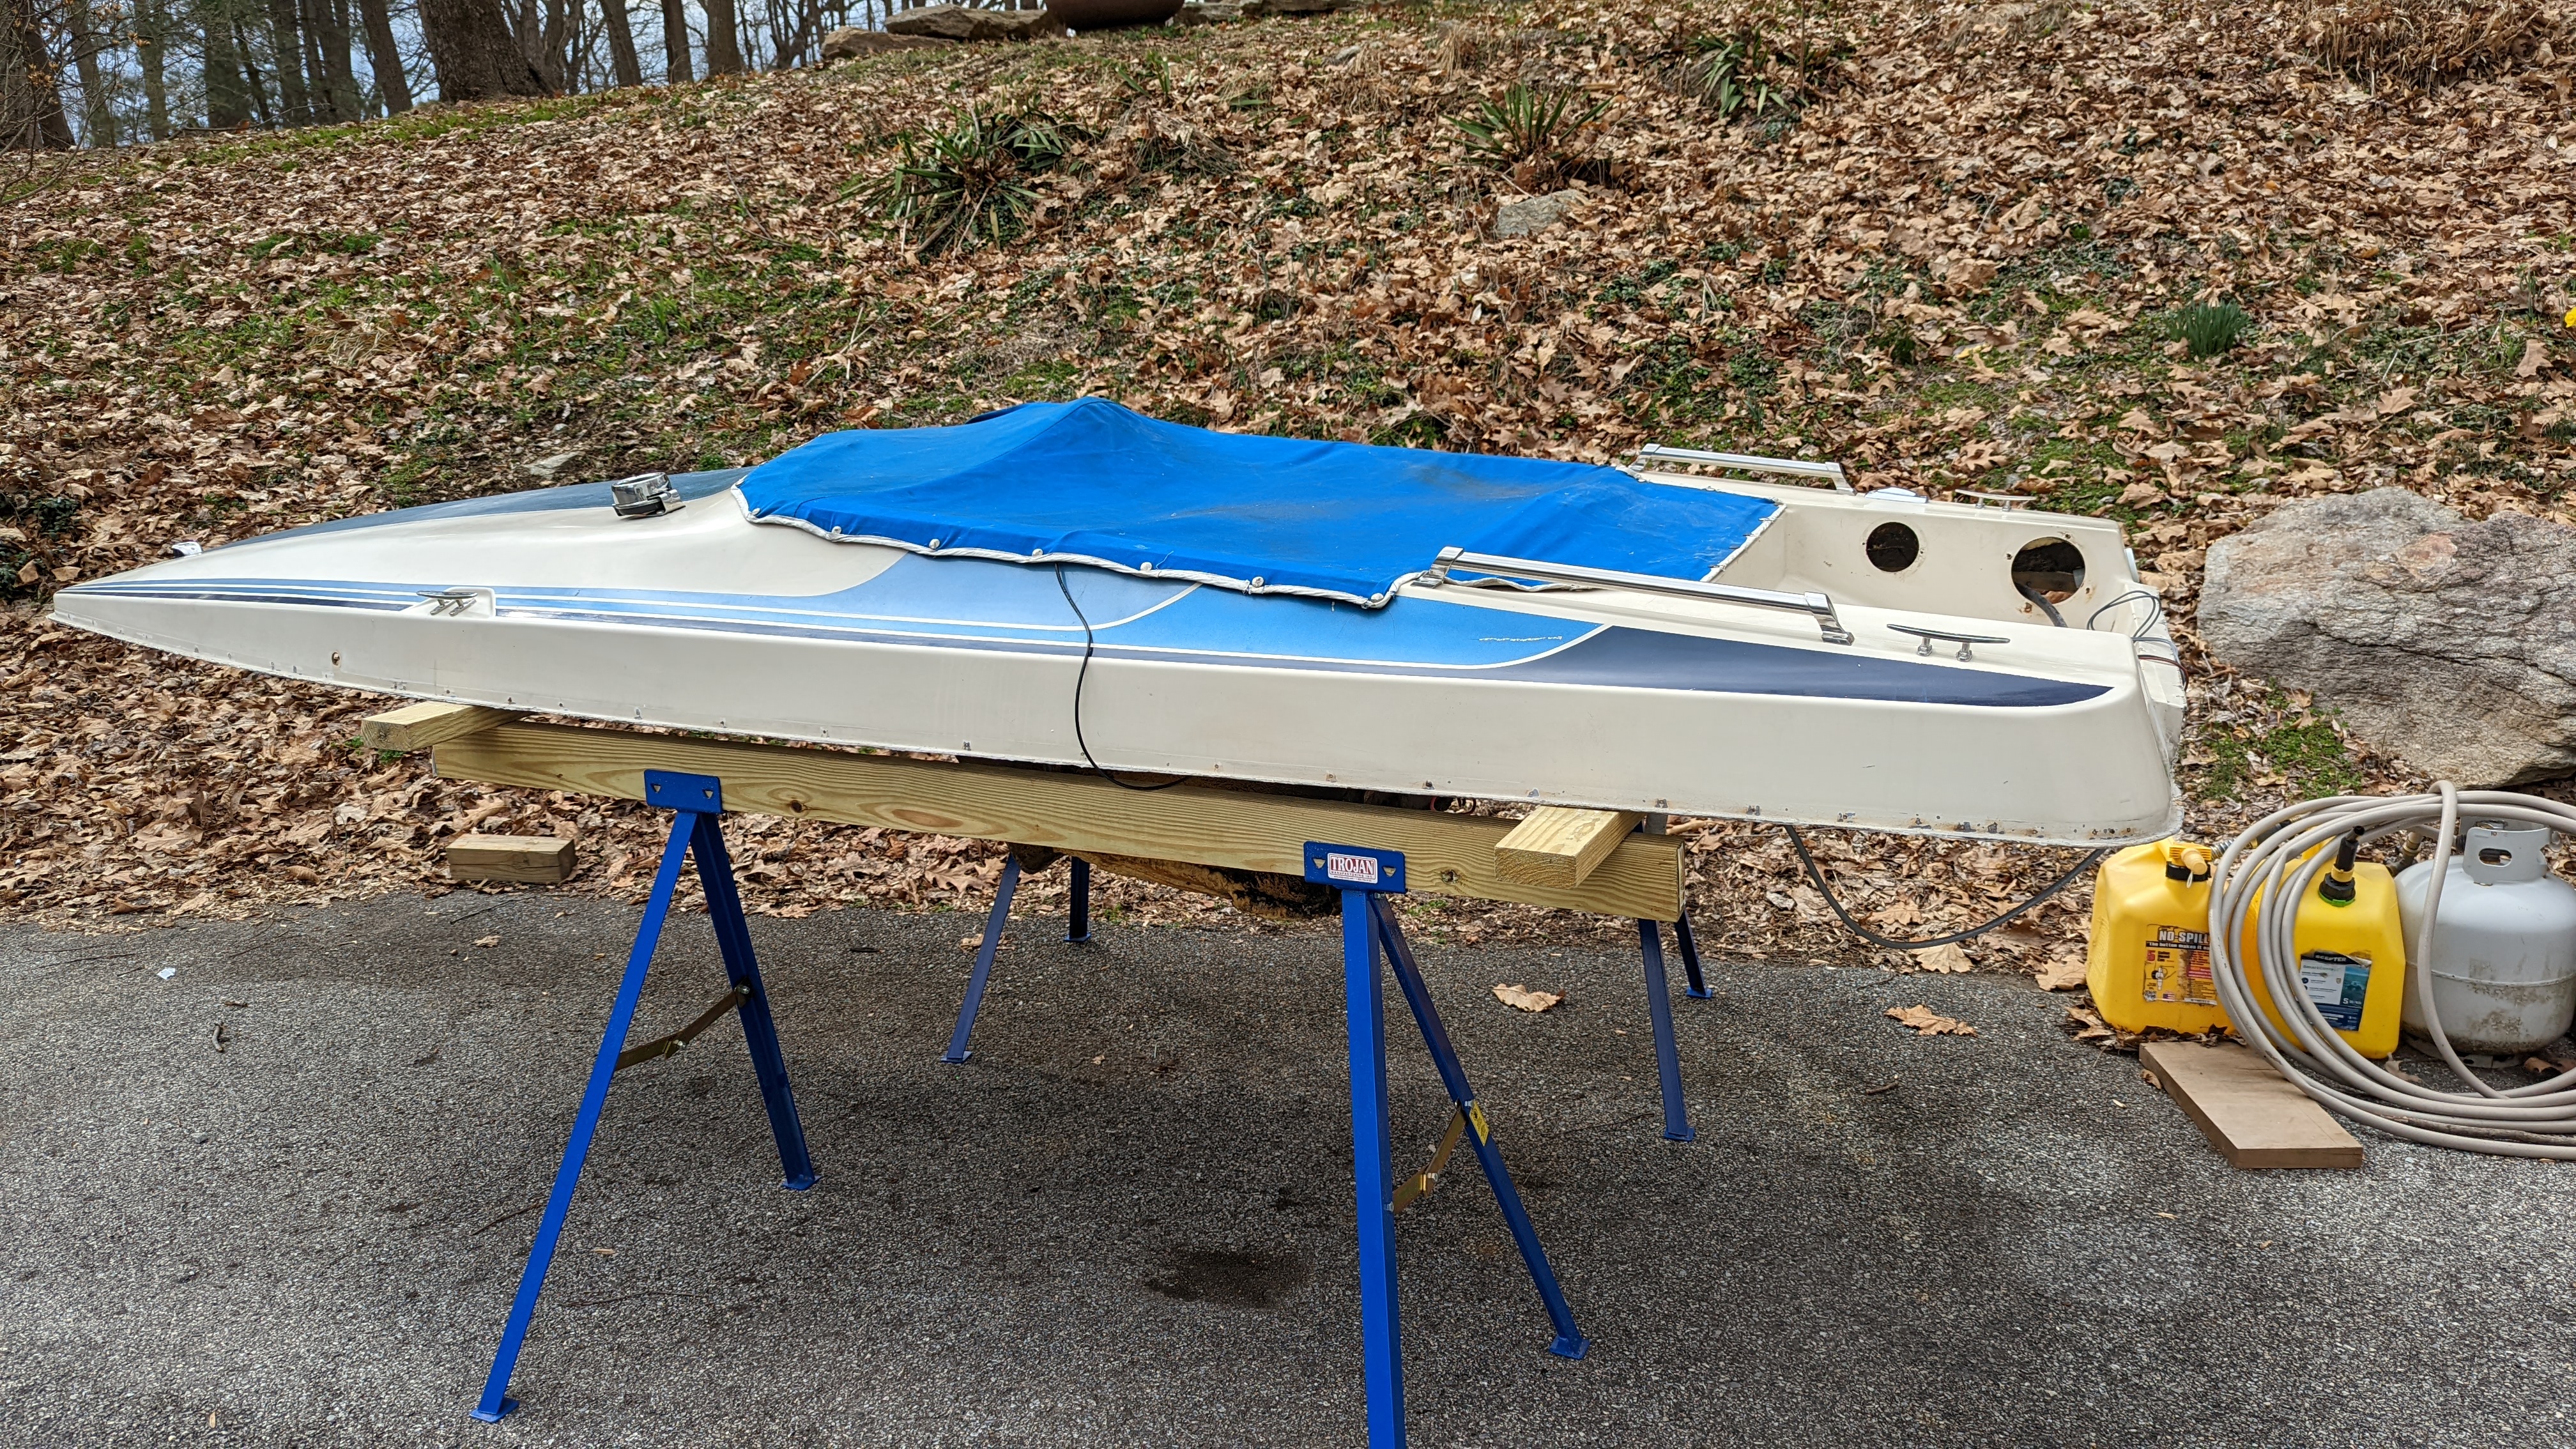
Removed upper deck/cap supported on a temporary wooden frame and sawhorses, allowing it to be stored safely while work continued on the hull.
Stripping the Hull
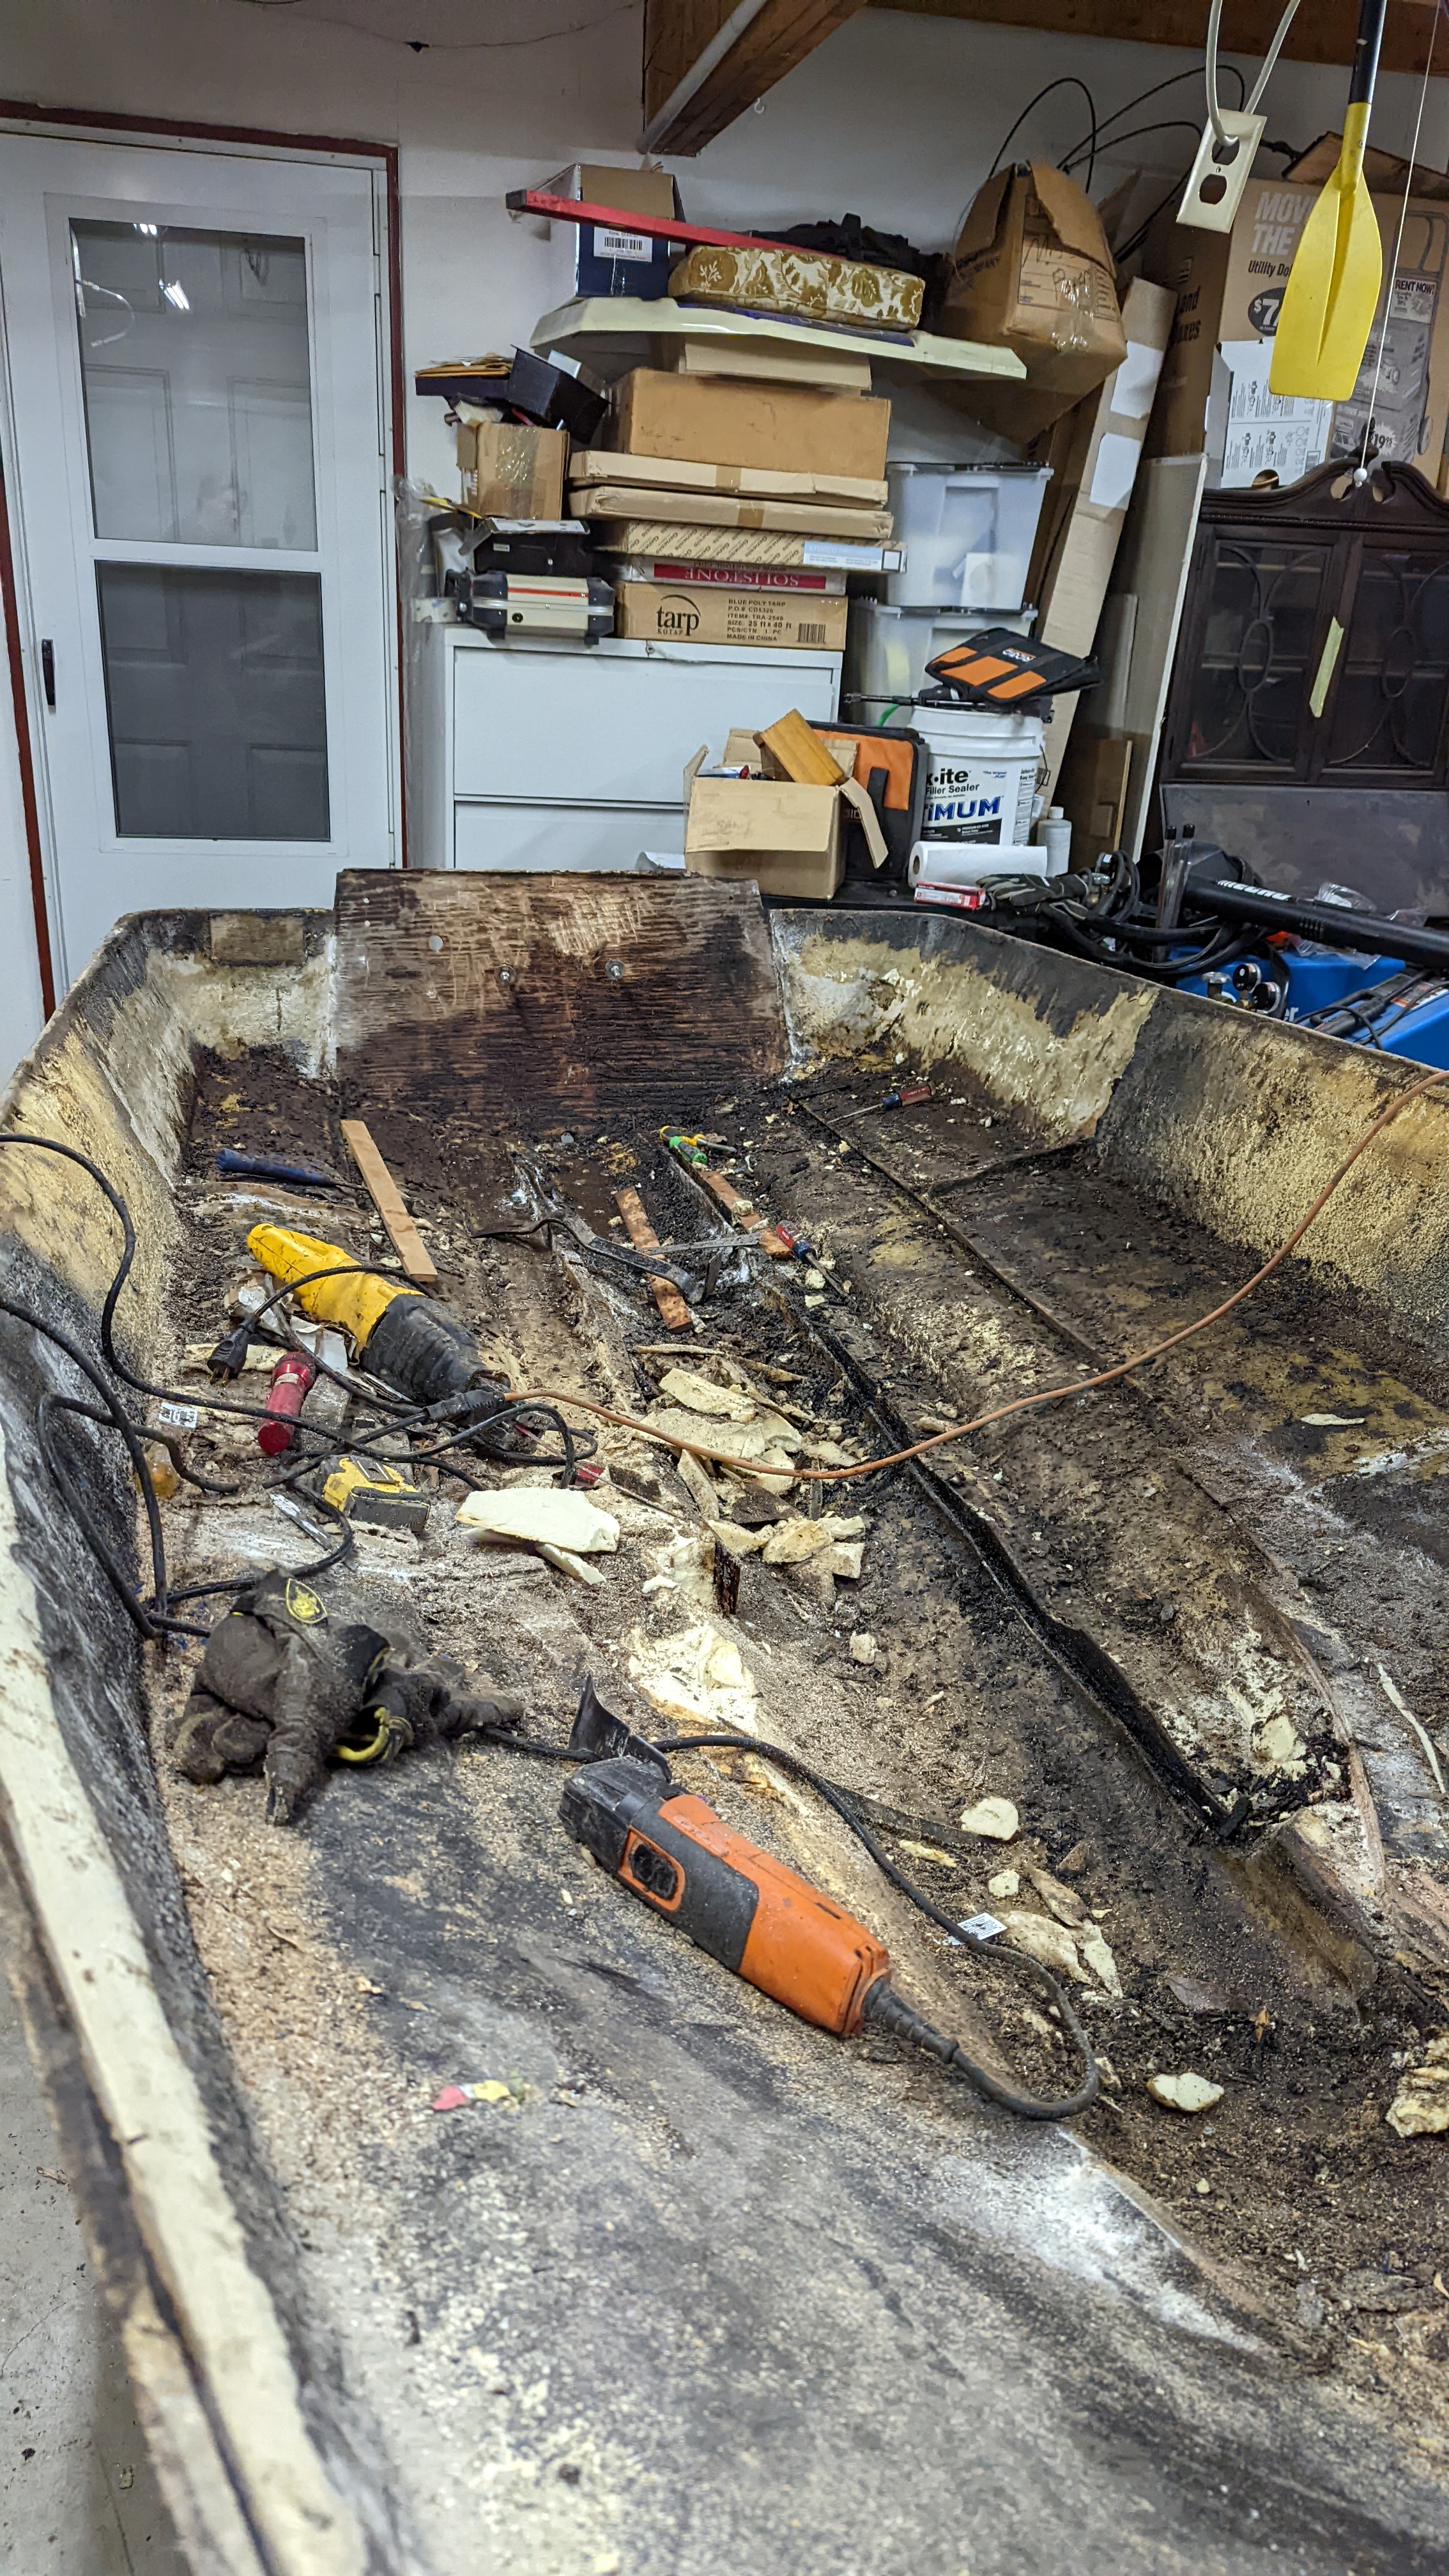
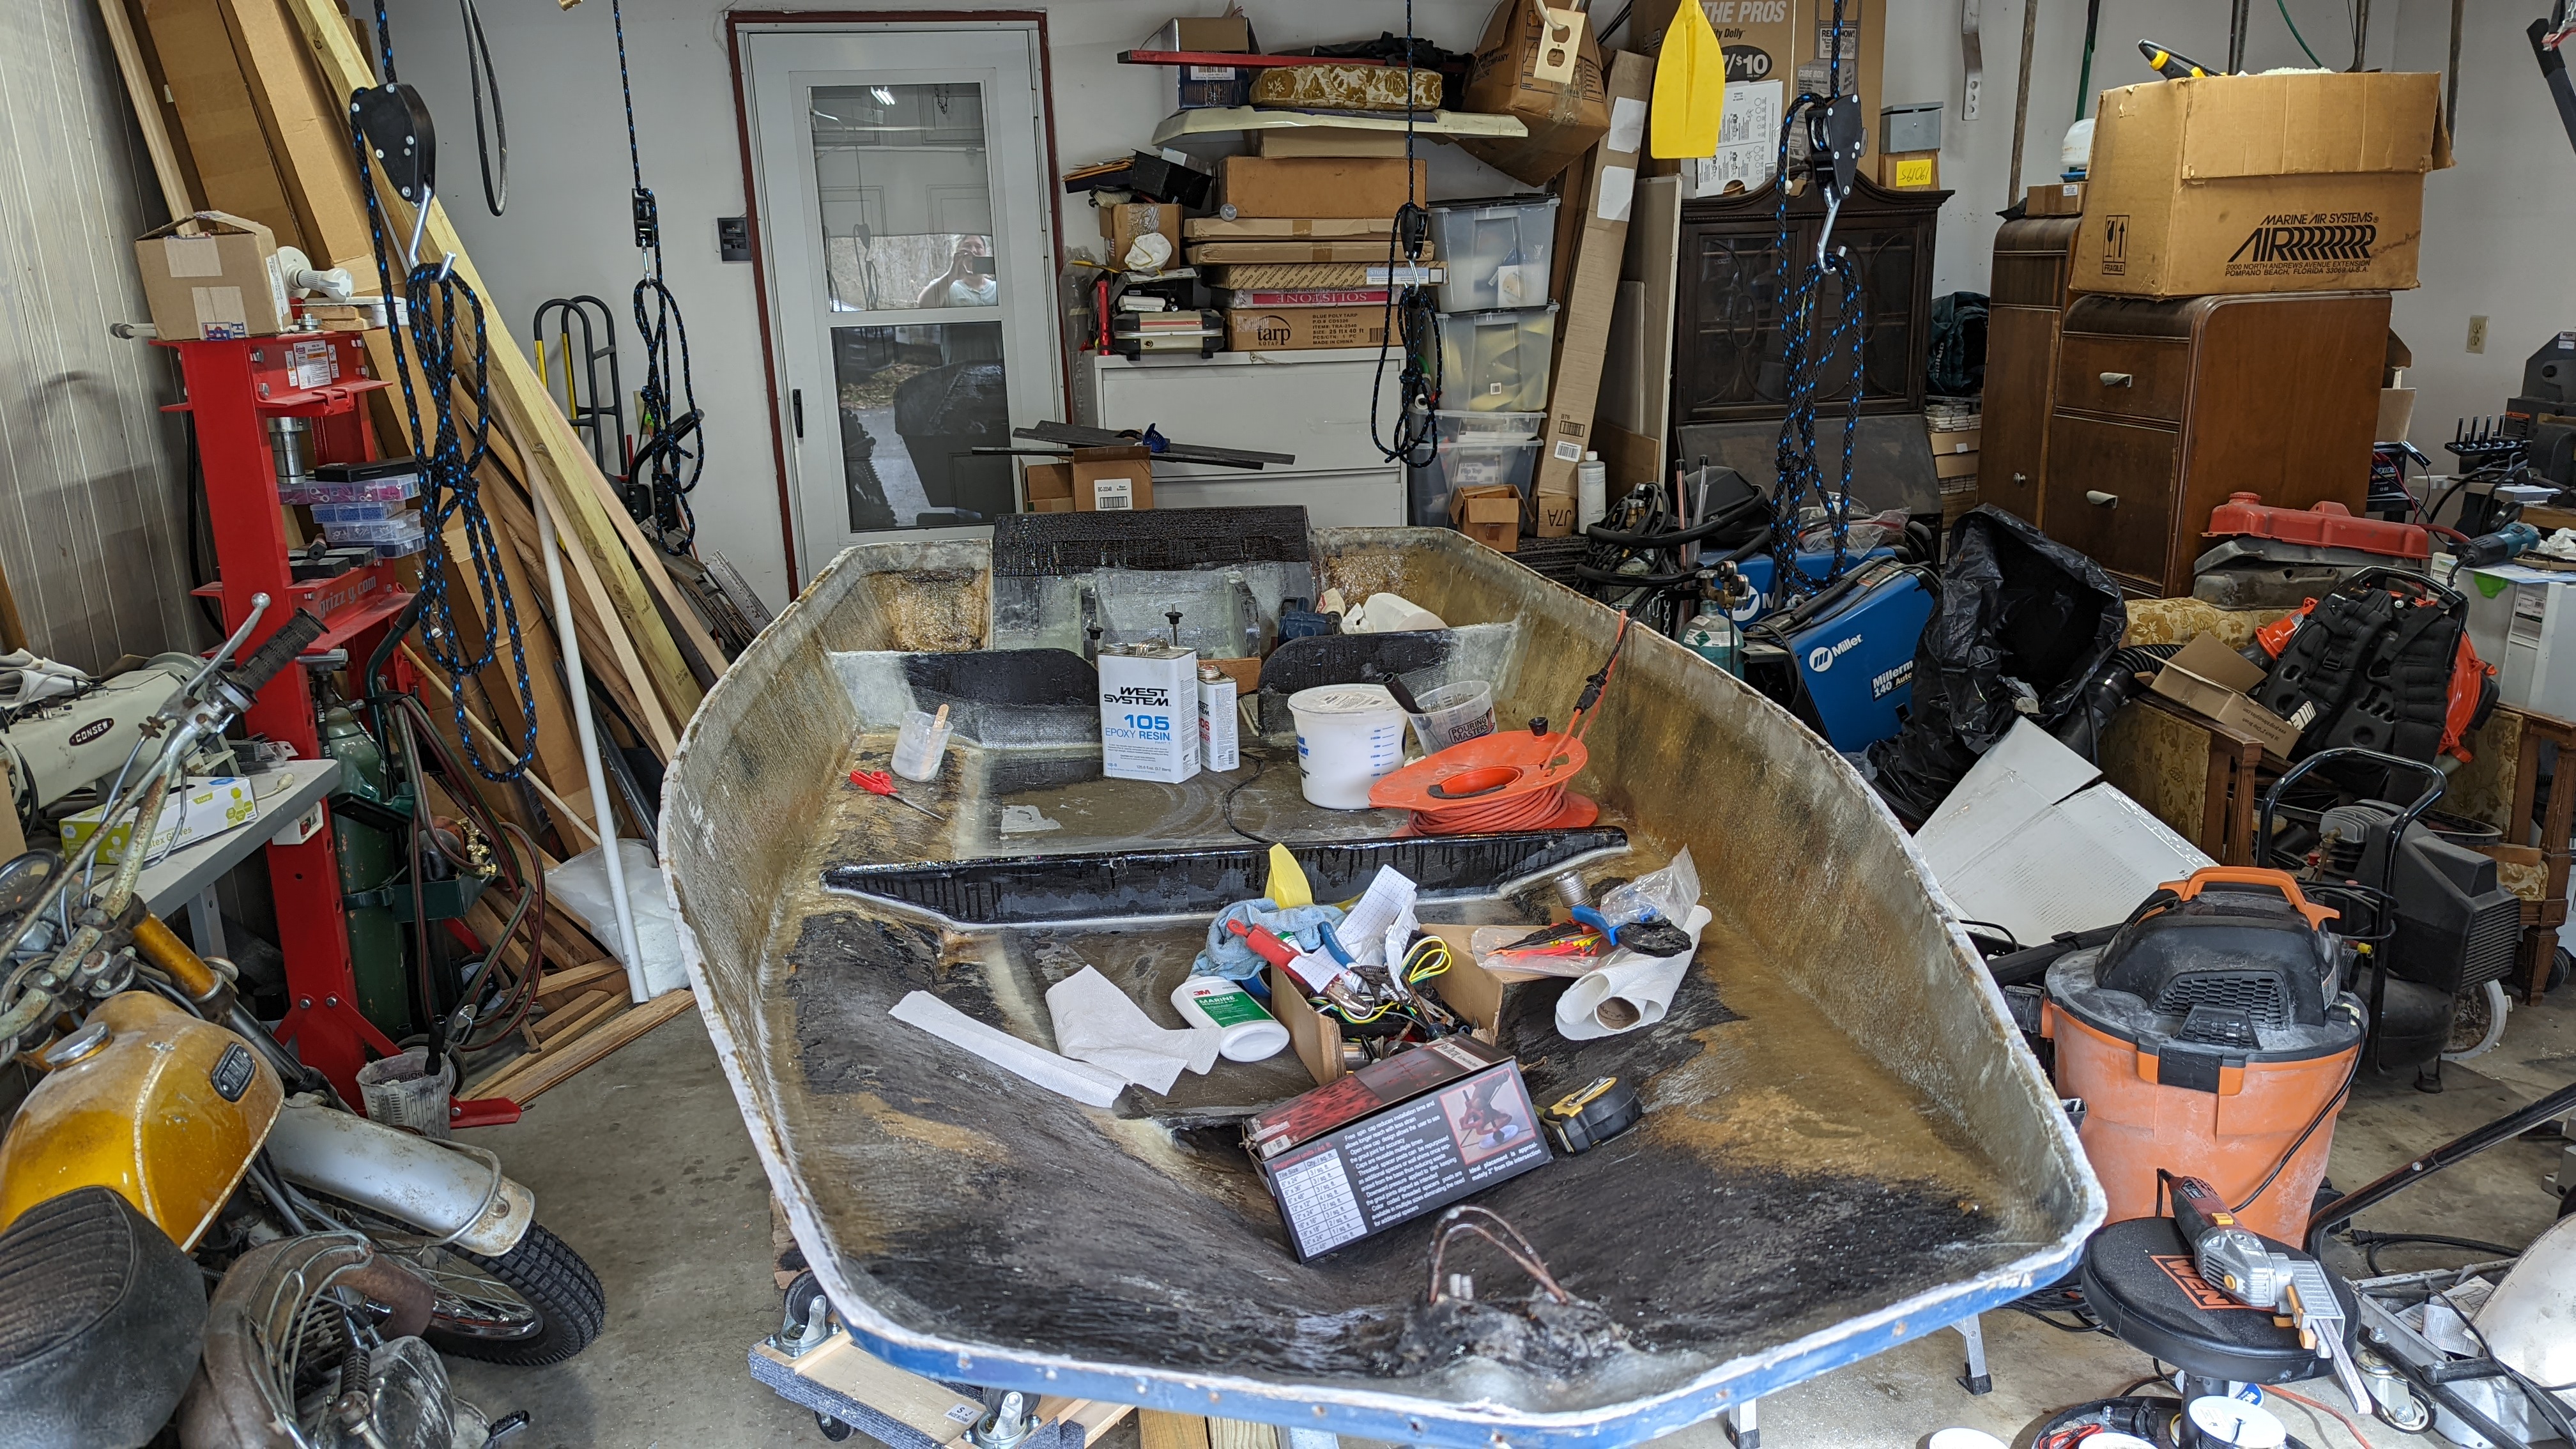
With the deck removed, it was time to strip the hull completely. The old floor, saturated foam, stringers, and rotted transom wood all had to come out before anything new could go back in.
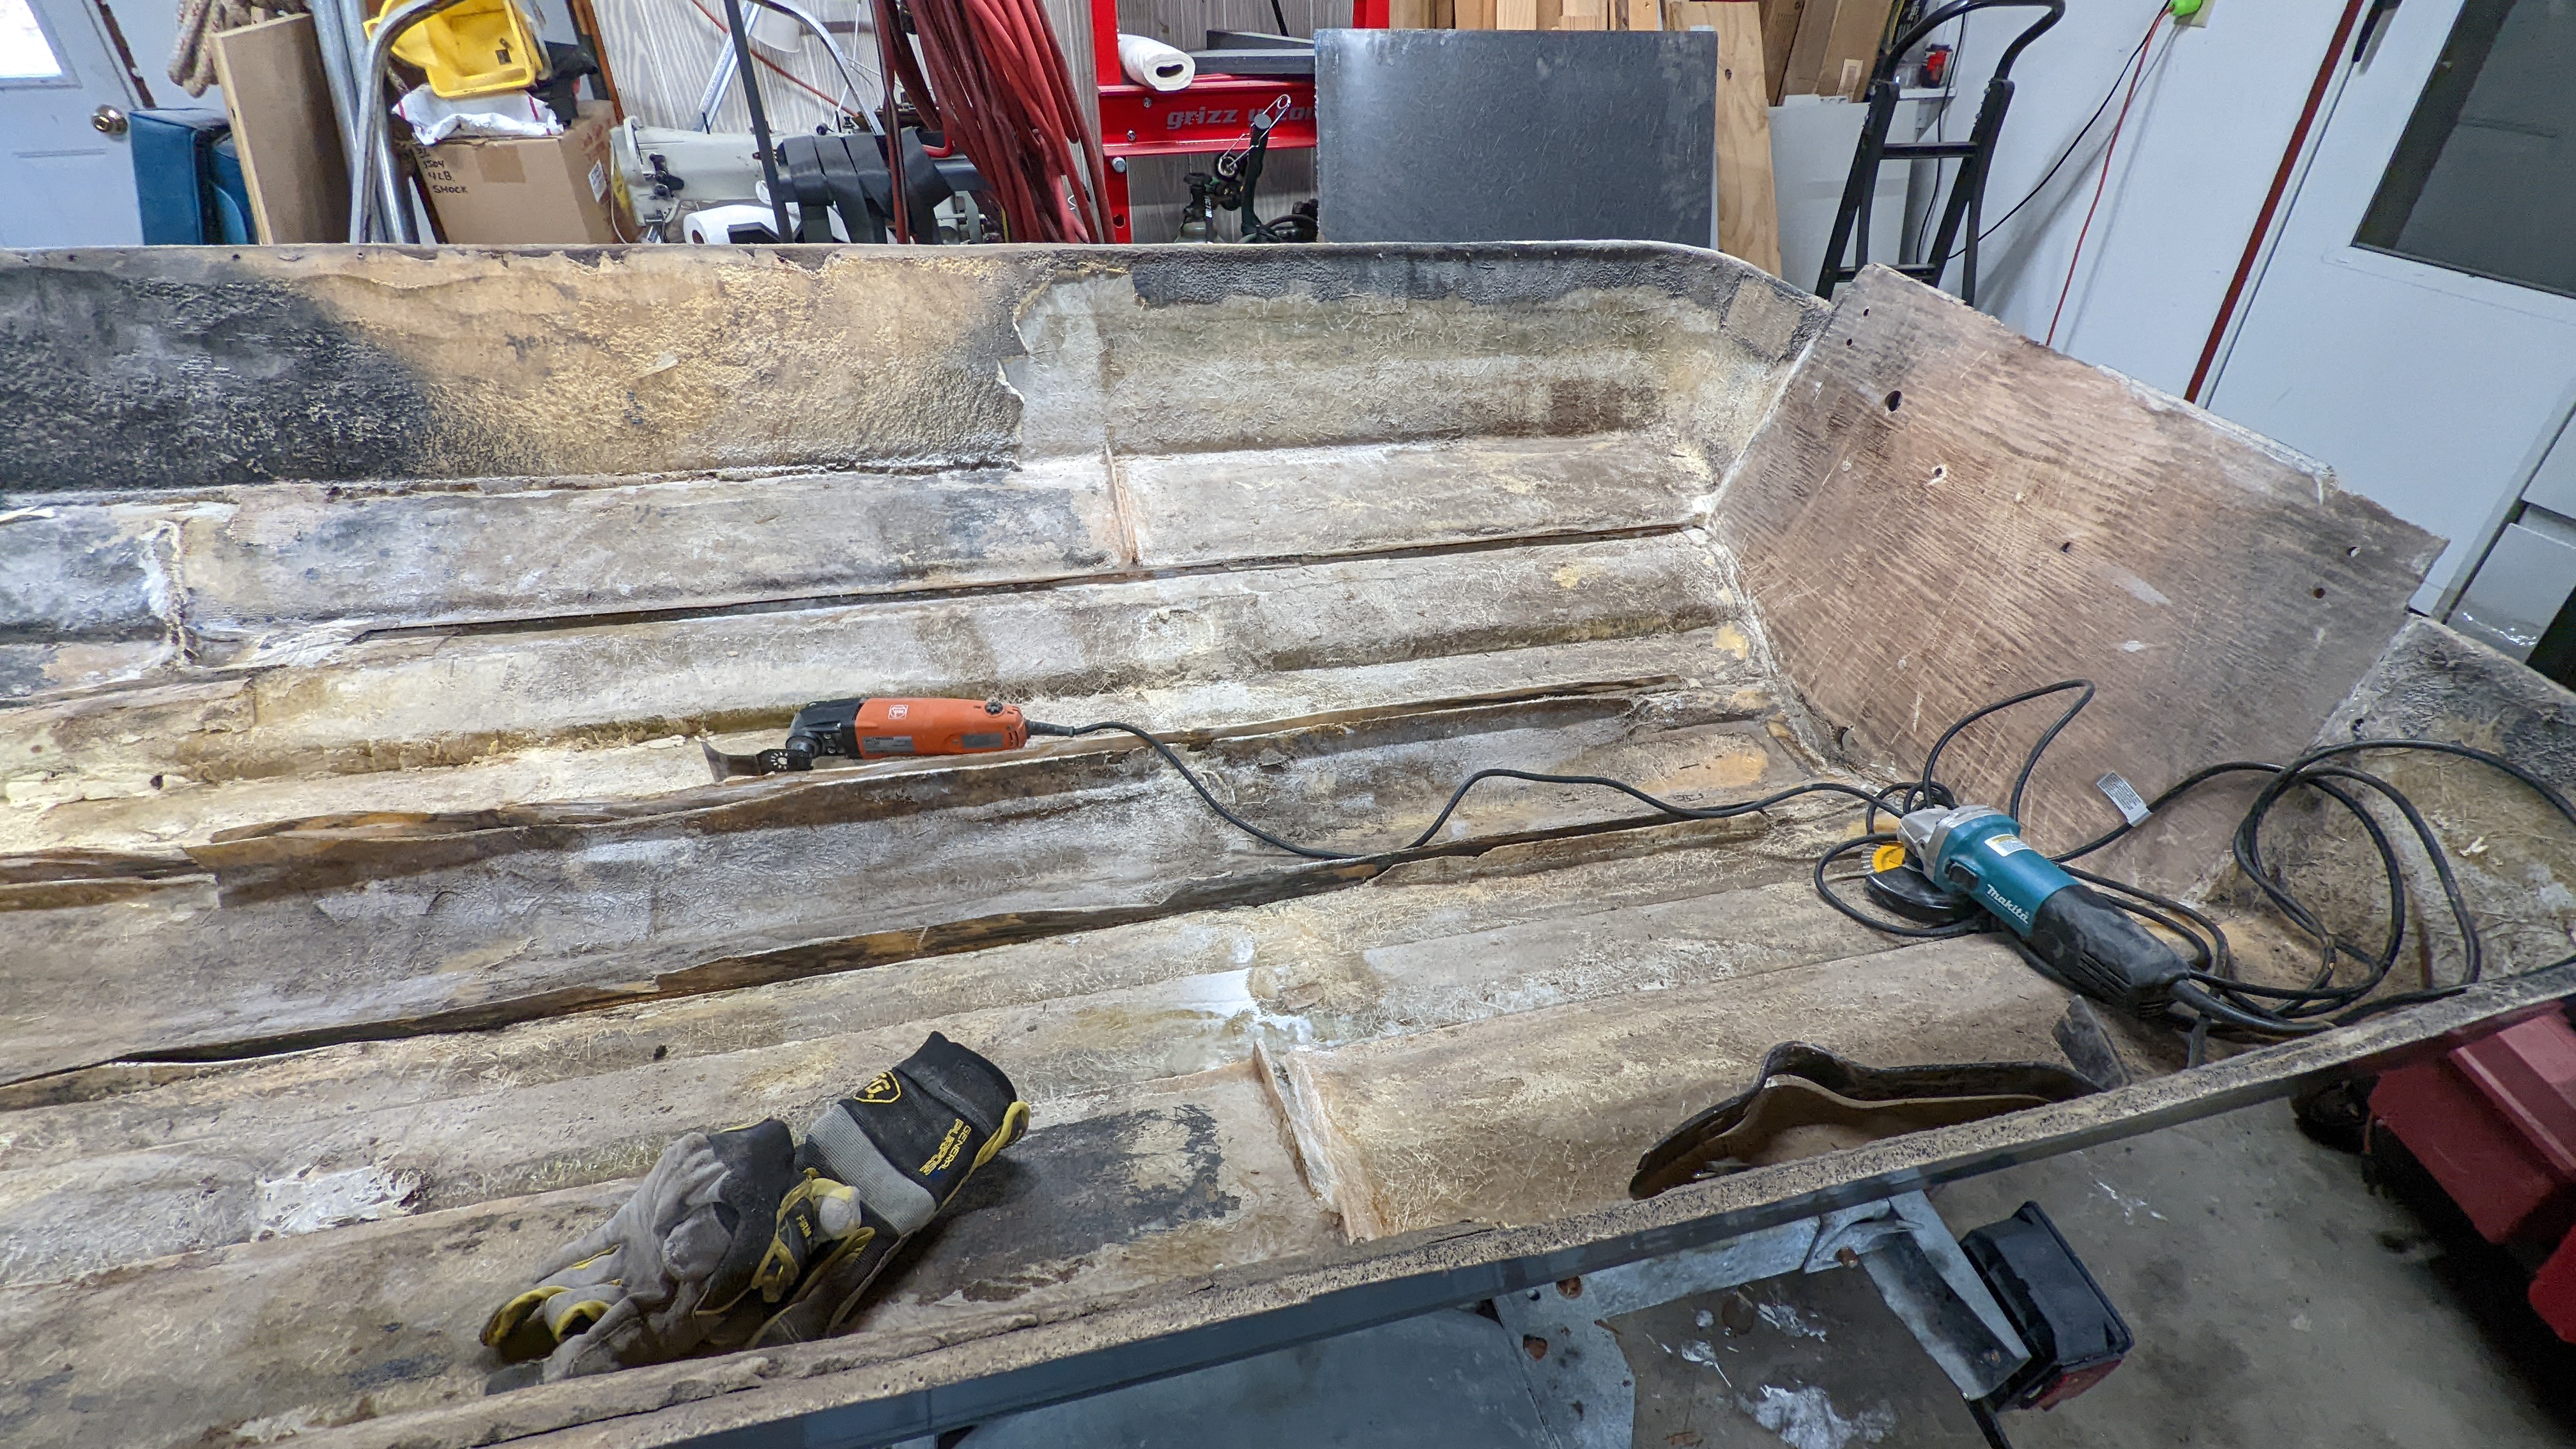
One advantage of wood this rotten is that removal goes a lot faster—much of it was barely still attached and came apart with very little persuasion. After plenty of cutting, scraping, and grinding, the original structure was finally gone and the fiberglass hull was exposed for cleanup and rebuilding.
Early demolition inside the exposed hull, showing the deteriorated floor, foam, stringers, and transom area being cut and removed.
Hull after most of the floor, foam, stringers, and rotten transom wood had been removed, leaving the original fiberglass structure exposed for grinding and cleanup.
Rebuilding with Fiberglass and Coosa Board
With the hull stripped down to bare fiberglass, it was time to start putting a new structure back in—one that wouldn’t rot the next time water found its way in. The plan was to eliminate wood entirely and rebuild the stringers and floor using fiberglass and Coosa board instead.
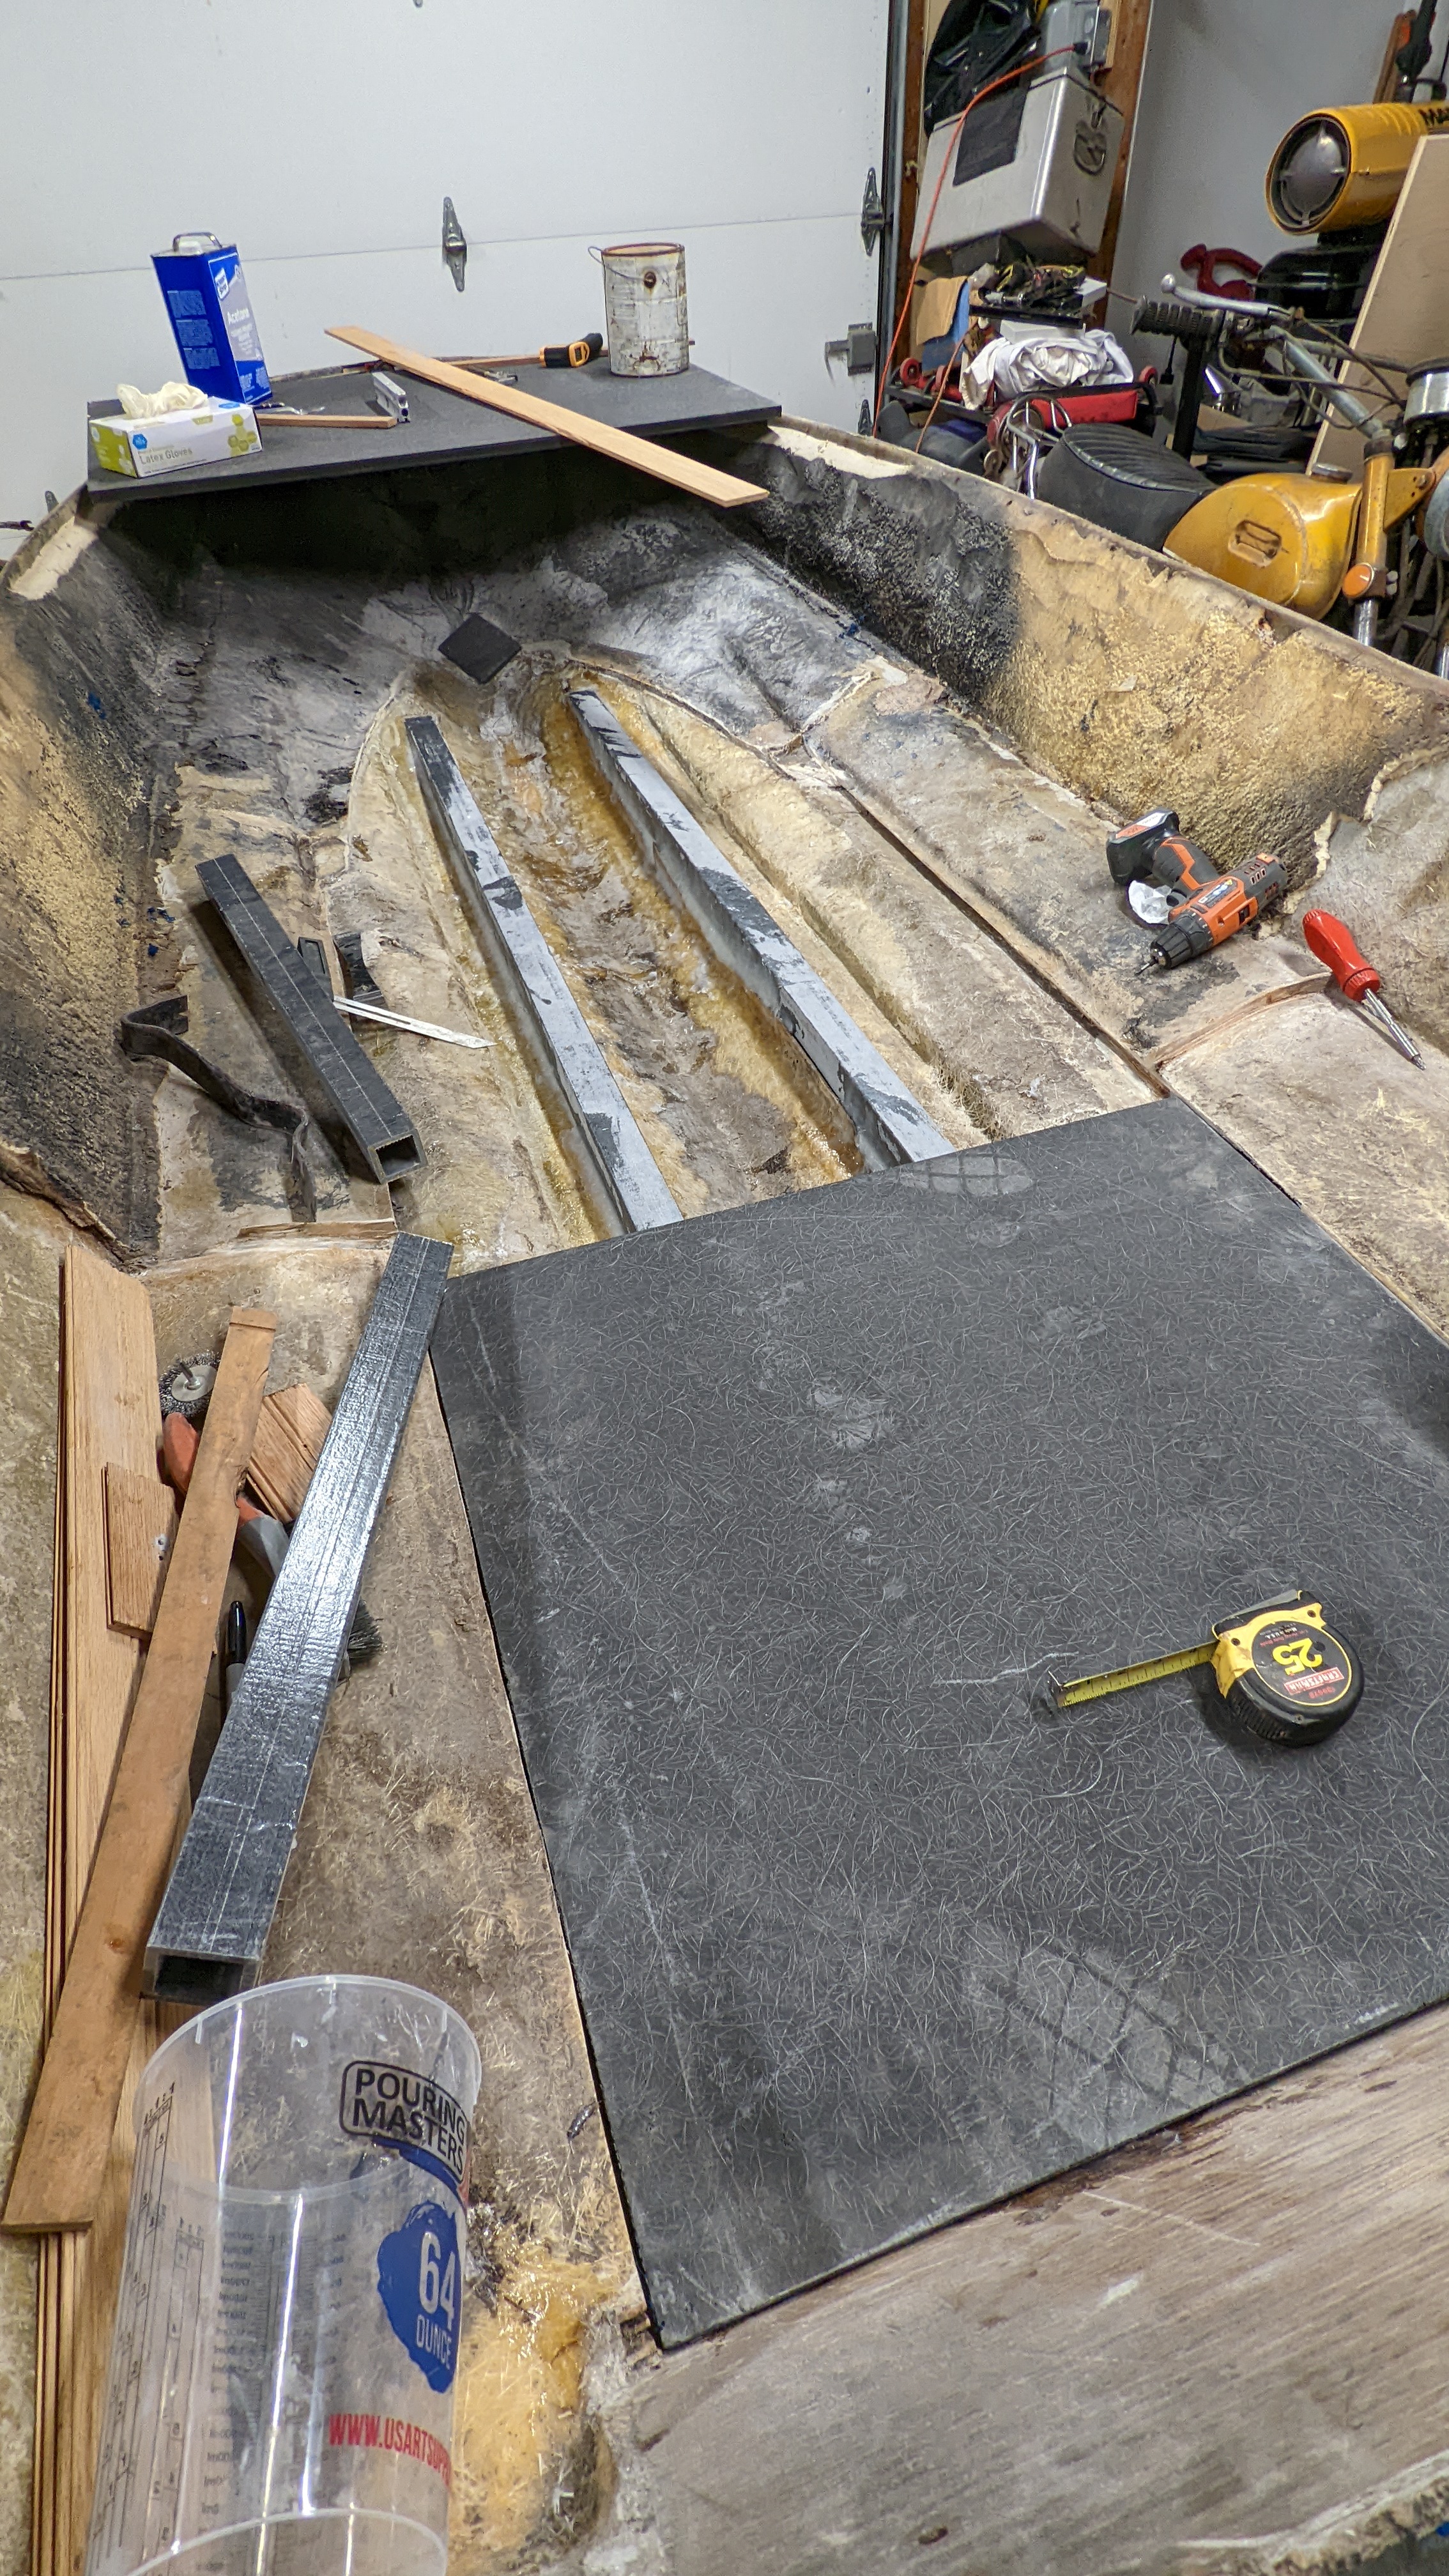
Cleaned hull with fiberglass fence posts being test-fitted as replacement stringers. The posts were roughed up with a belt sander to prepare them for bonding and fiberglassing into the hull.
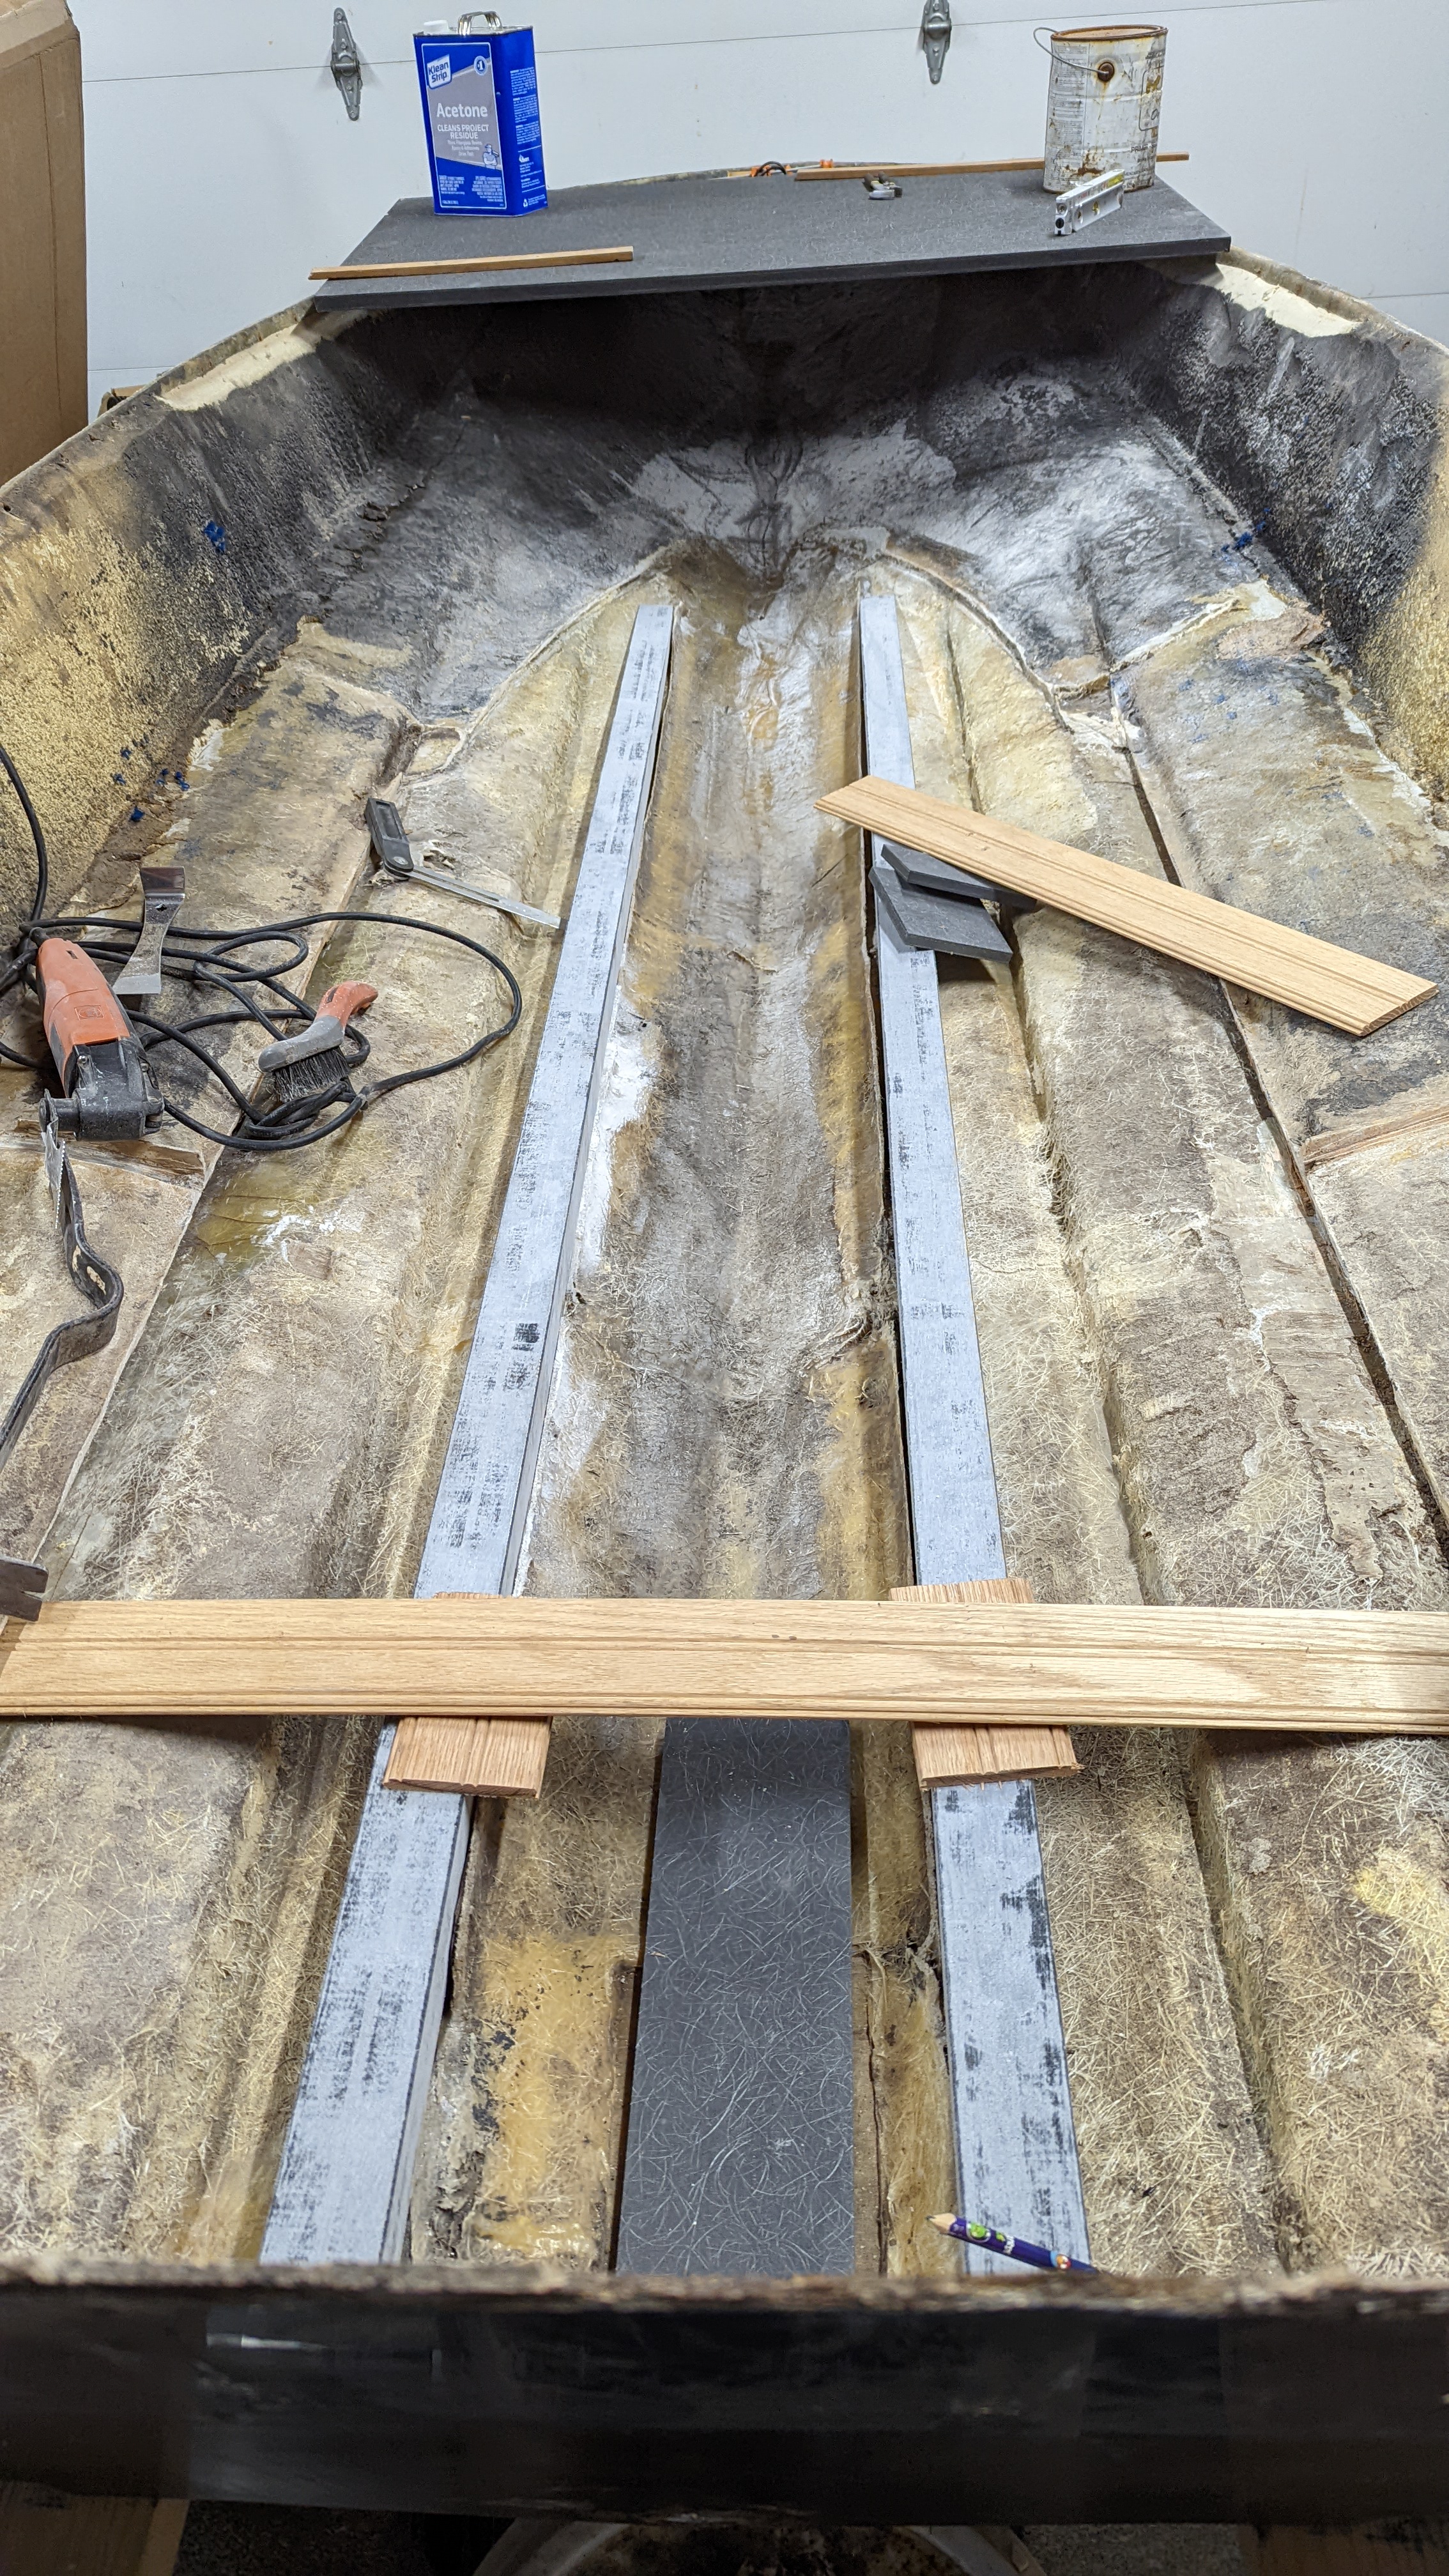
New fiberglass stringers and Coosa board being fitted for the floor and structural components. The rebuild eliminates wood entirely, using Coosa board and fiberglass throughout to avoid future rot.
Bonding and Tabbing the Coosa Structure
With the stringers test-fitted, the next step was permanently bonding the new Coosa board floor sections, bulkheads, and transom into the hull.
Coosa board floor sections and bulkheads being fitted into the hull. Cab-O-Sil-thickened resin was used to bed the panels and form fillets before fiberglass tabbing.
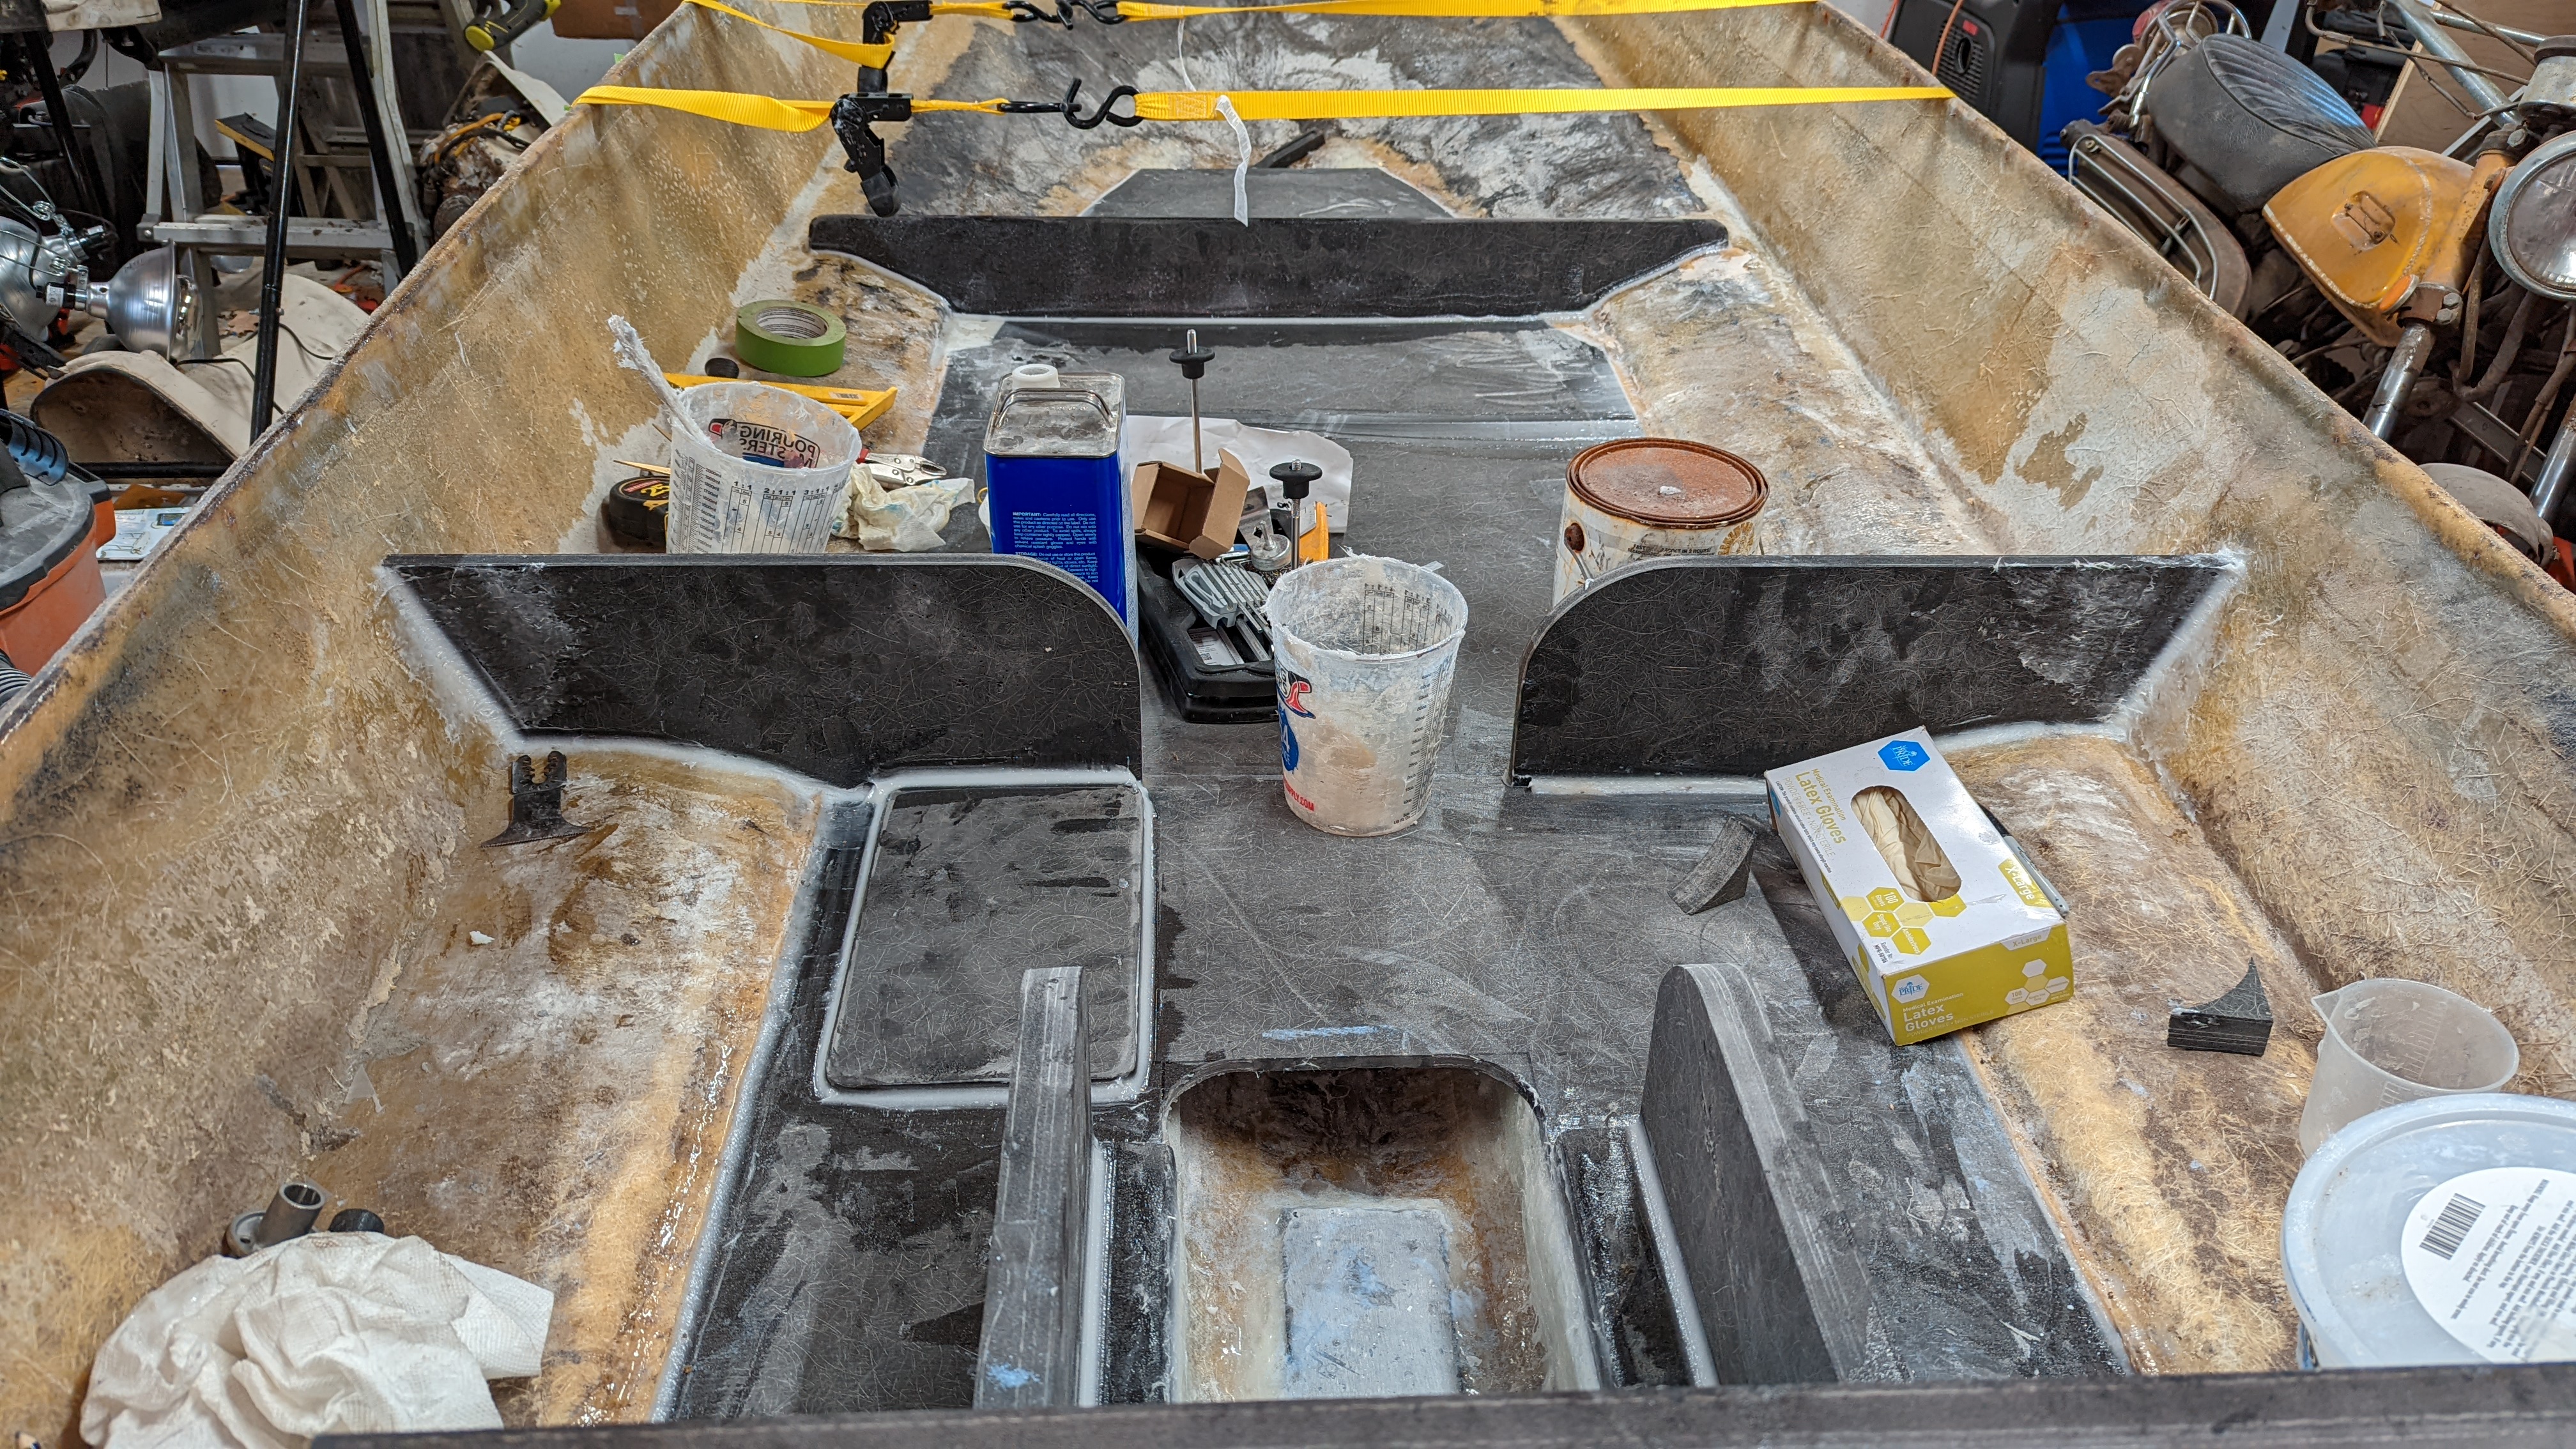
Progress on the Coosa structure, including the new transom, floor sections, and supports. The pieces are being bonded and tabbed into the original fiberglass hull.
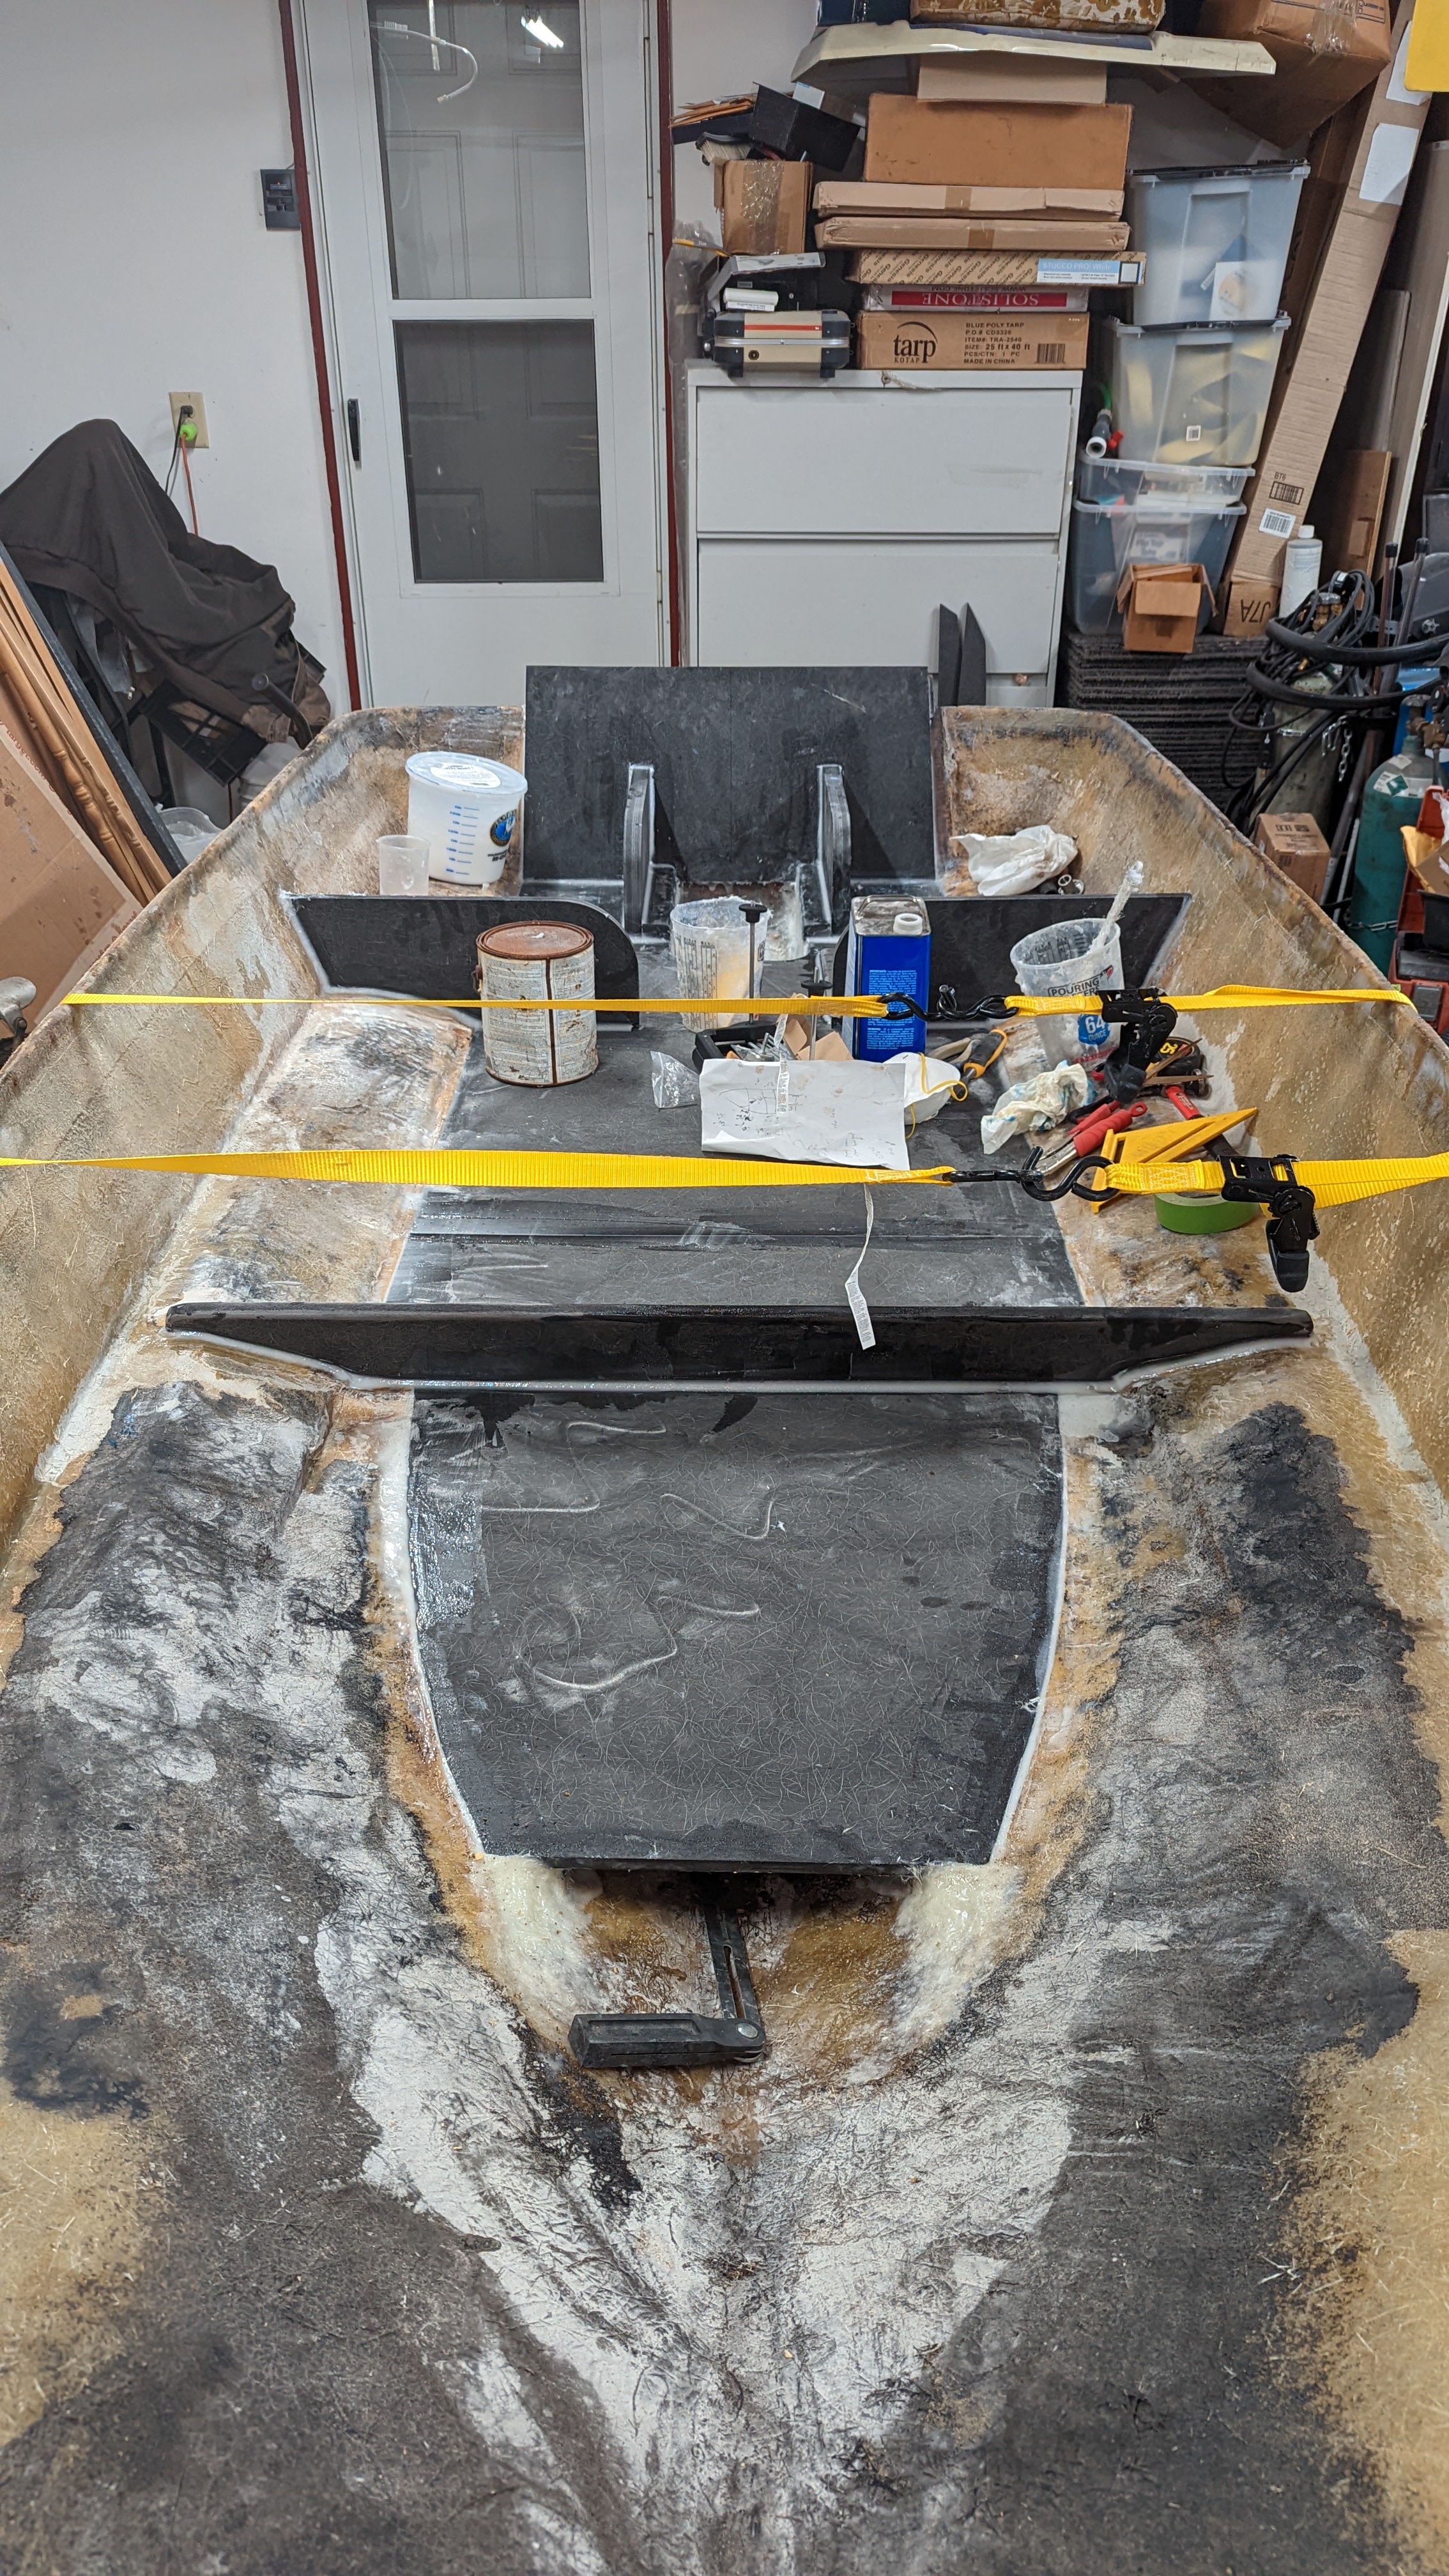
Wider view of the hull with much of the new Coosa floor, transom, and bulkhead structure installed and fiberglassed in place.
Paint and Carpet
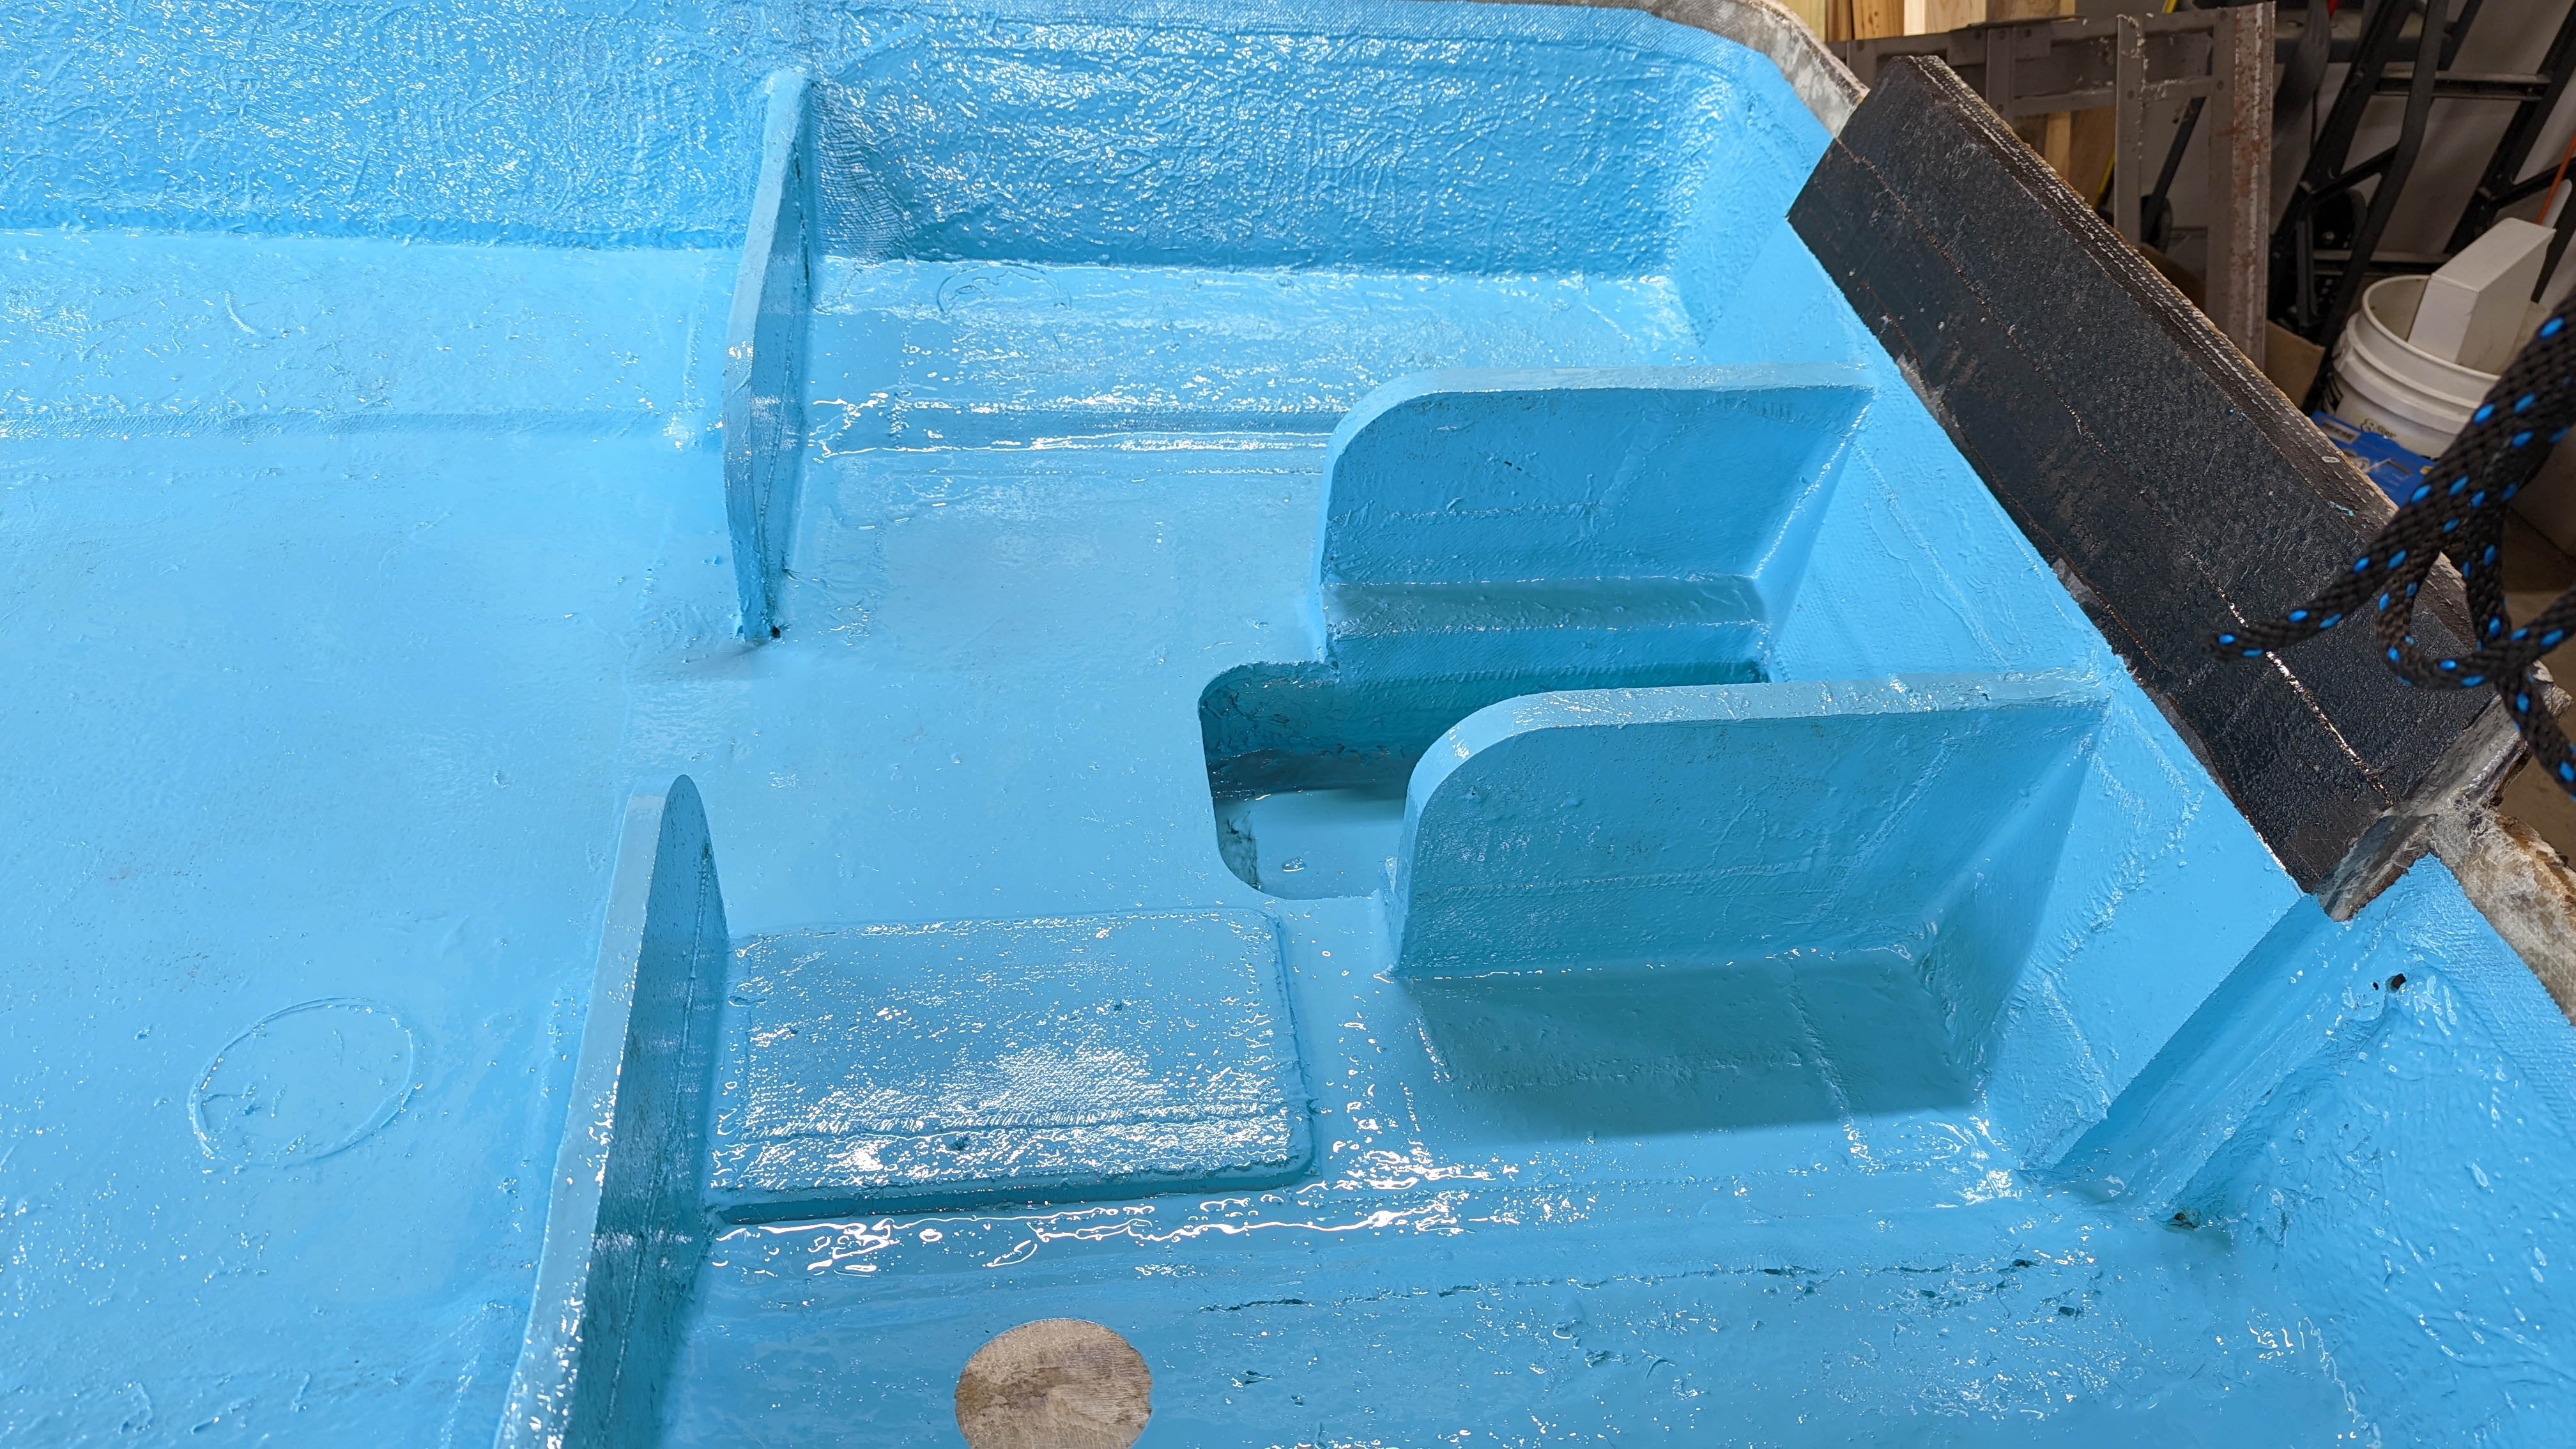
With the new structure fully bonded and fiberglassed in, it was time to finish the interior before the deck went back on.
Rebuilt Coosa and fiberglass interior coated in bright blue paint, including the new floor, structural panels, and transom area.
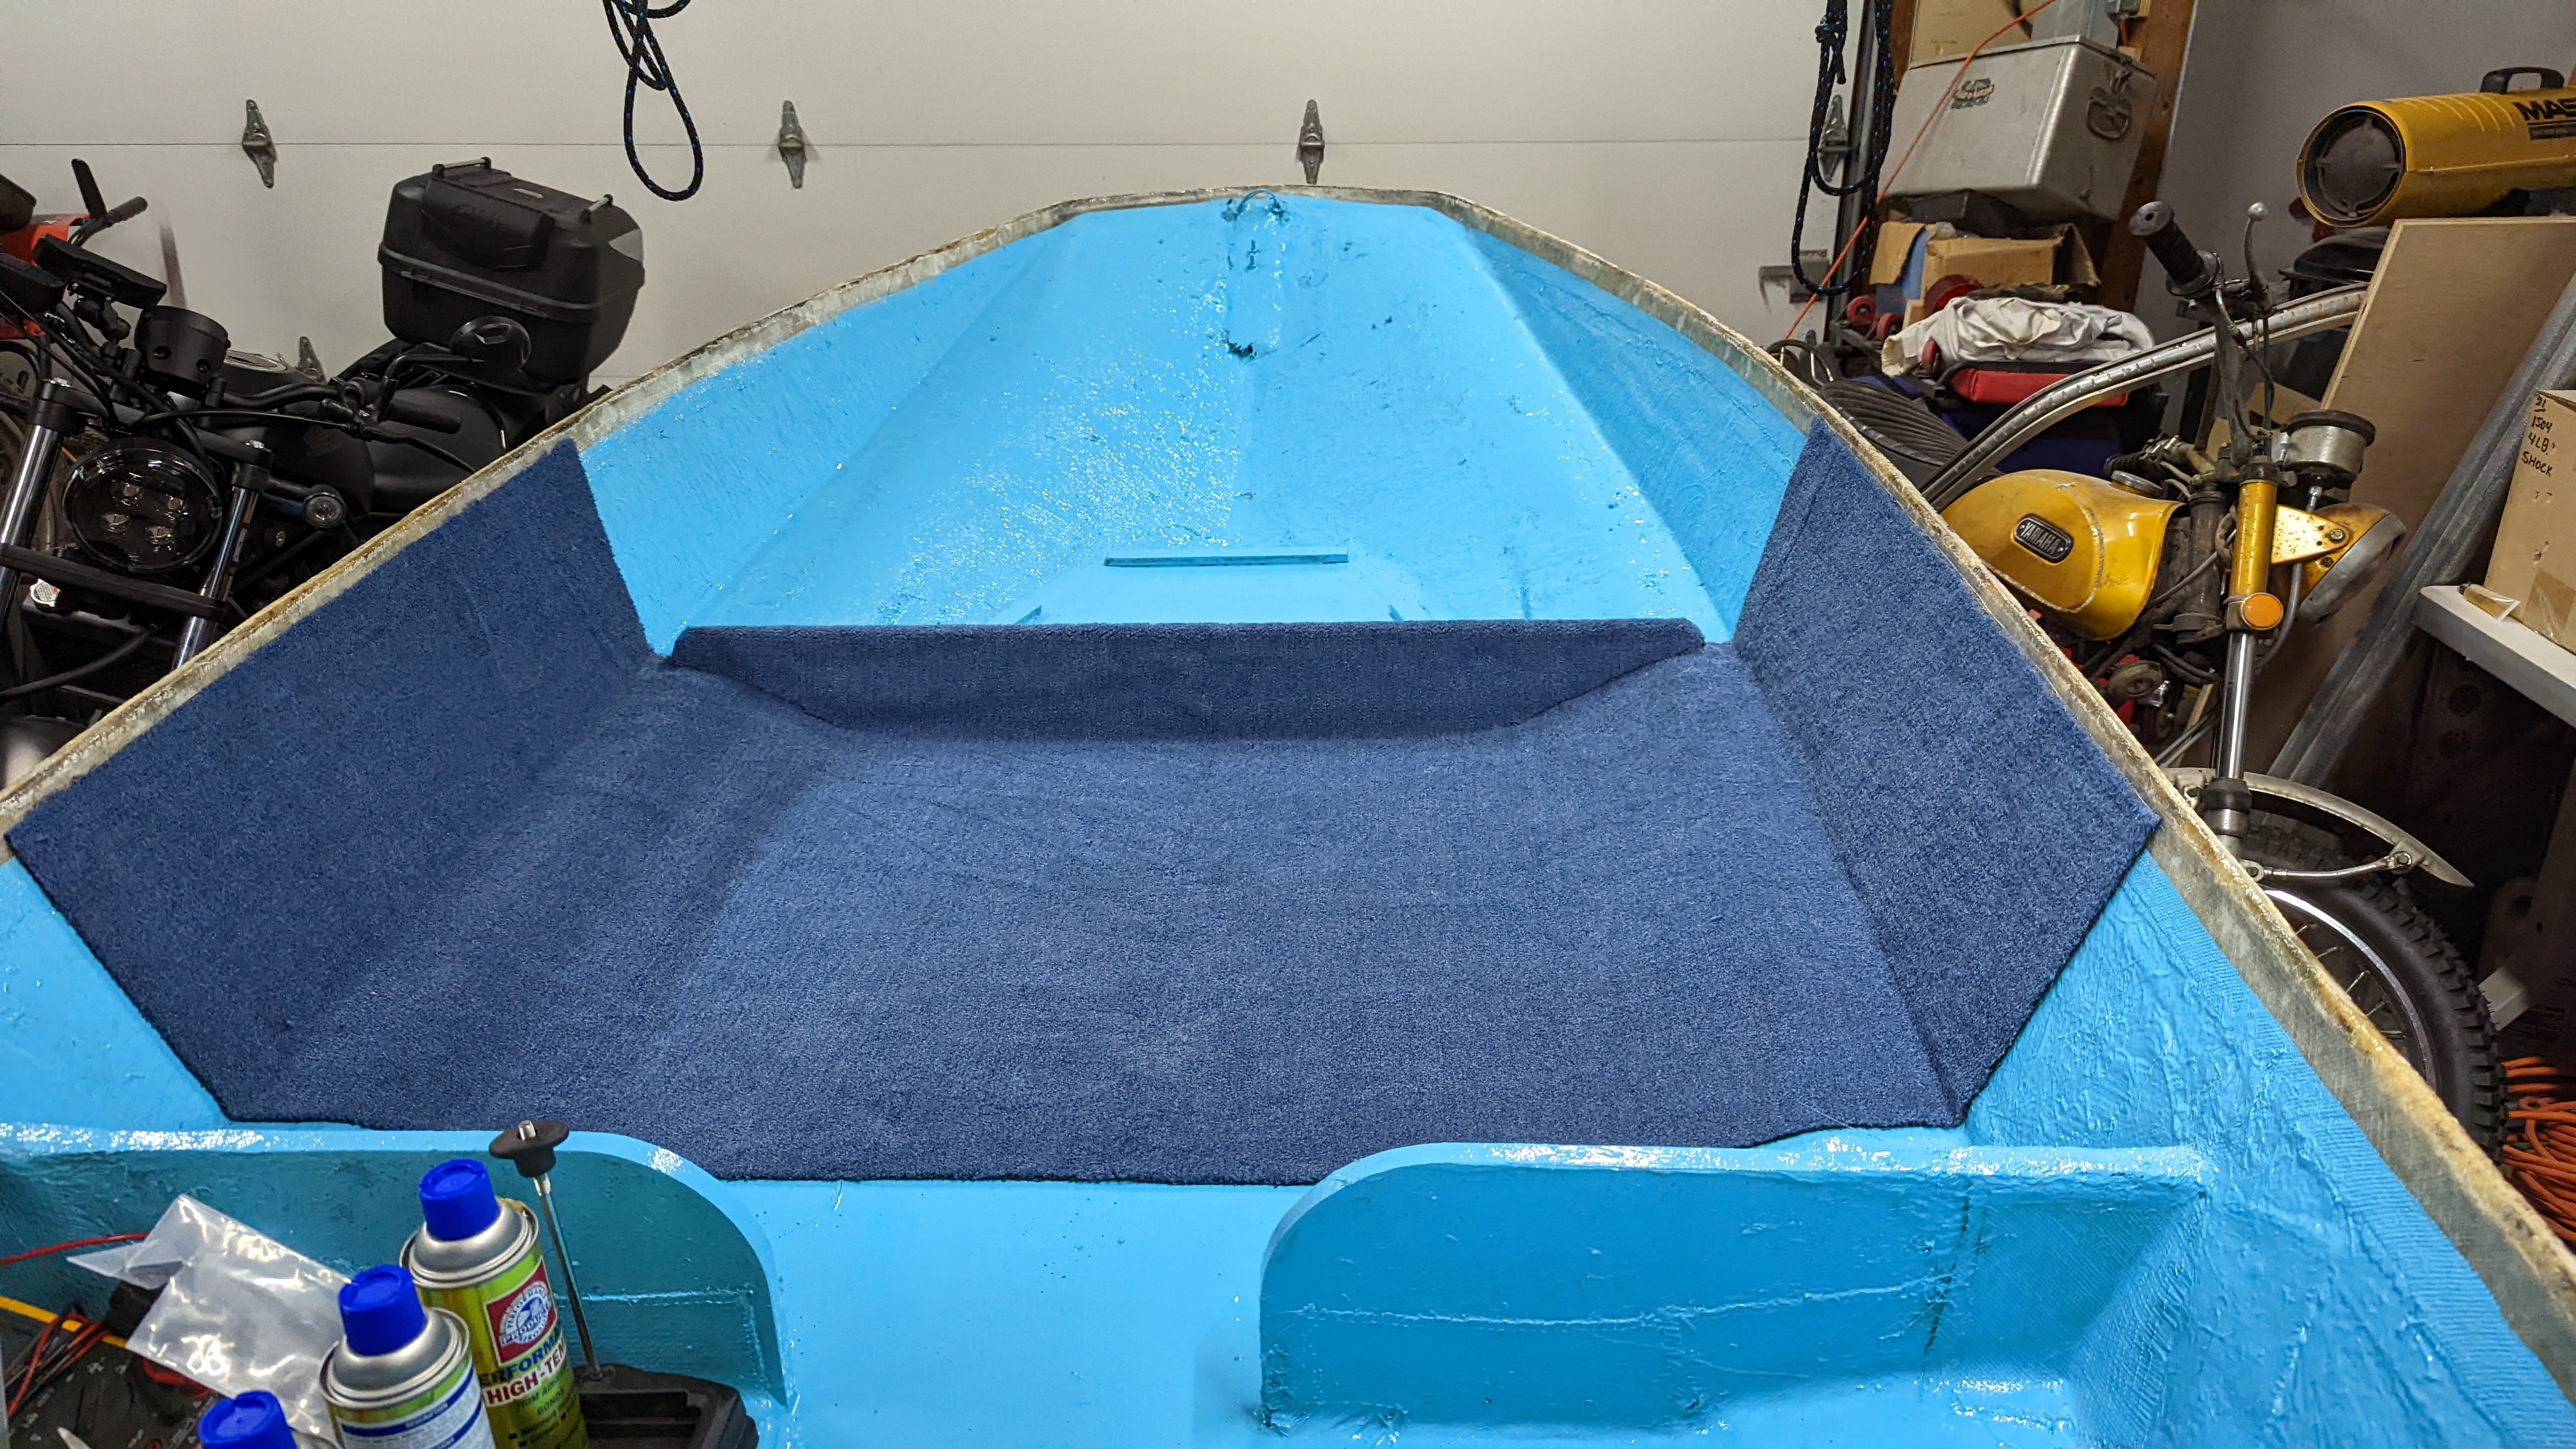
Blue marine carpet installed on the forward floor and side panels. With the hull and deck still separated, this was the easiest time to fit and trim the carpeting.
Upper Deck and Dash
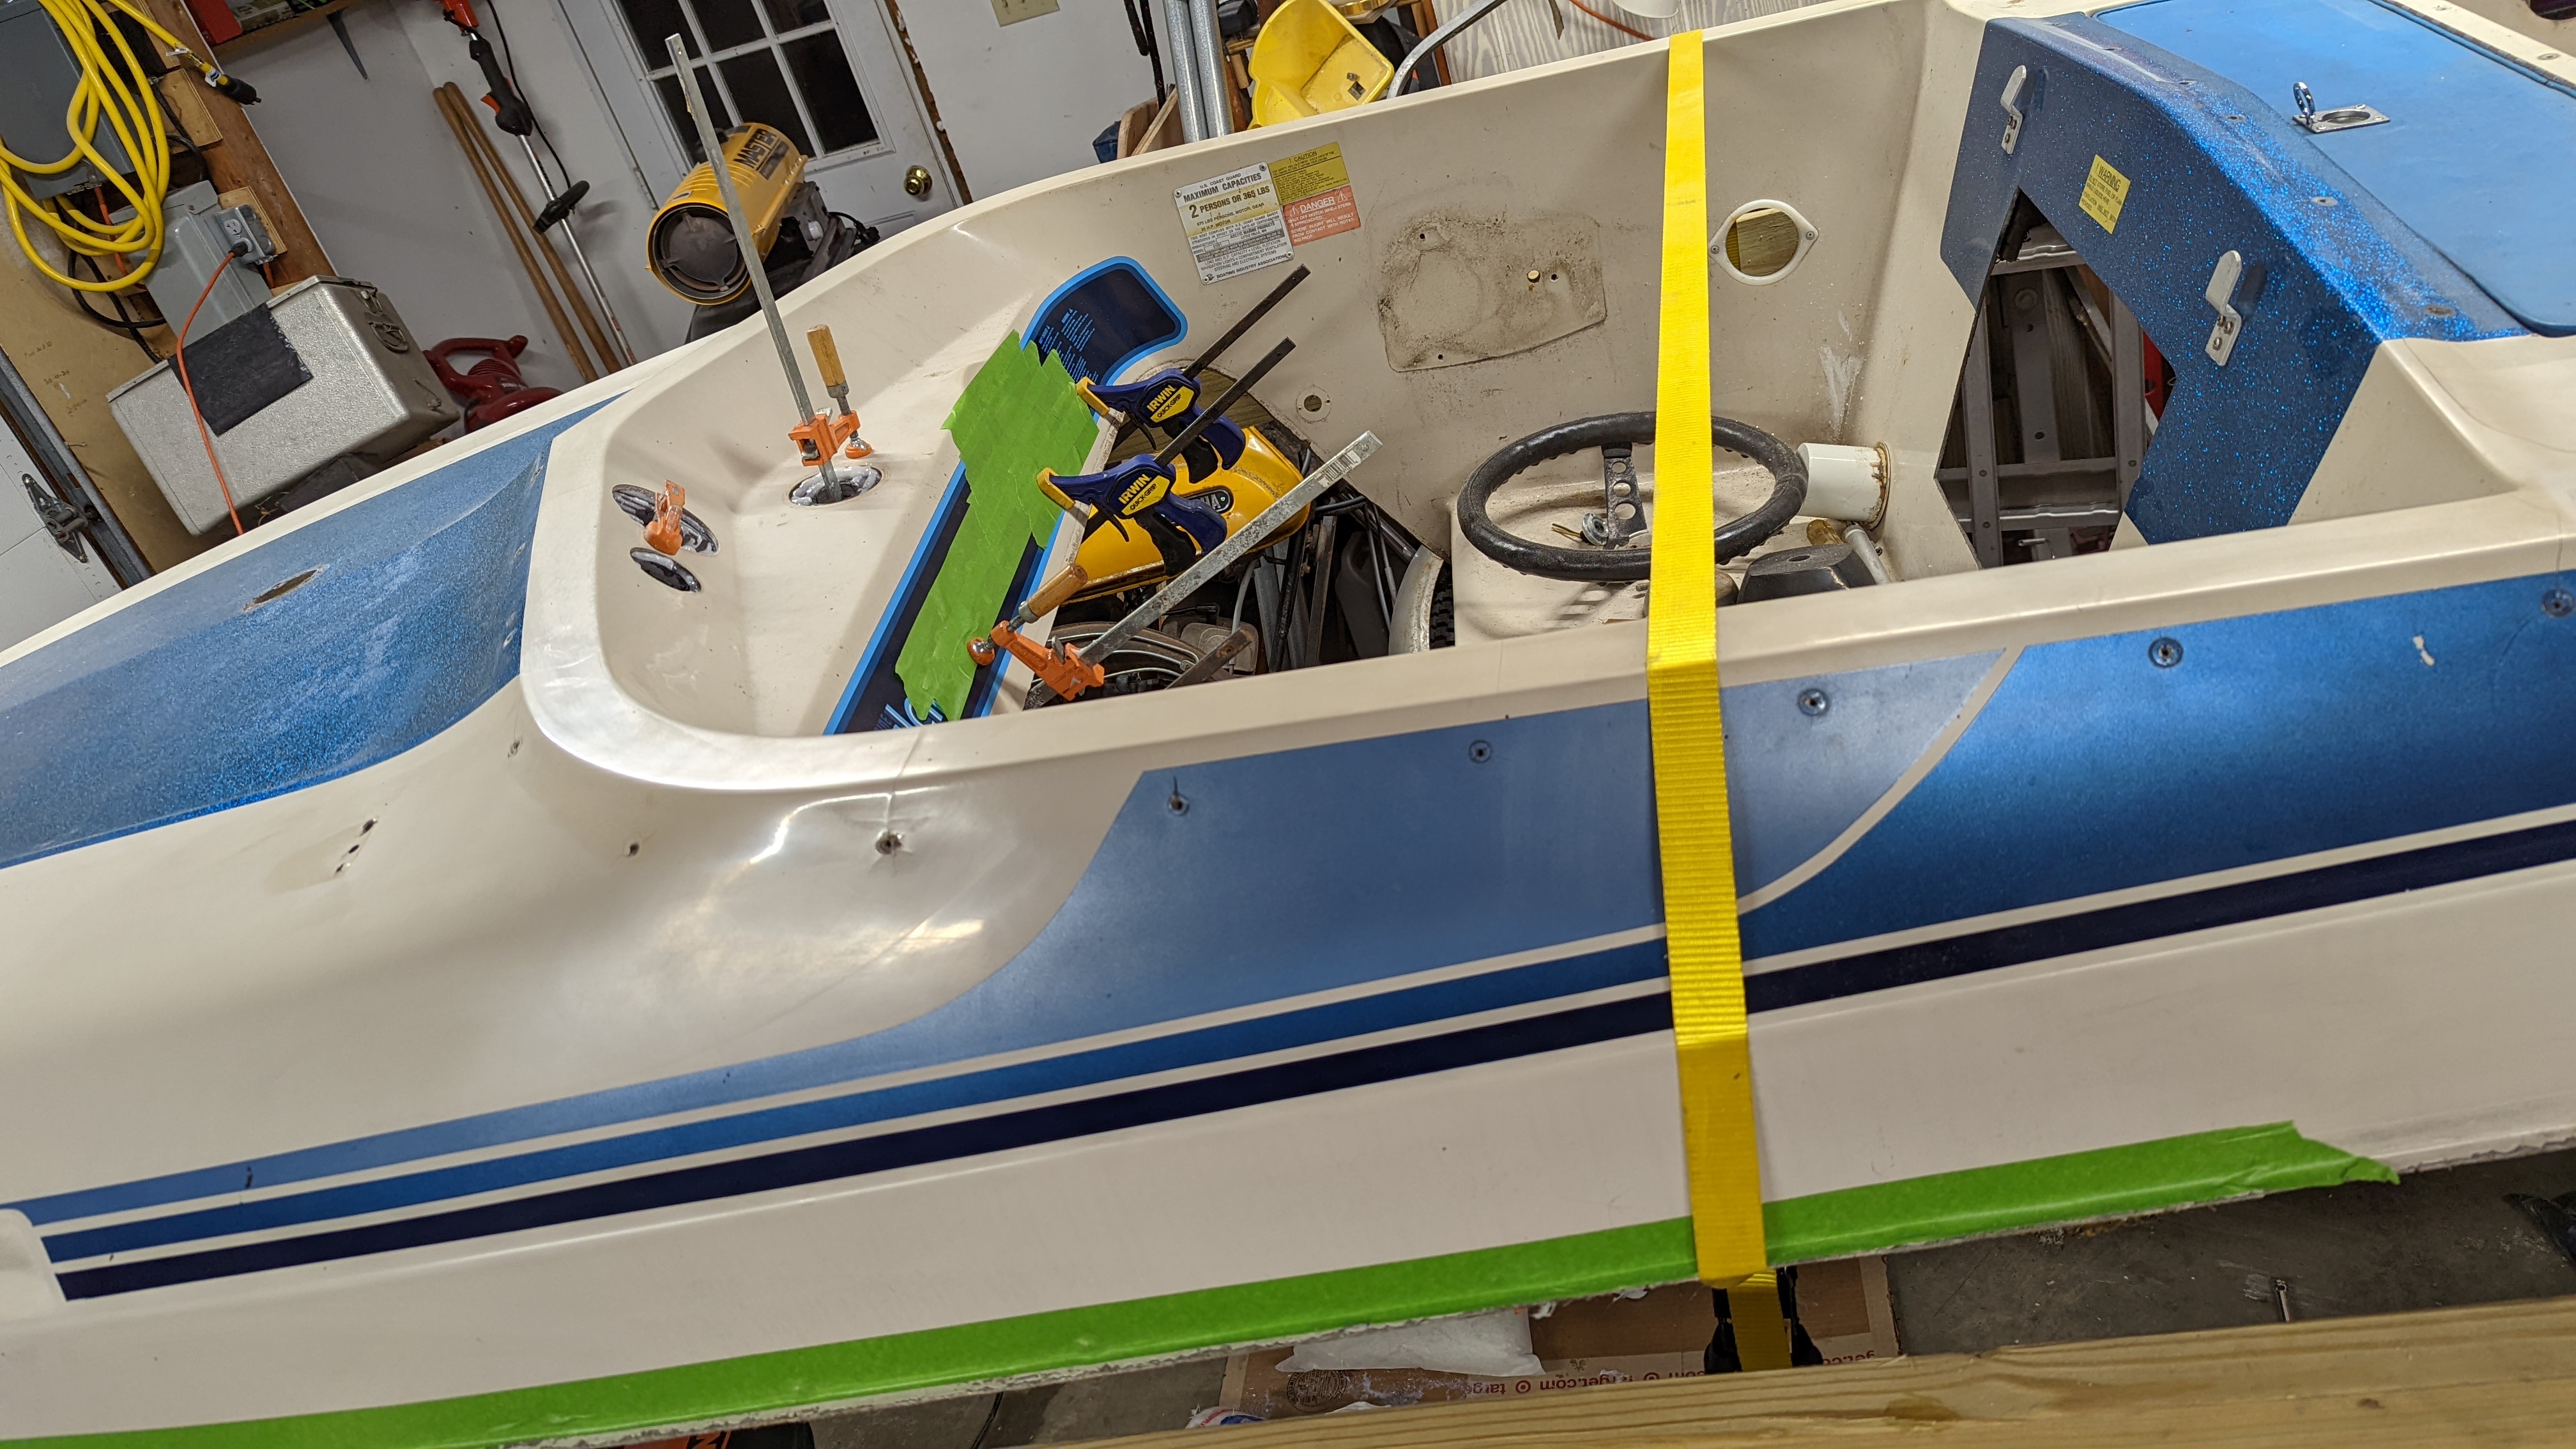
With the lower hull rebuilt, painted, and carpeted, attention turned to the upper half of the boat.
Attention turned to the upper half of the boat, with the hardware removed and the dash area opened up. The original wood backing behind the dash was removed and replaced with Coosa board before reassembly.
Rejoining Deck and Hull
With both halves rebuilt, it was finally time to bring the boat back together as one piece.
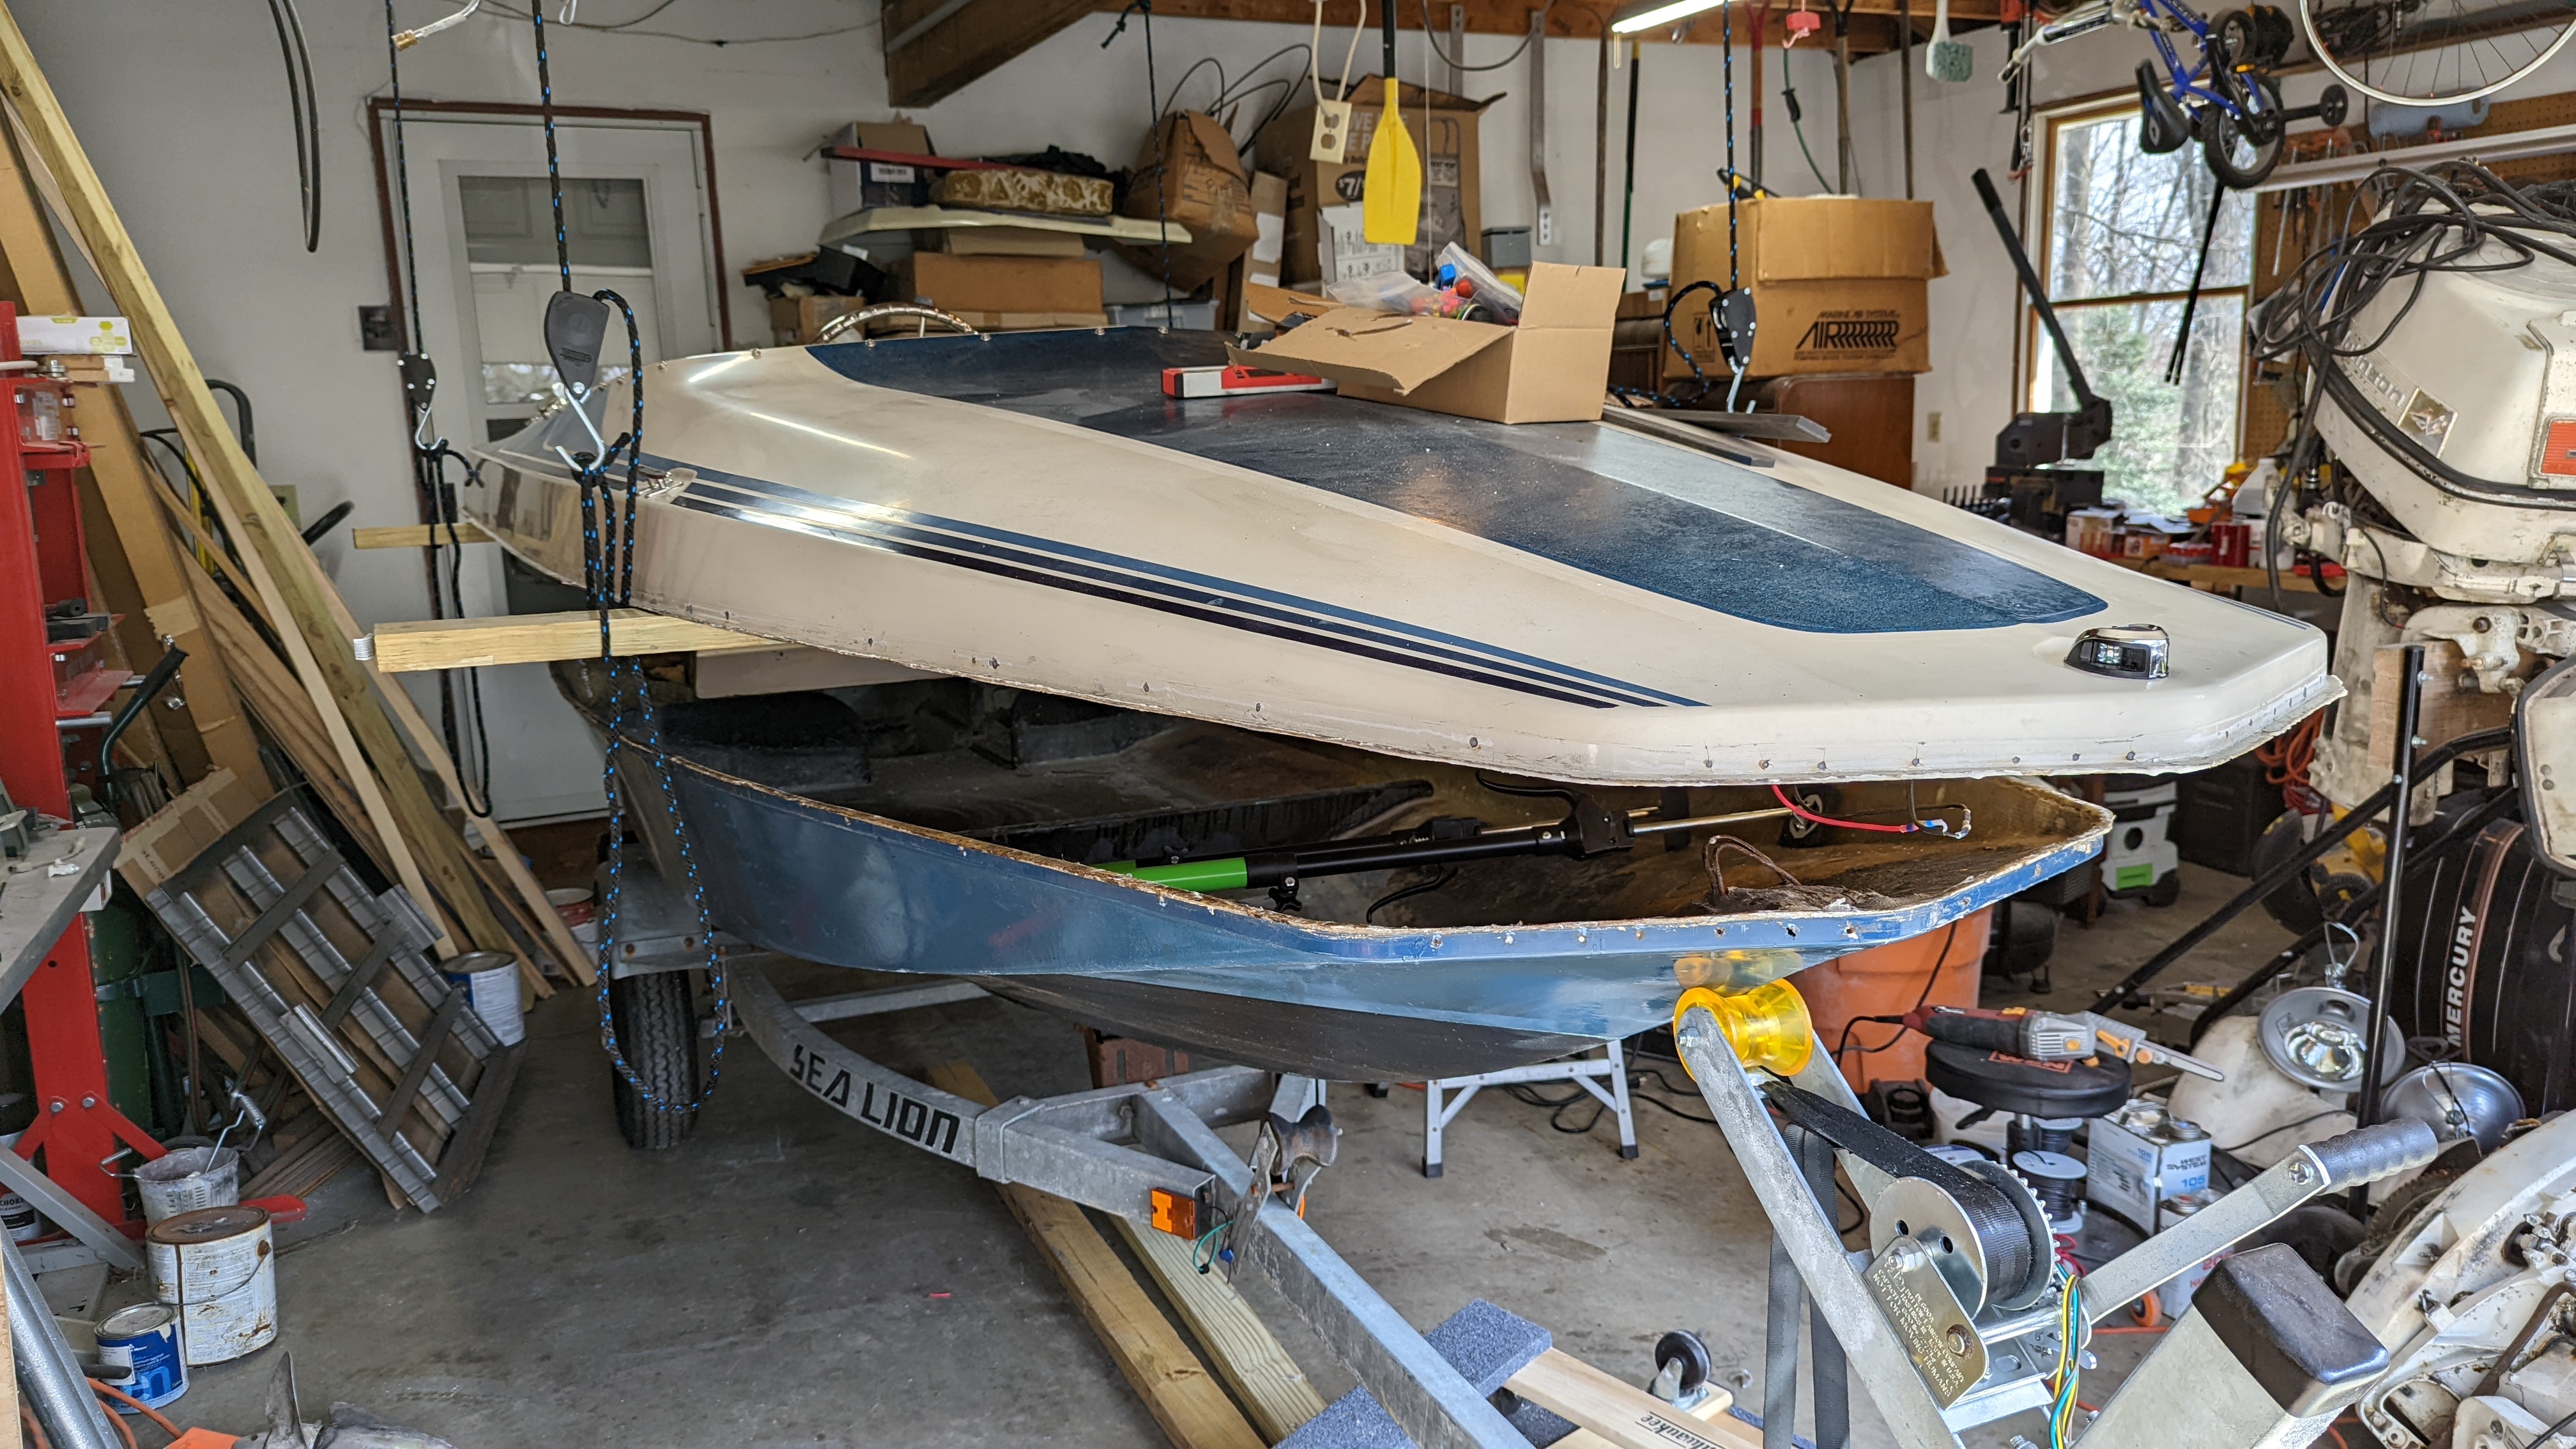
Test fitting the upper deck back onto the rebuilt hull, using ropes and supports to carefully lower it into position and check alignment.
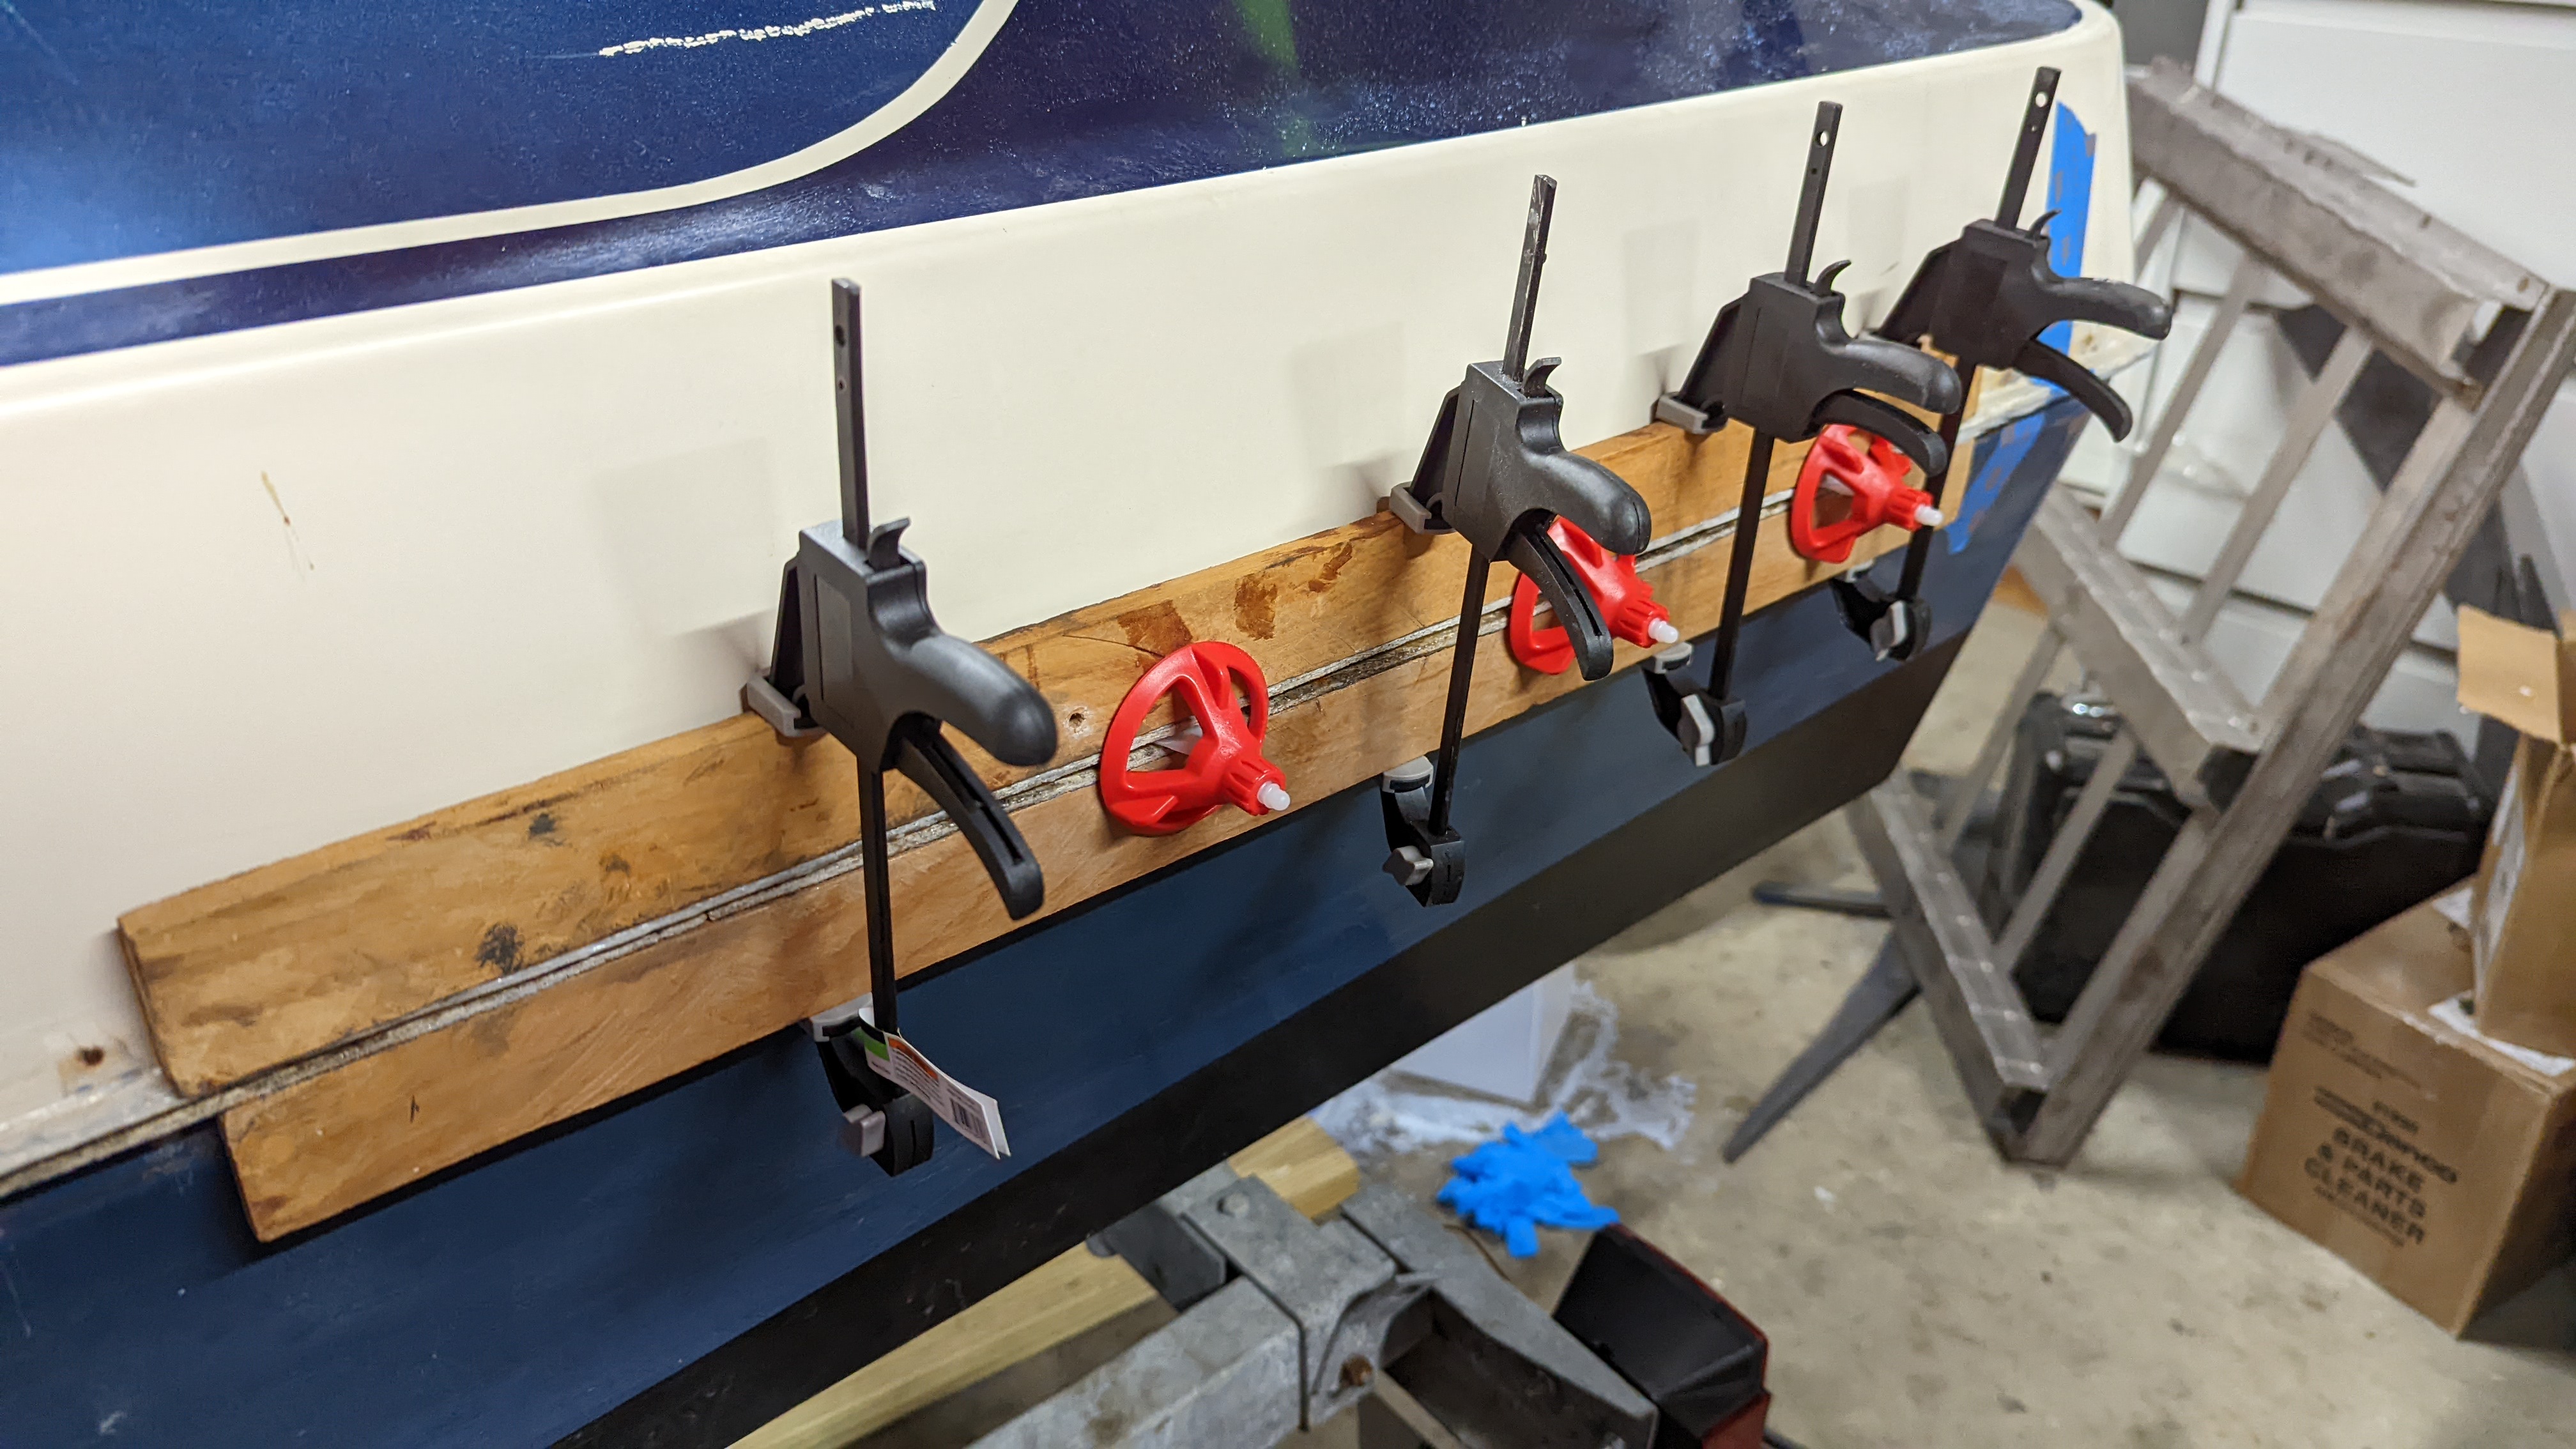
Hull and deck aligned for final assembly, with temporary wood strips and clamps used to hold the seam straight and tight during joining.
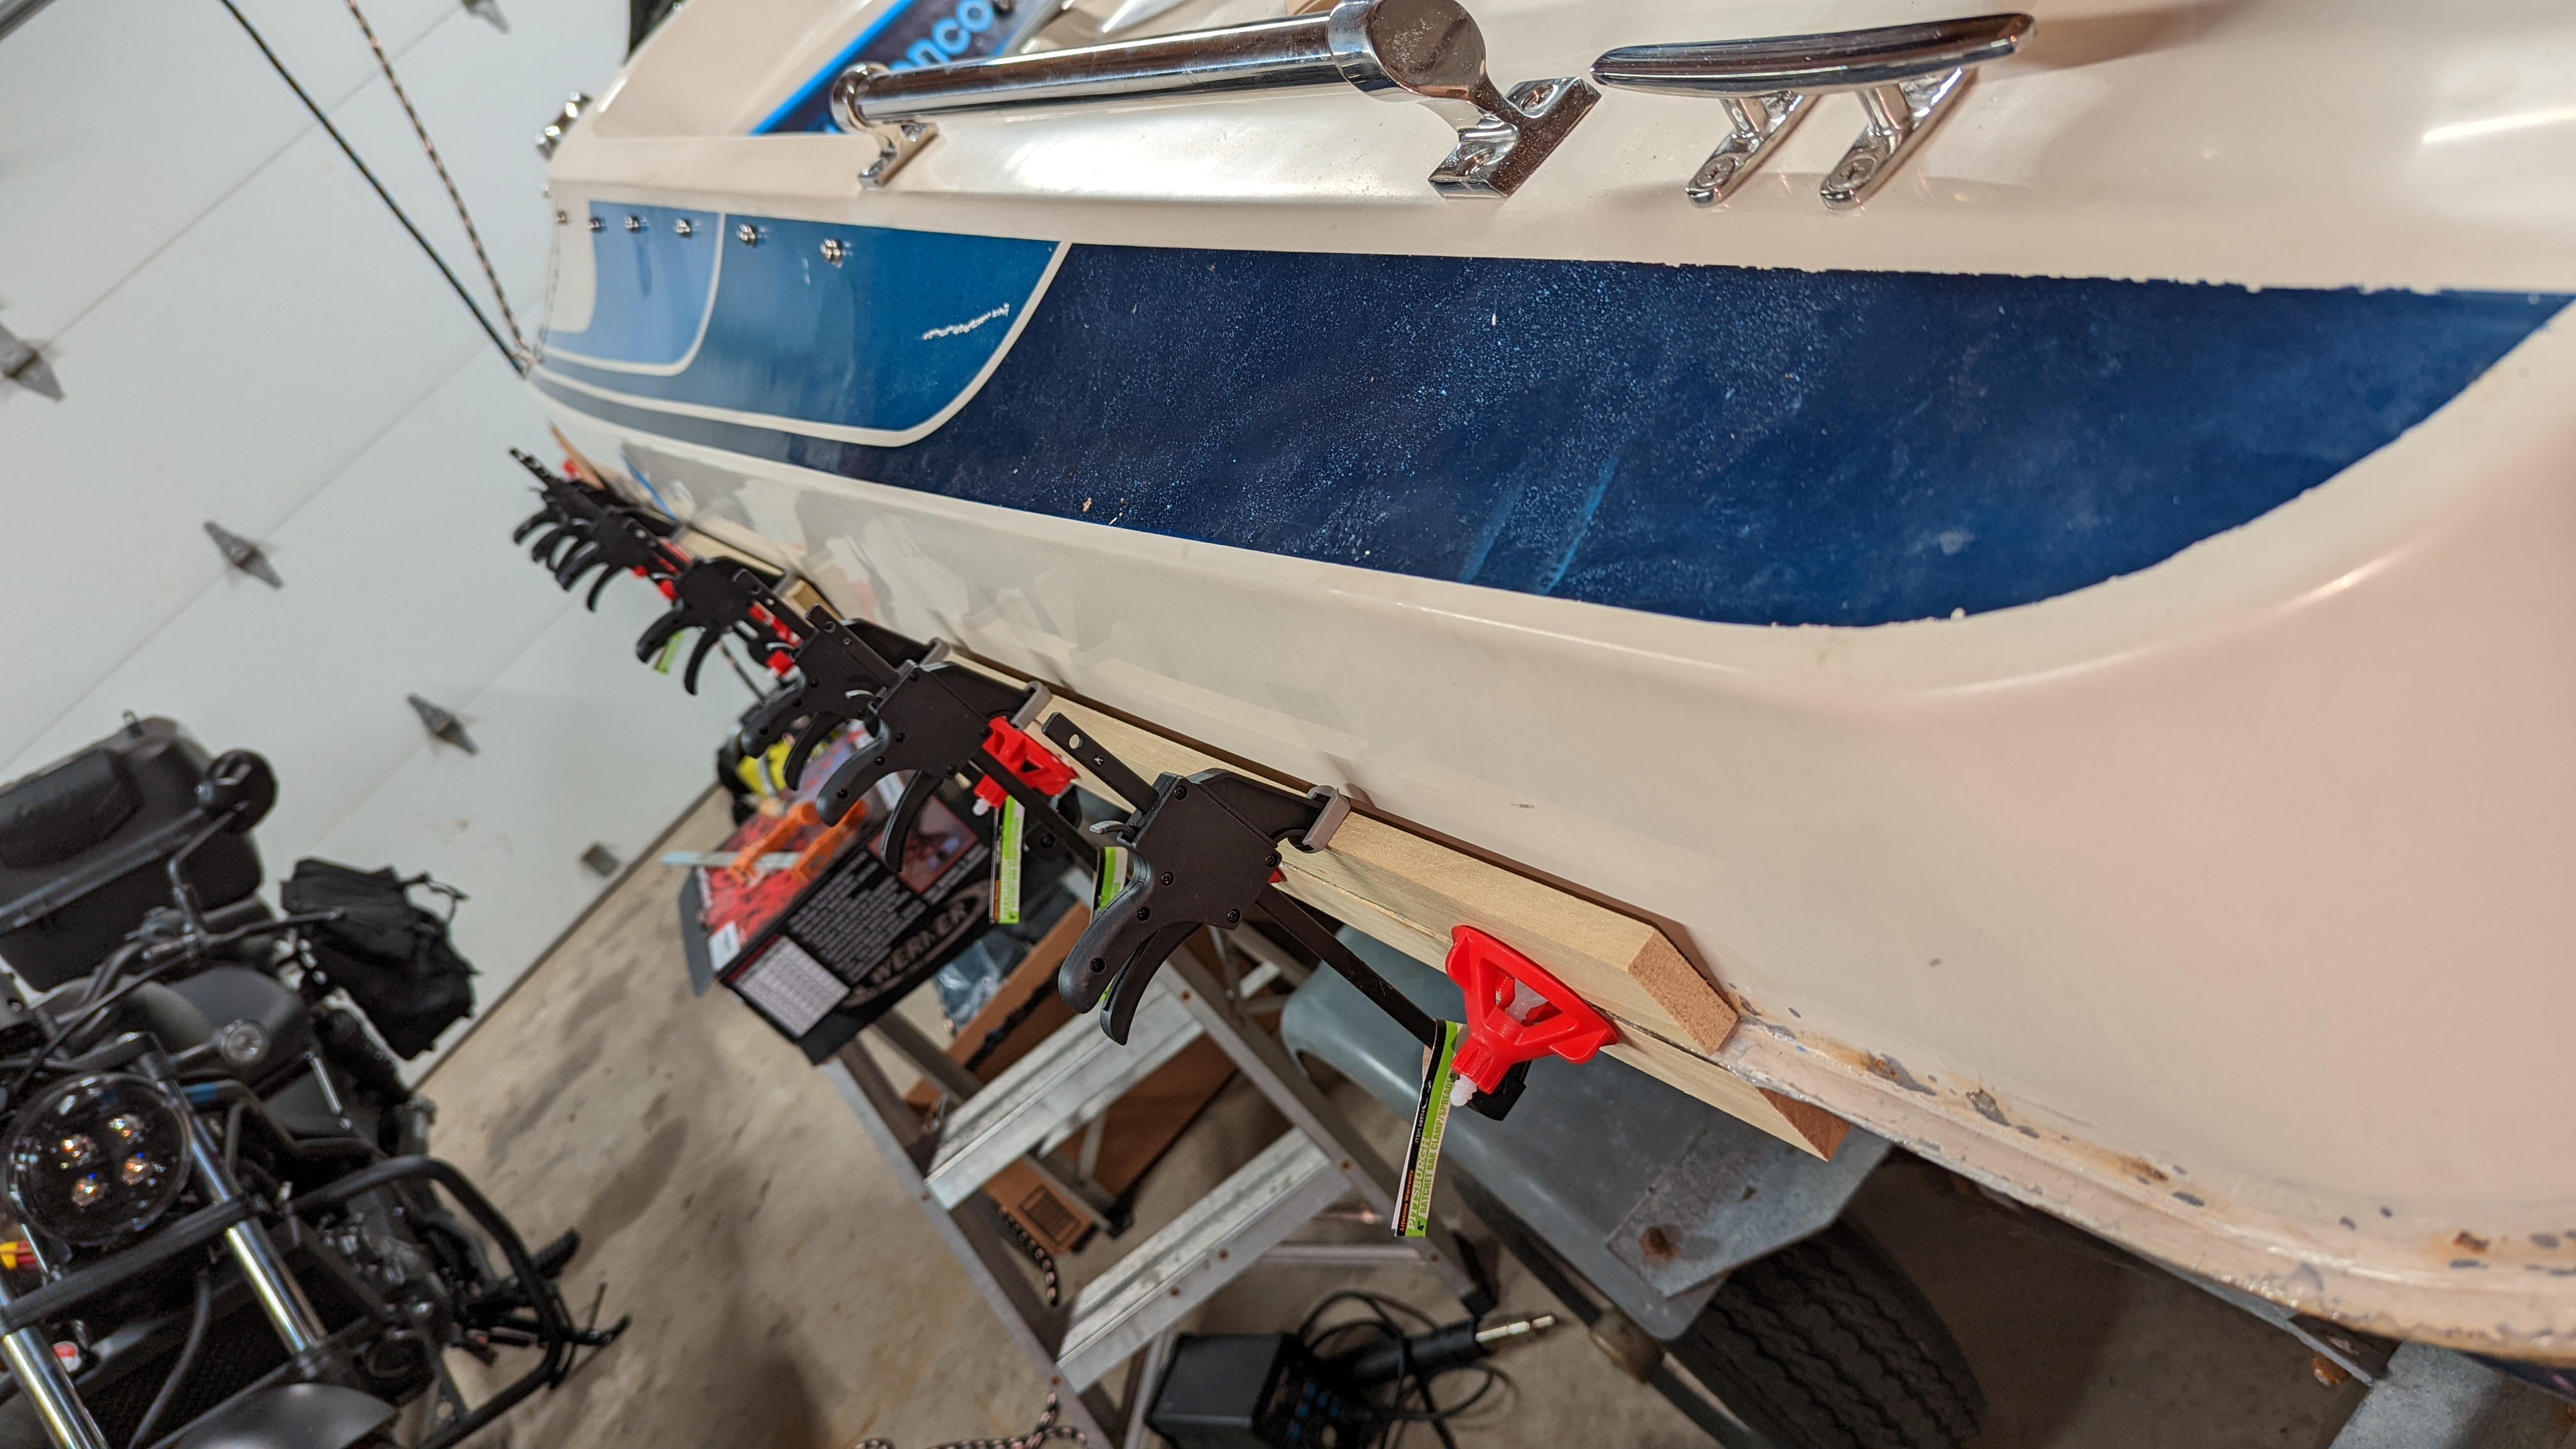
Final joining of the upper deck and lower hull, with the seam clamped tightly together while the two halves were bonded back into one piece.
Cockpit Reassembly
With the hull and deck bonded back into one piece, it was time to put the cockpit back together.
Cockpit coming back together after the hull halves were joined, with the original-style dash, steering, carpeting, and controls being reinstalled.
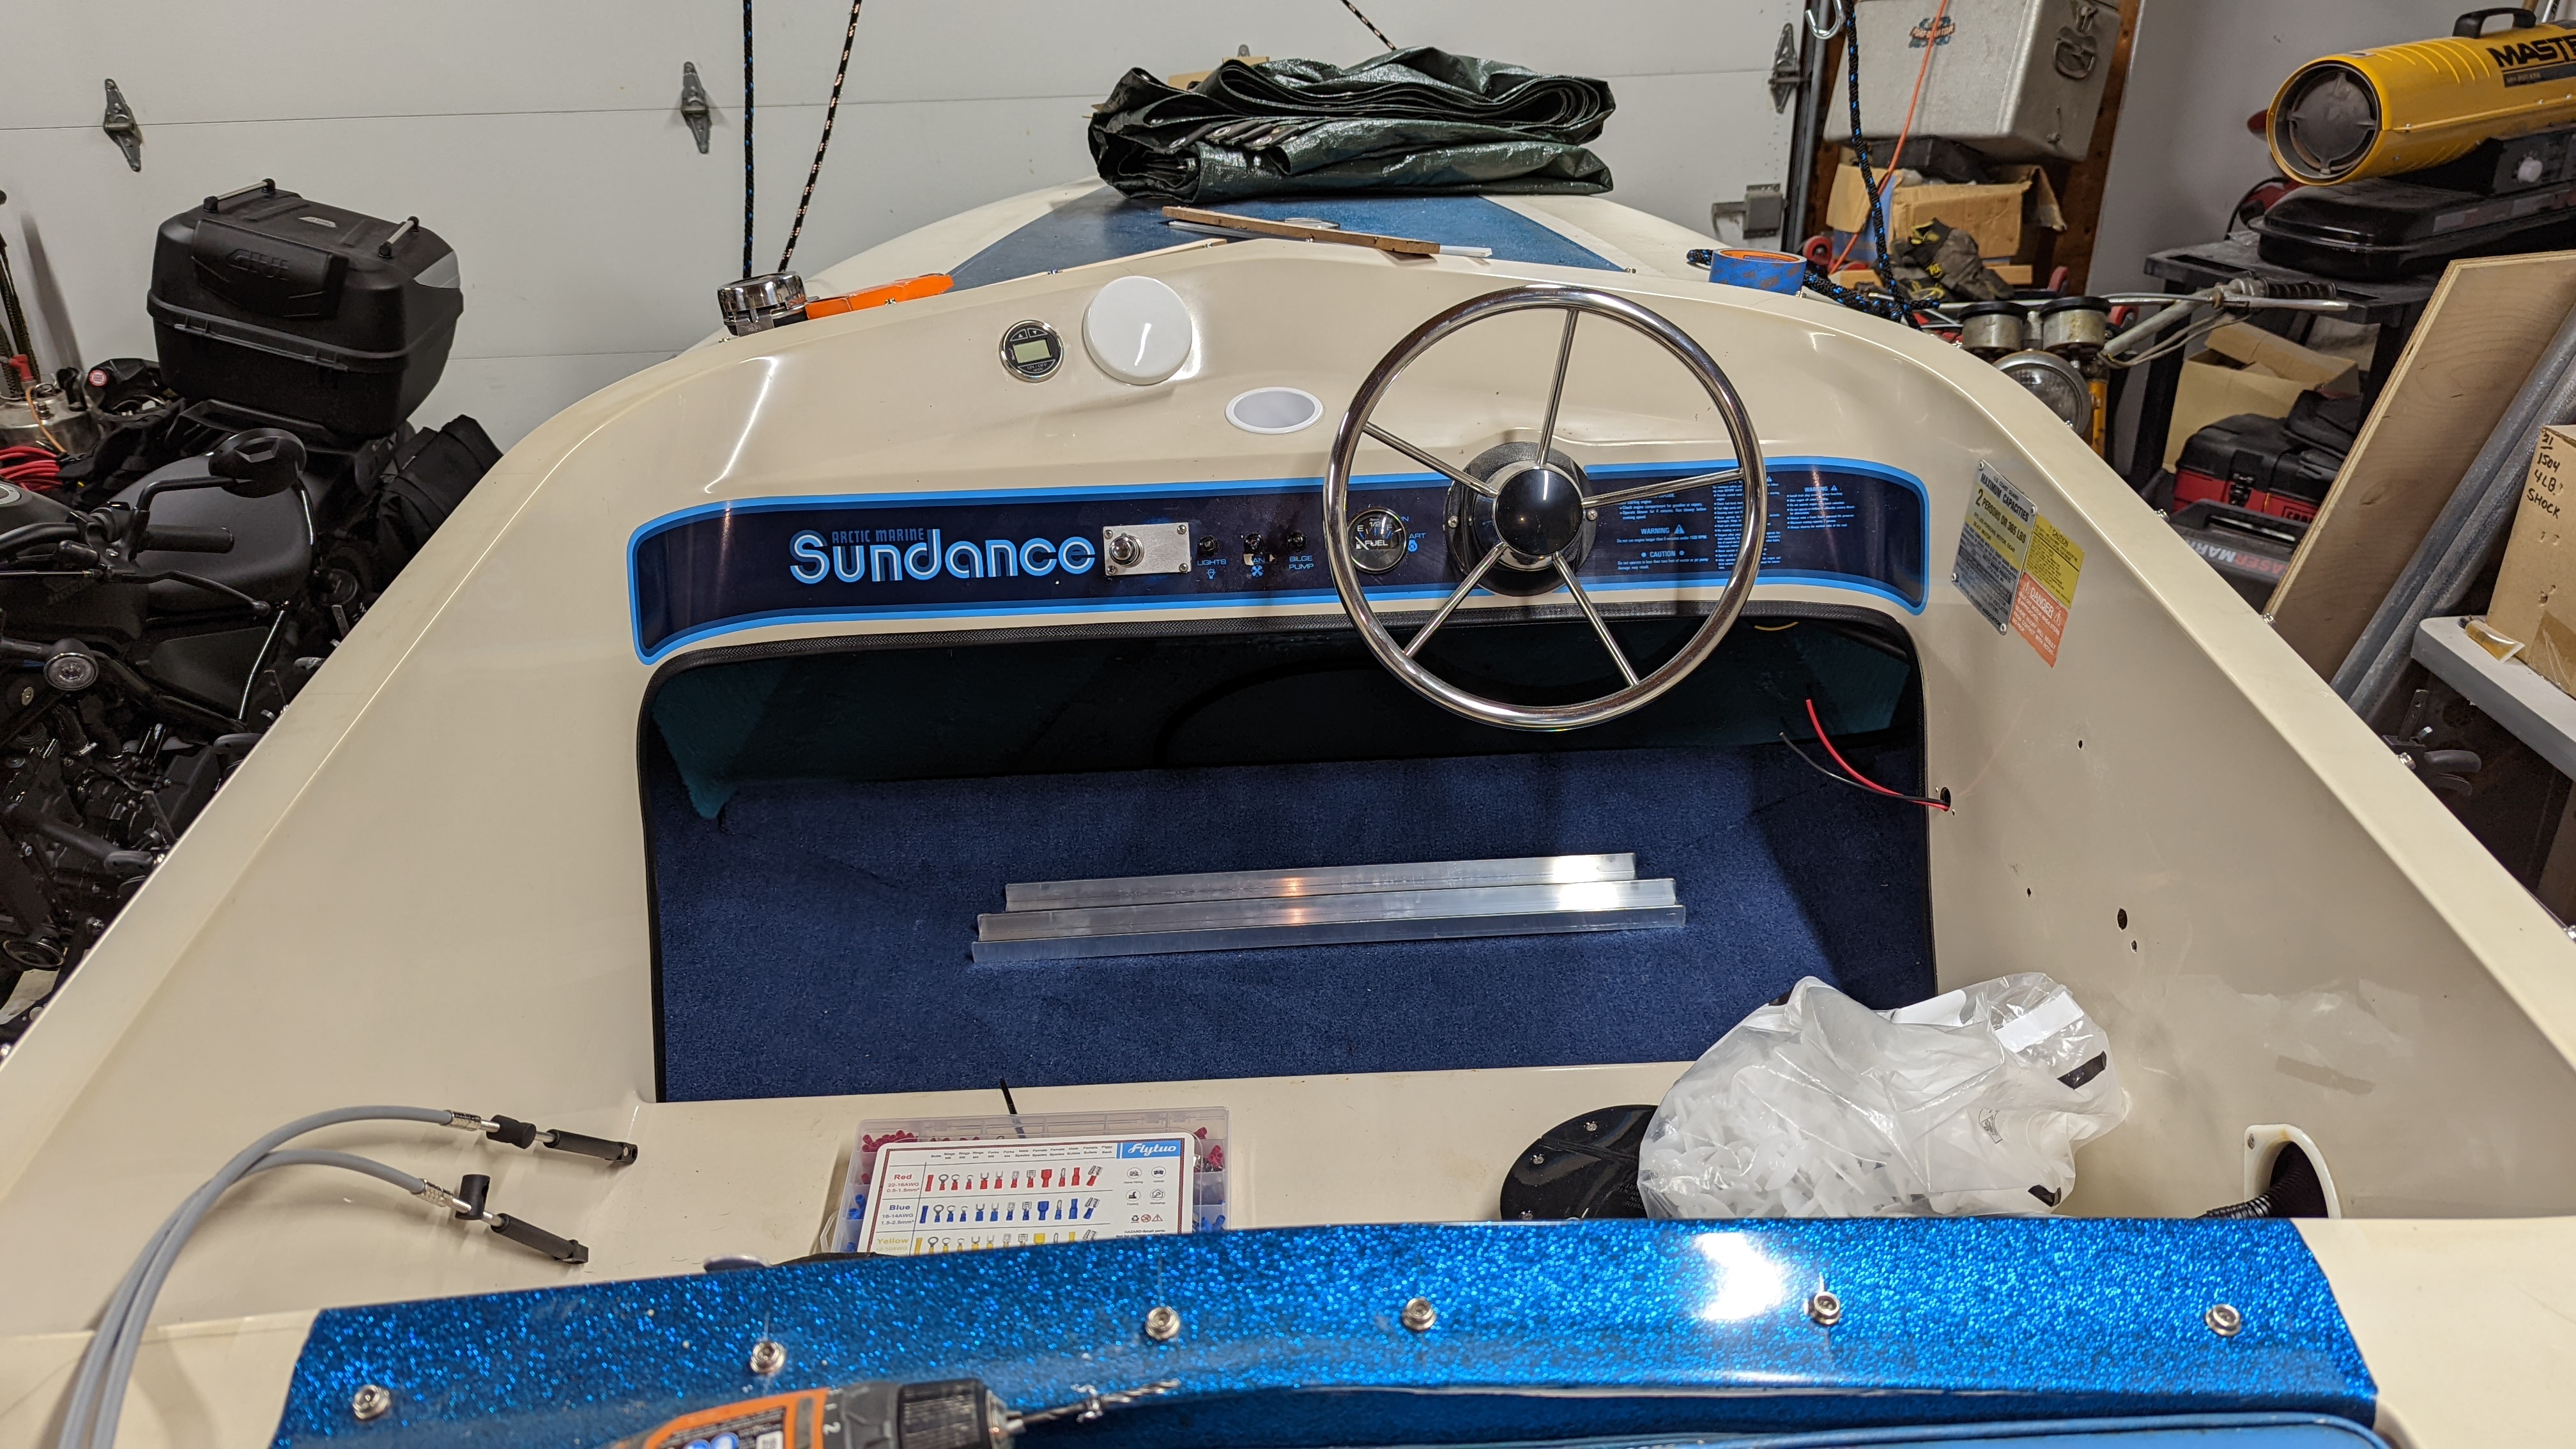
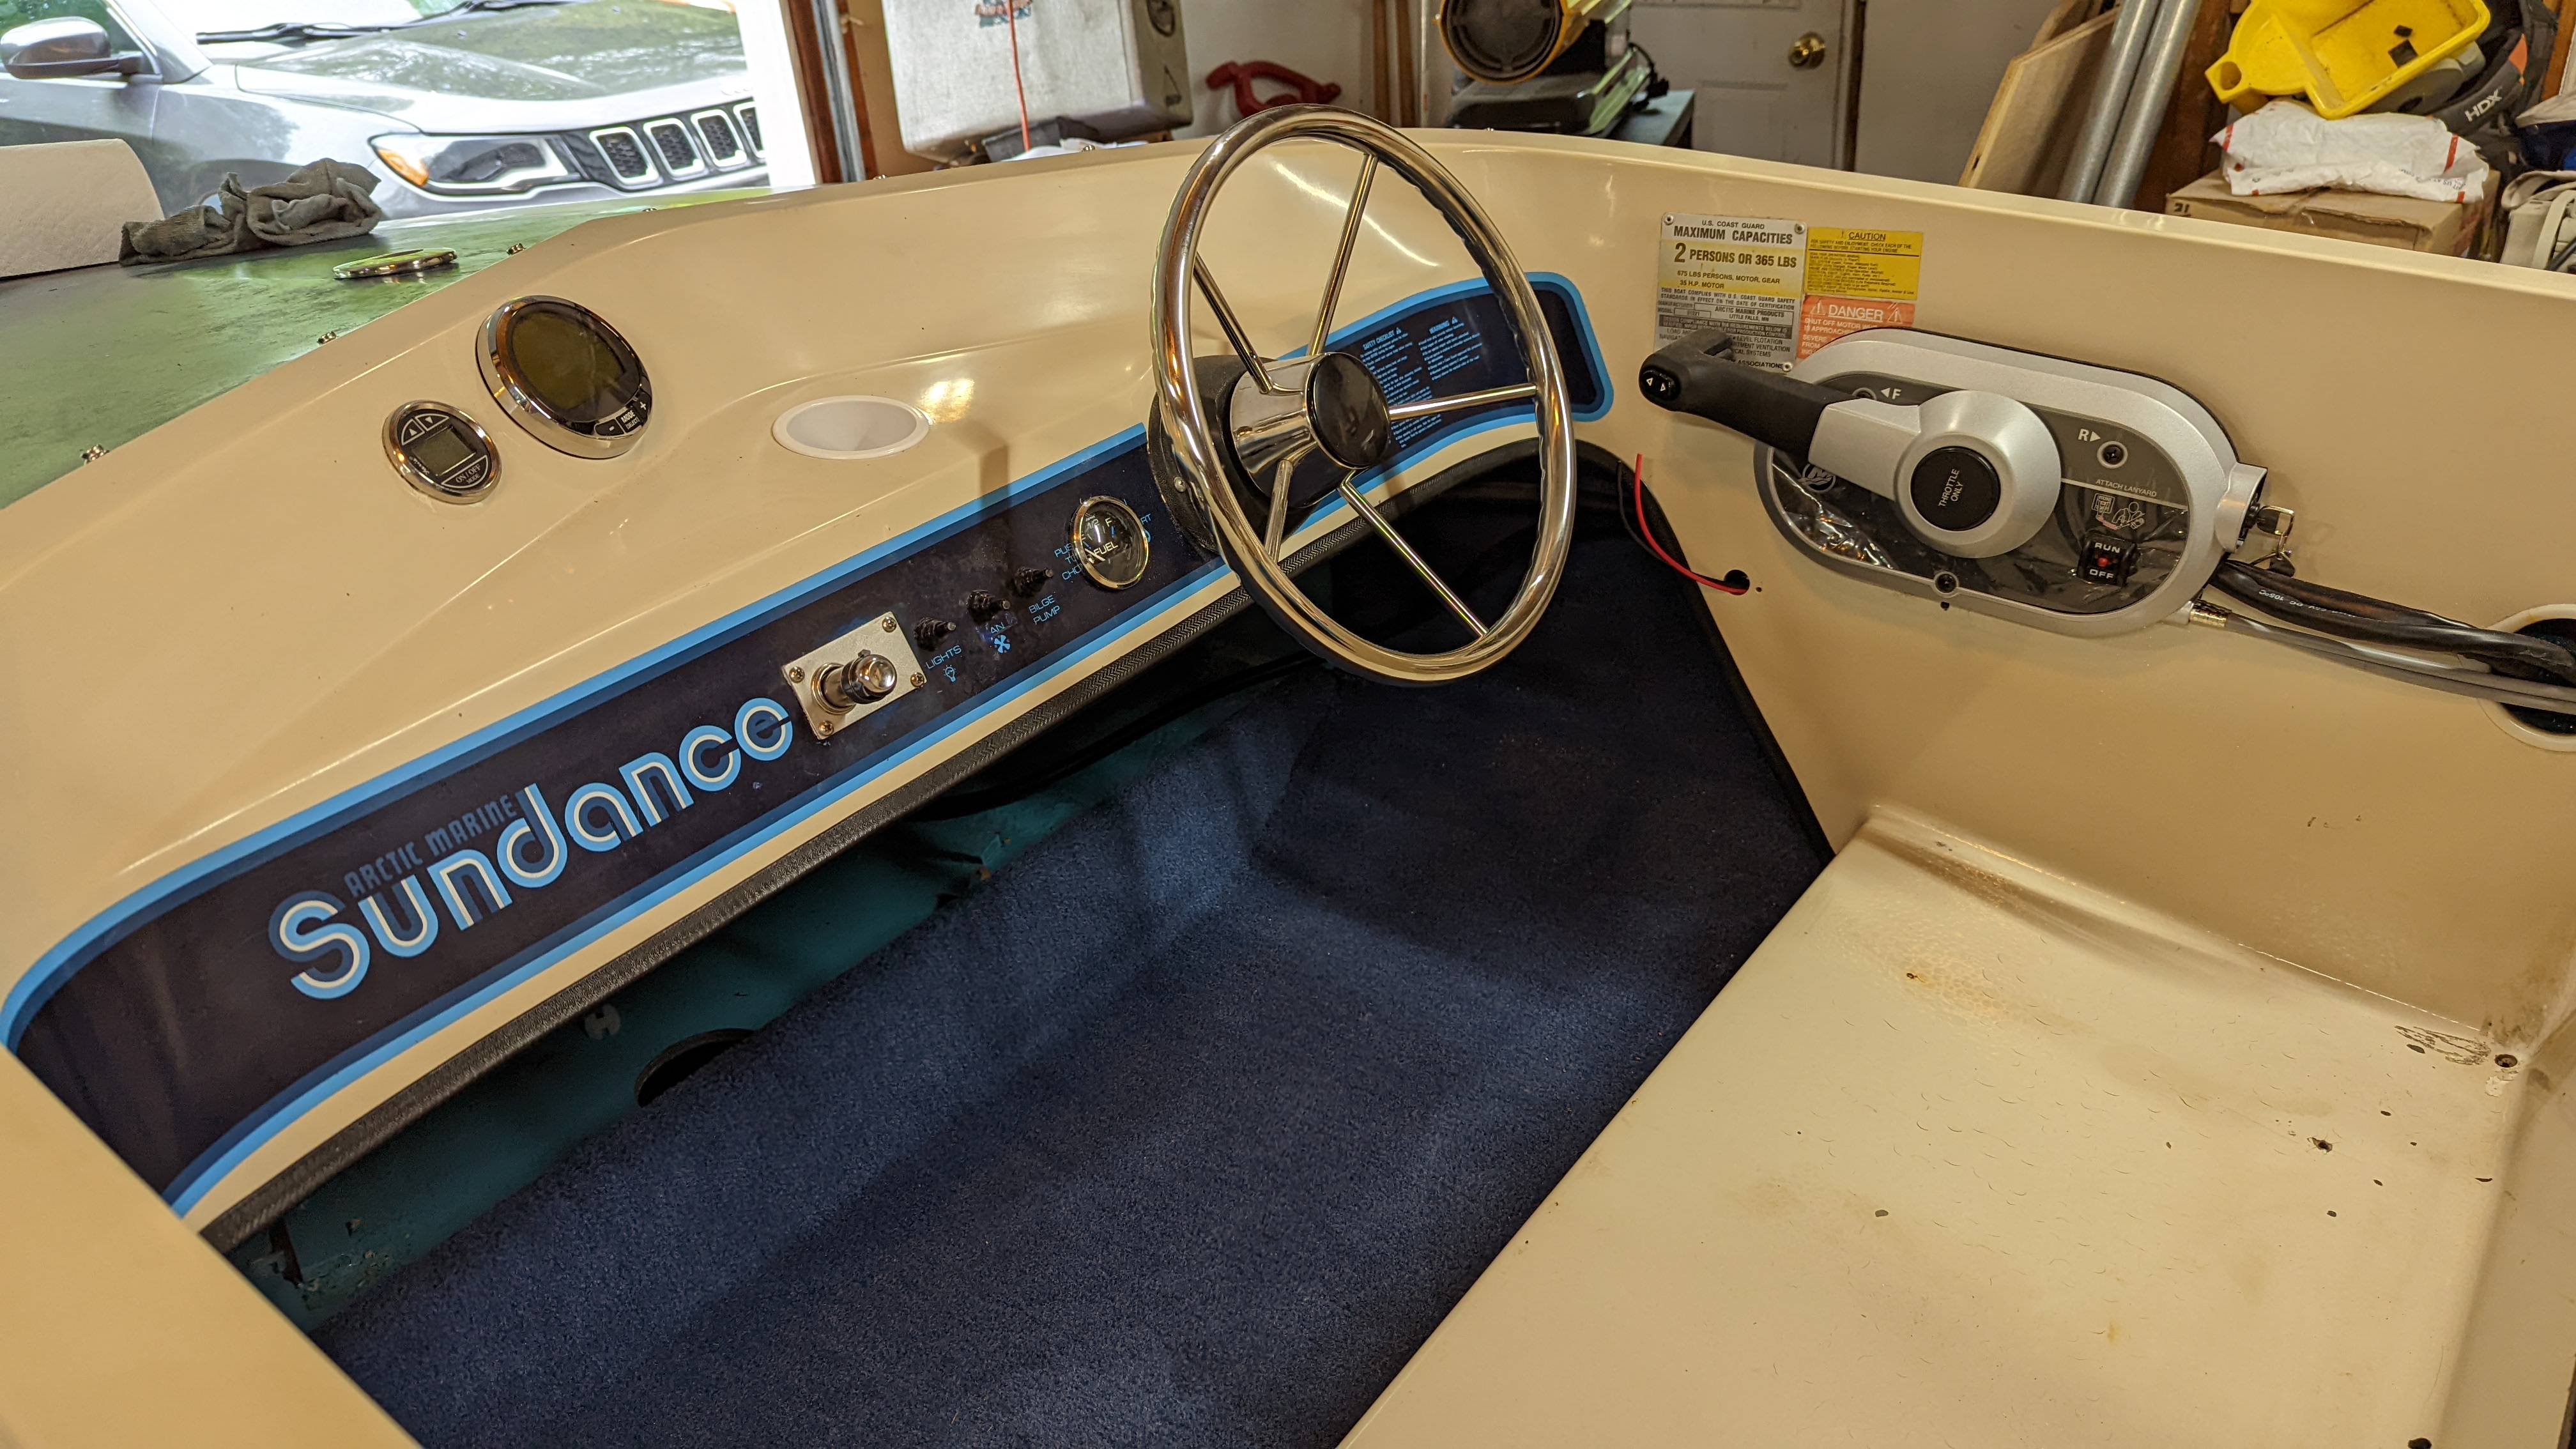
New throttle and shift control installed on the starboard side, along with the restored dash and steering setup.
A New Outboard
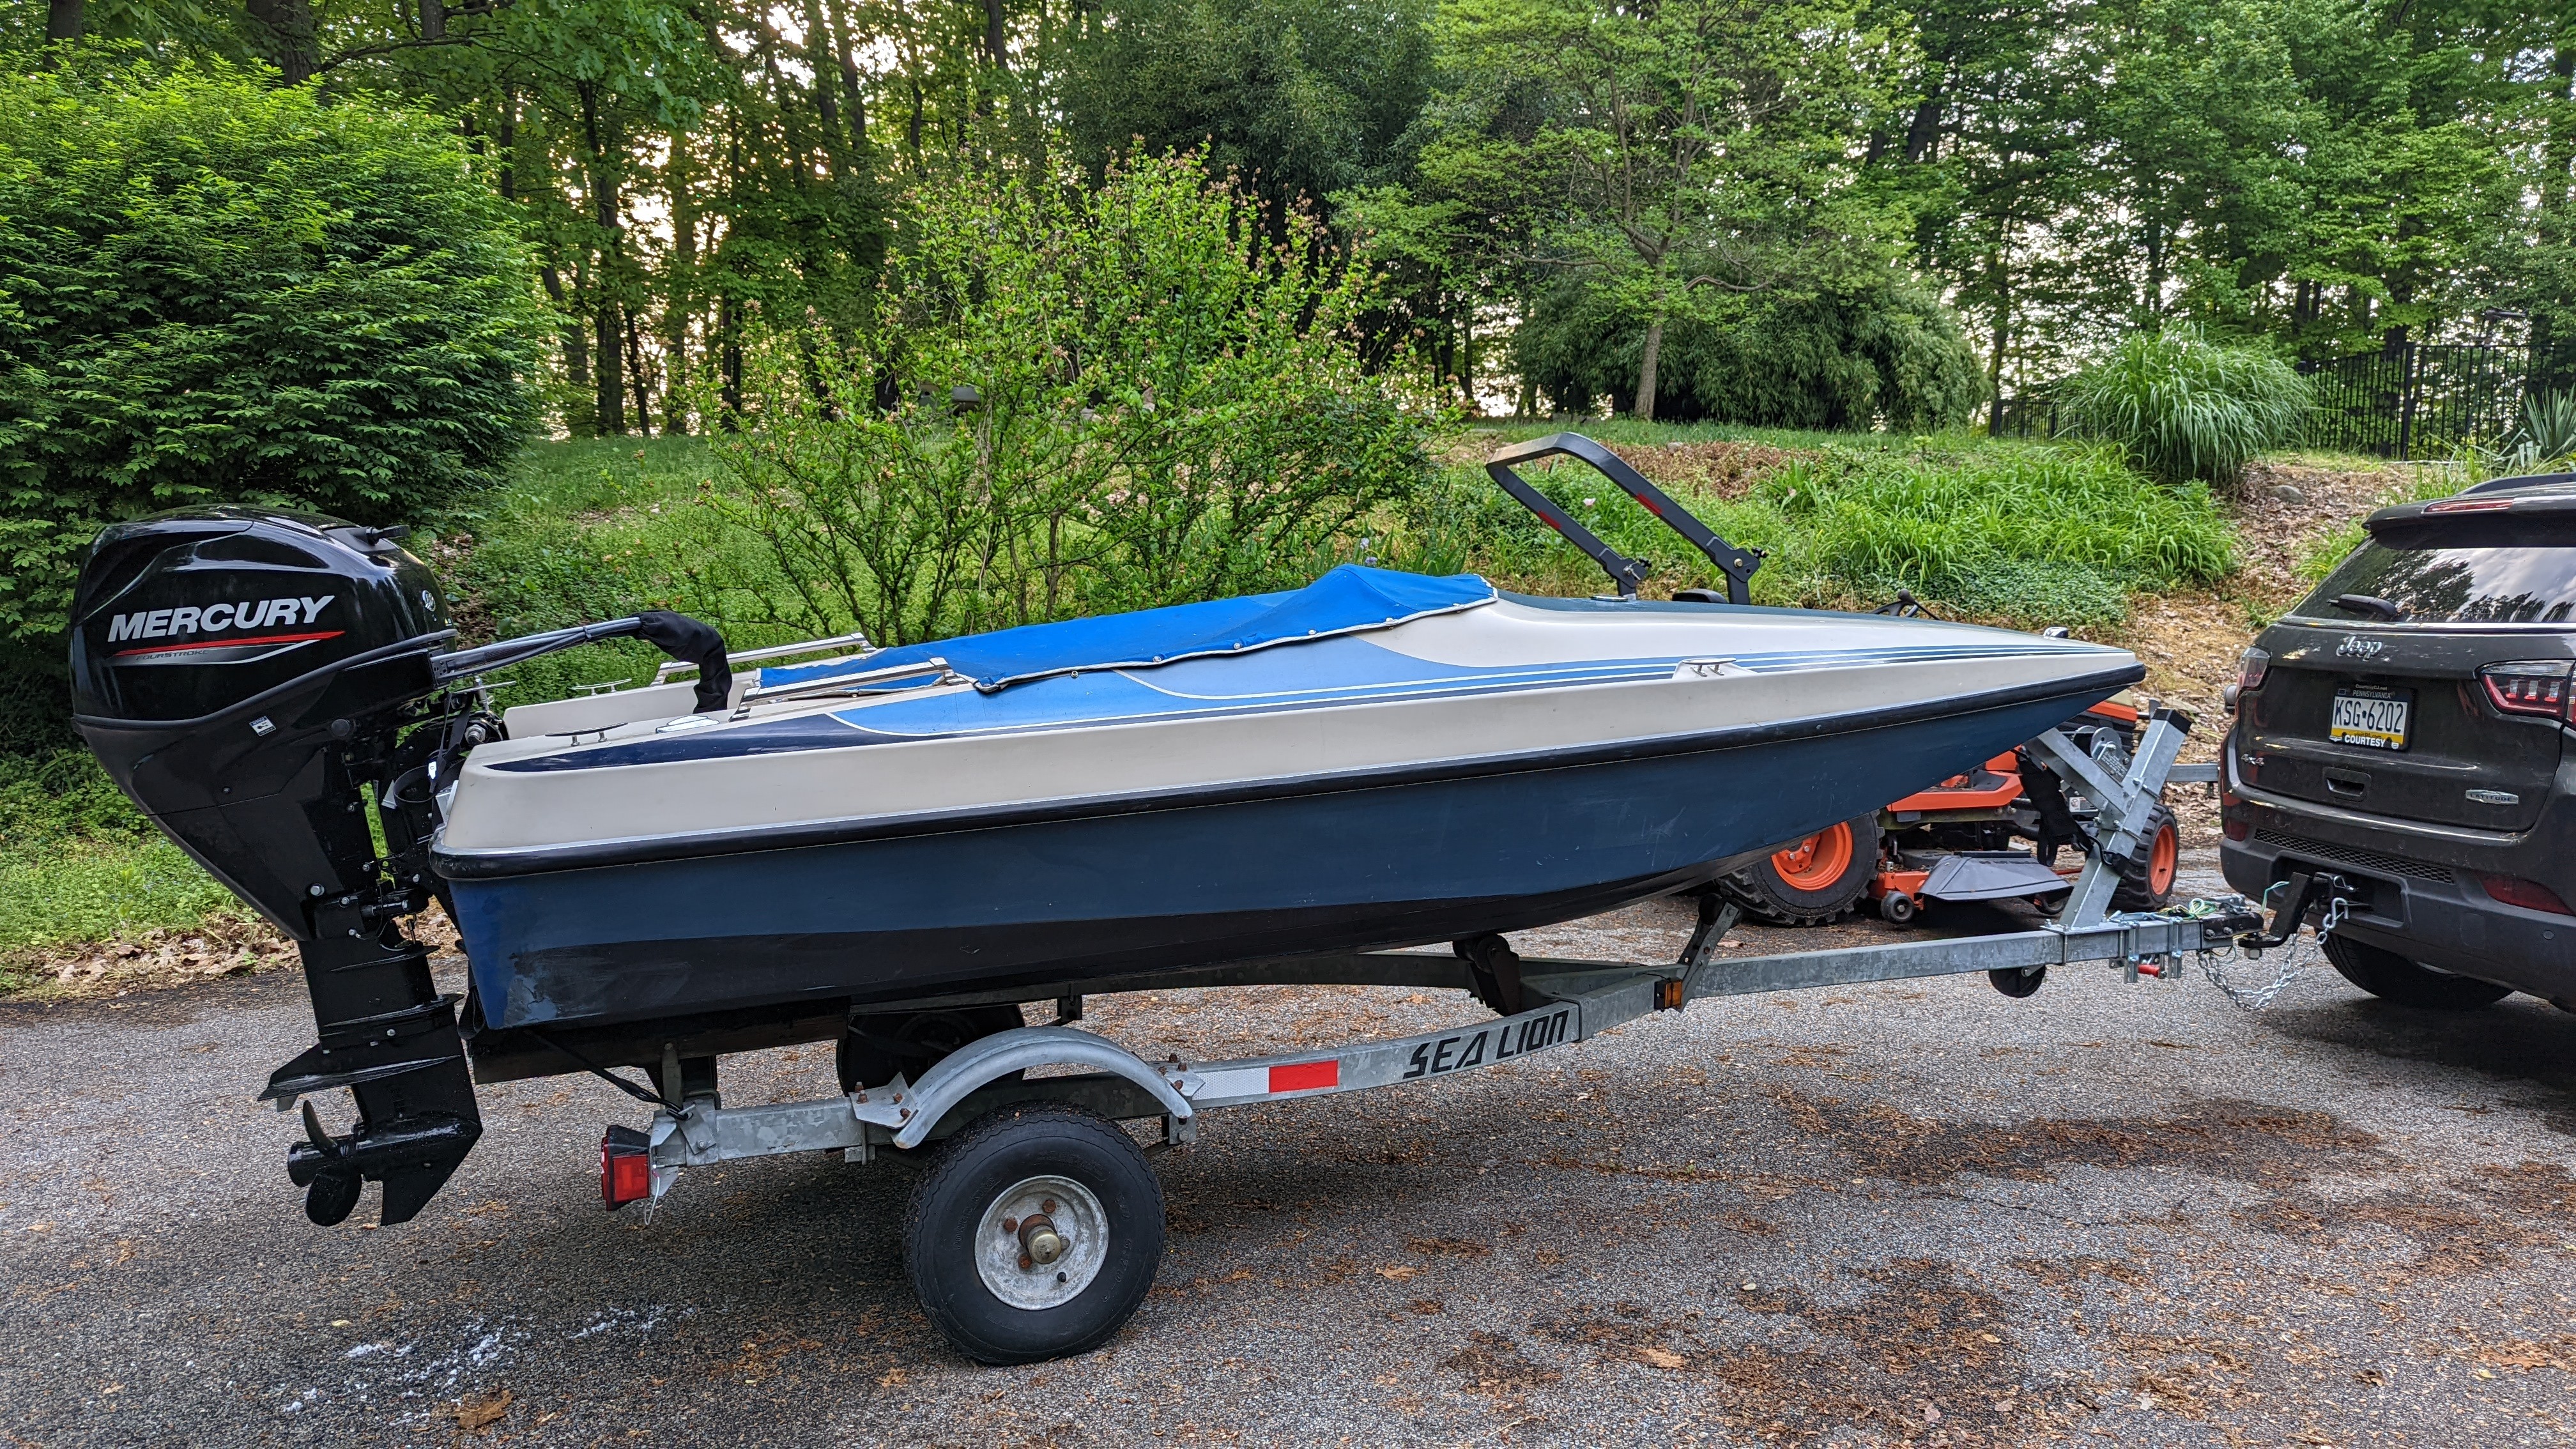
Newer Mercury 30 hp outboard installed on the rebuilt transom, replacing the old 35 hp motor and bringing the Sundance much closer to getting back on the water.
Building and Installing the Fuel Tank
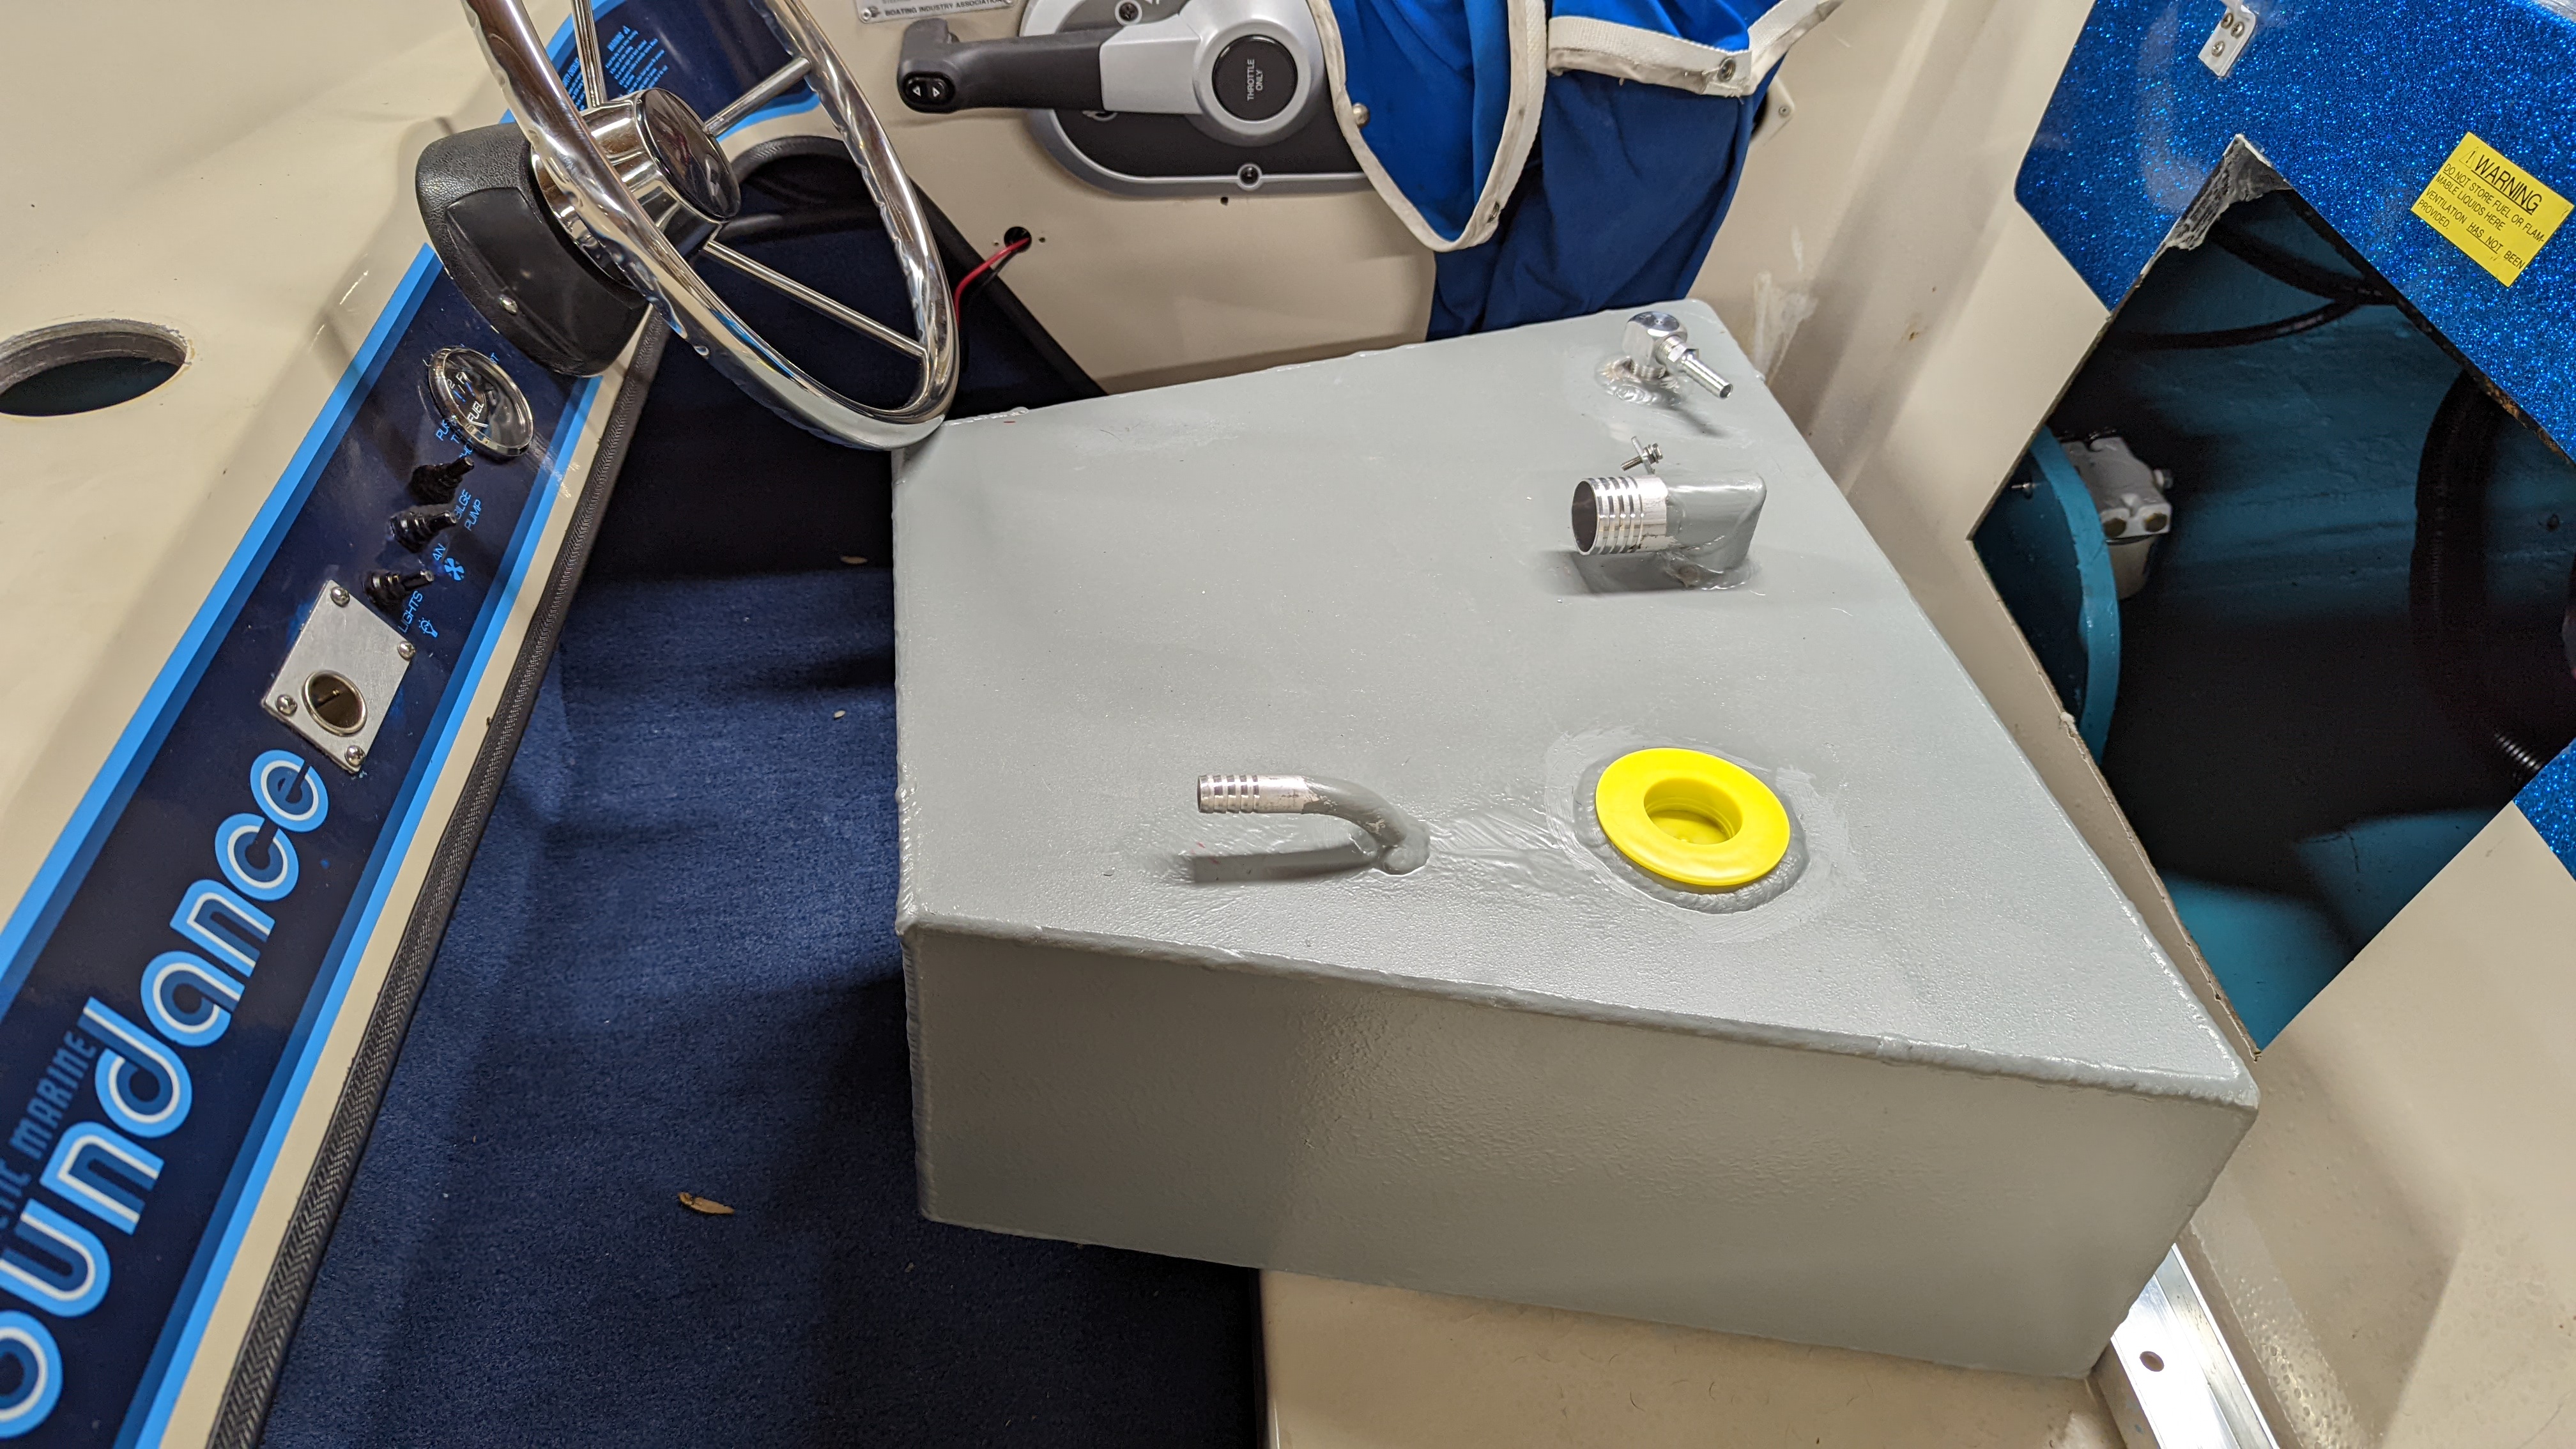
Custom-built aluminum fuel tank before installation. At over 10 gallons, the tank was the second most expensive part of the rebuild after the motor.
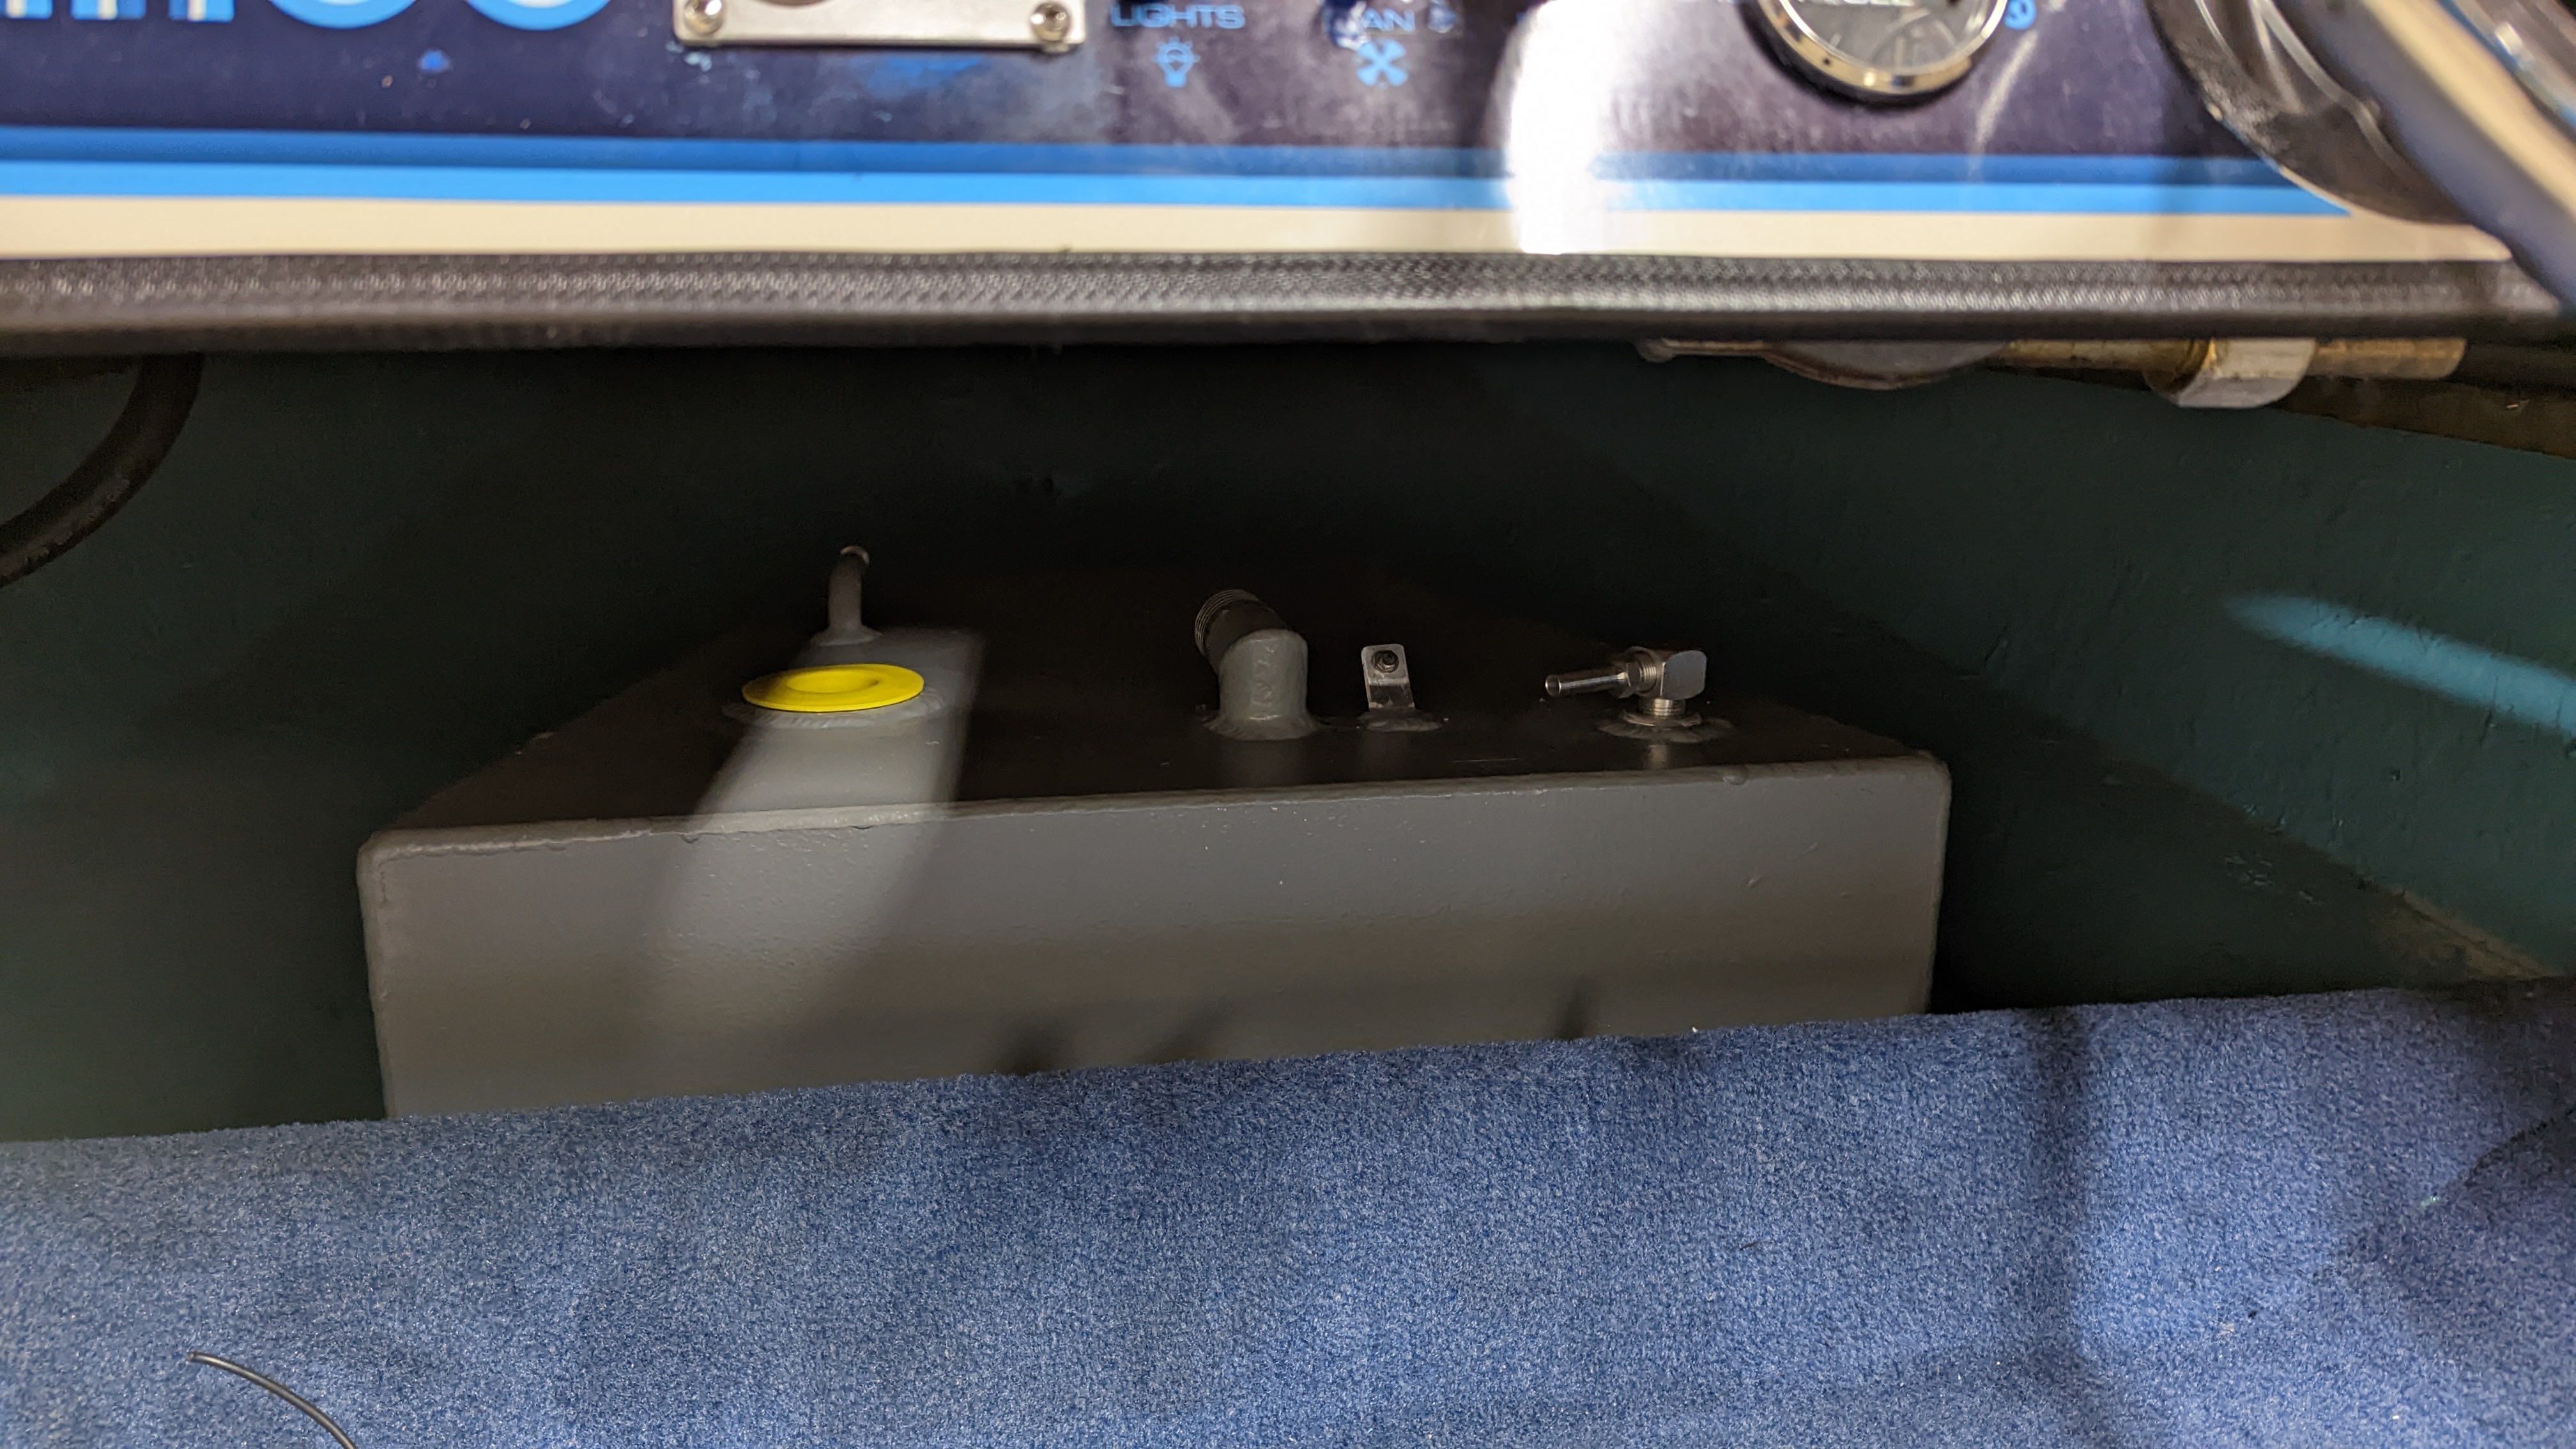
Custom fuel tank installed beneath the dash, making use of otherwise unused space while keeping the tank protected and out of the cockpit.
Upholstery
Trying out my upholstery and sewing skills with a blue-and-white interior, experimenting with blue panels against white for the seat cushions and backrest.
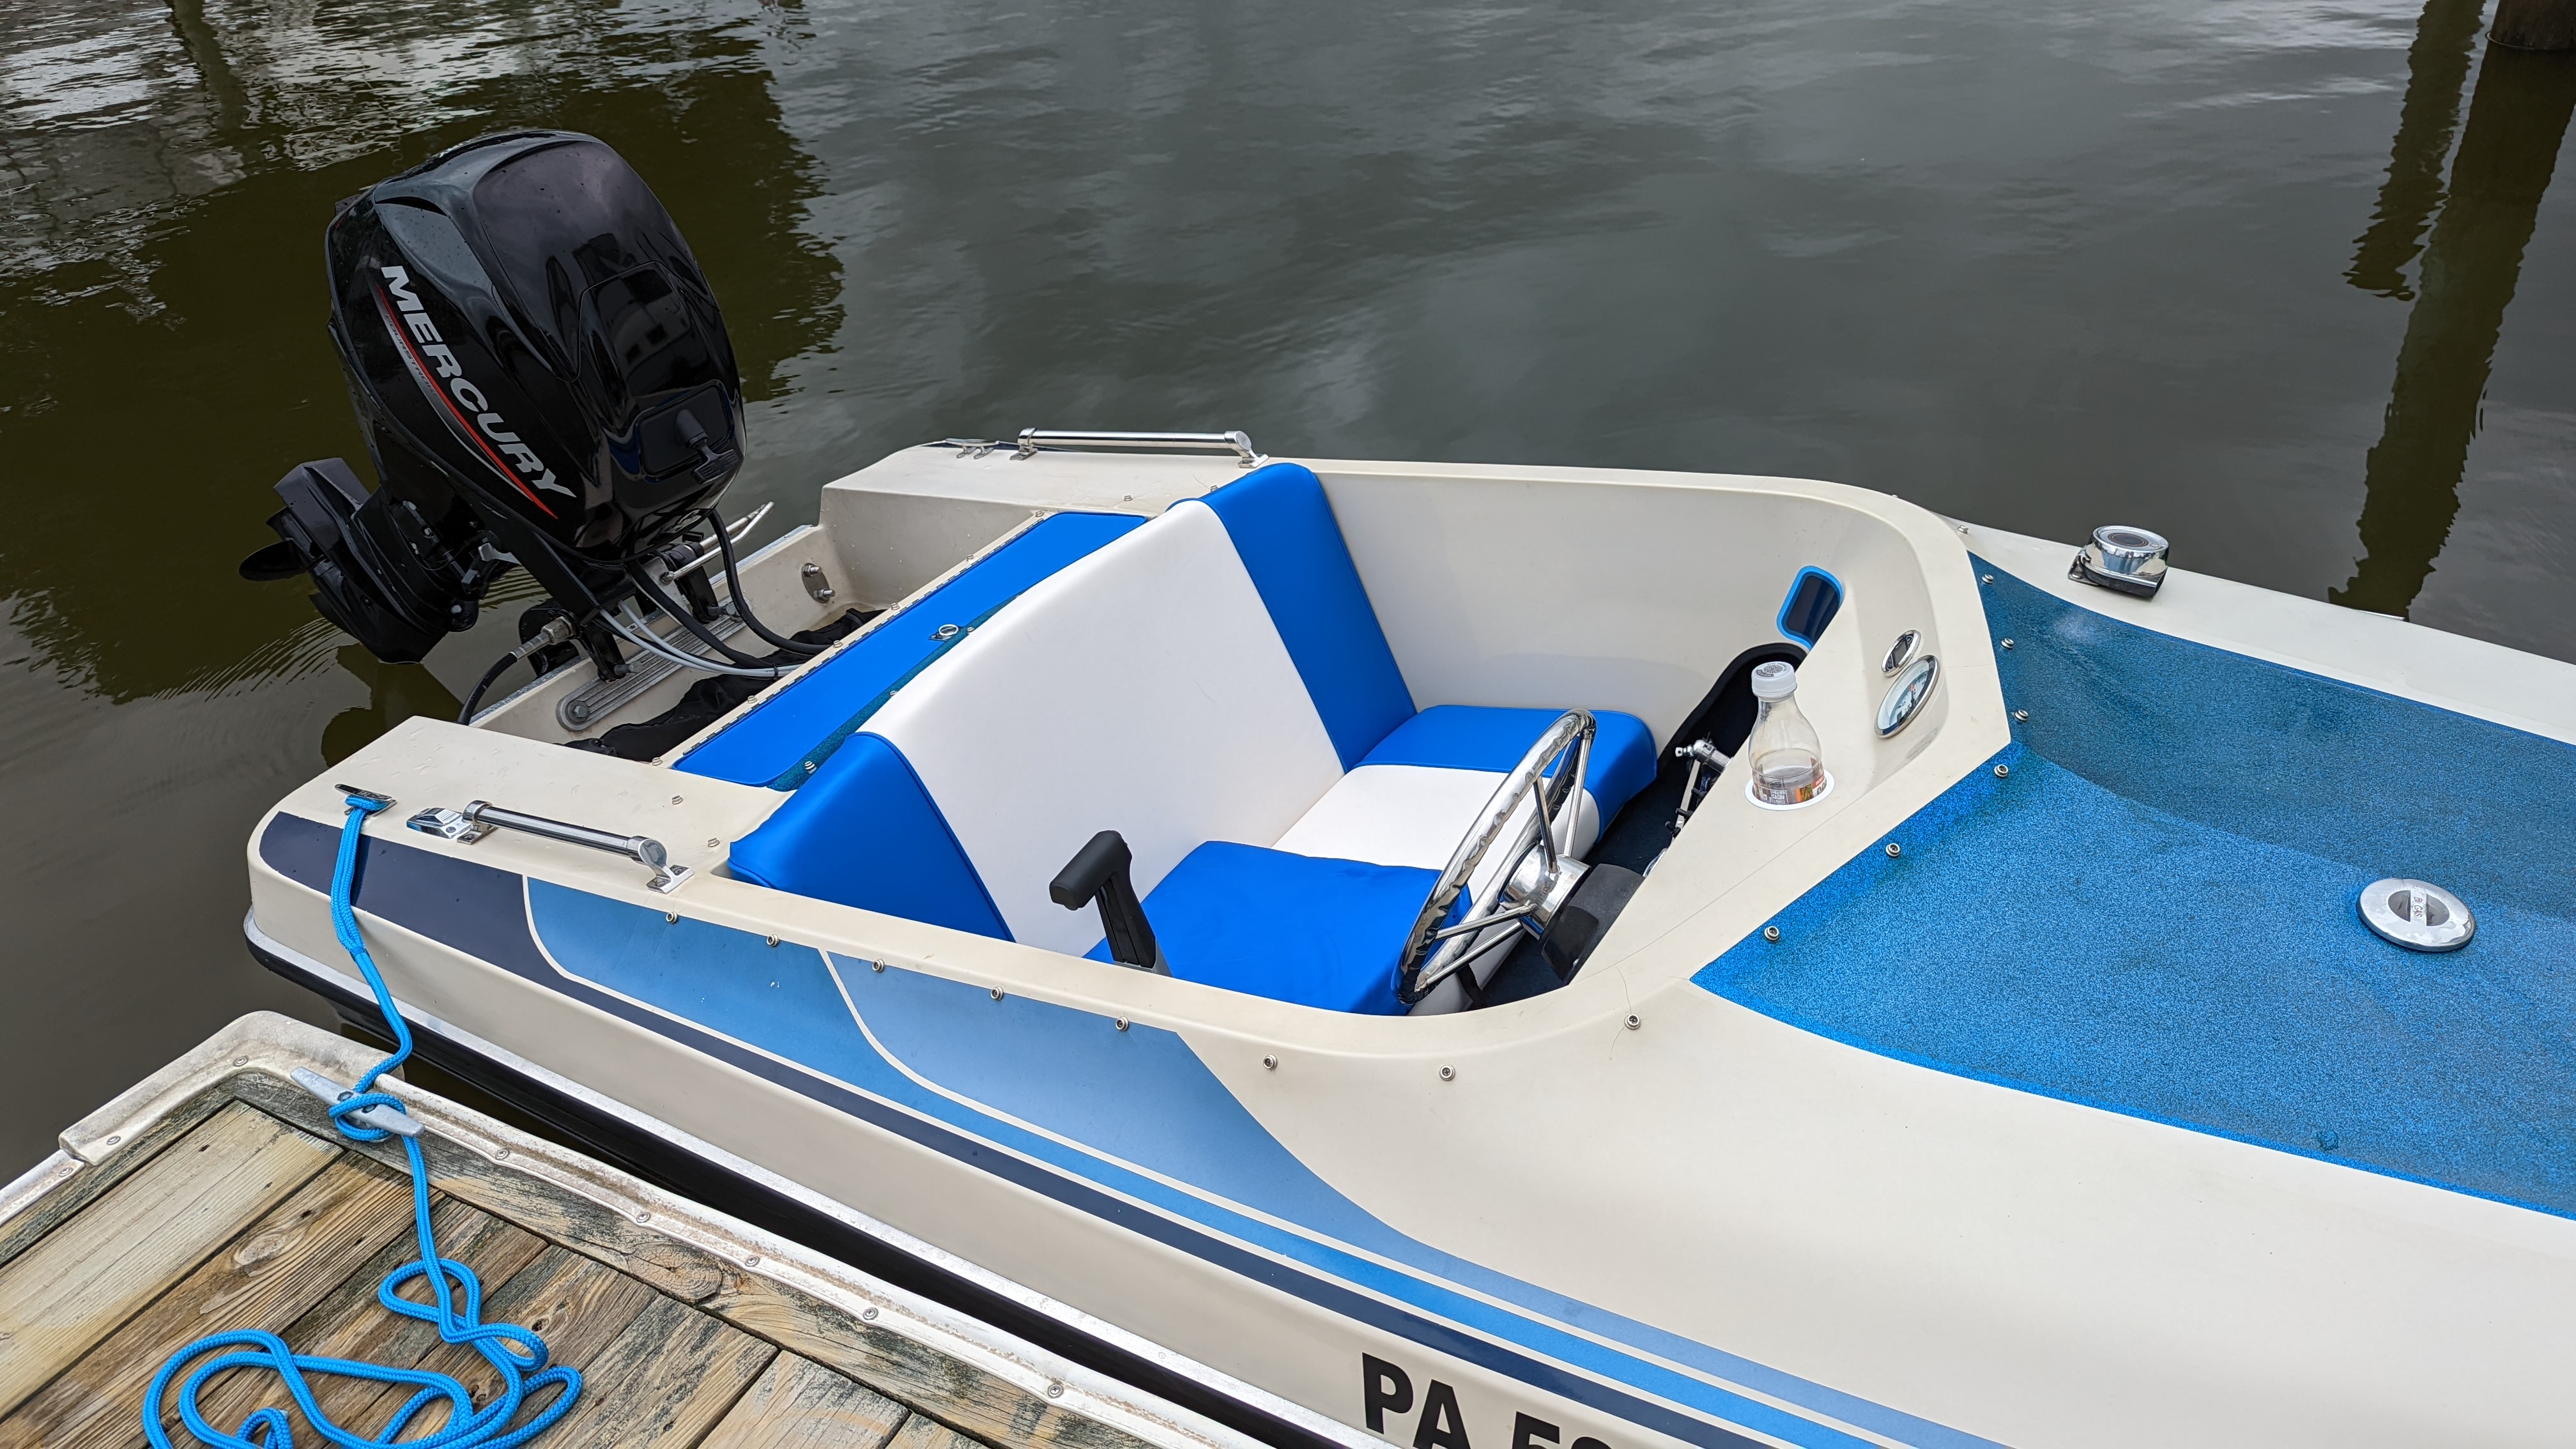
Later look at the finished boat and the alternate white-on-blue upholstery combination, comparing which color layout worked best with the original blue Sundance graphics.
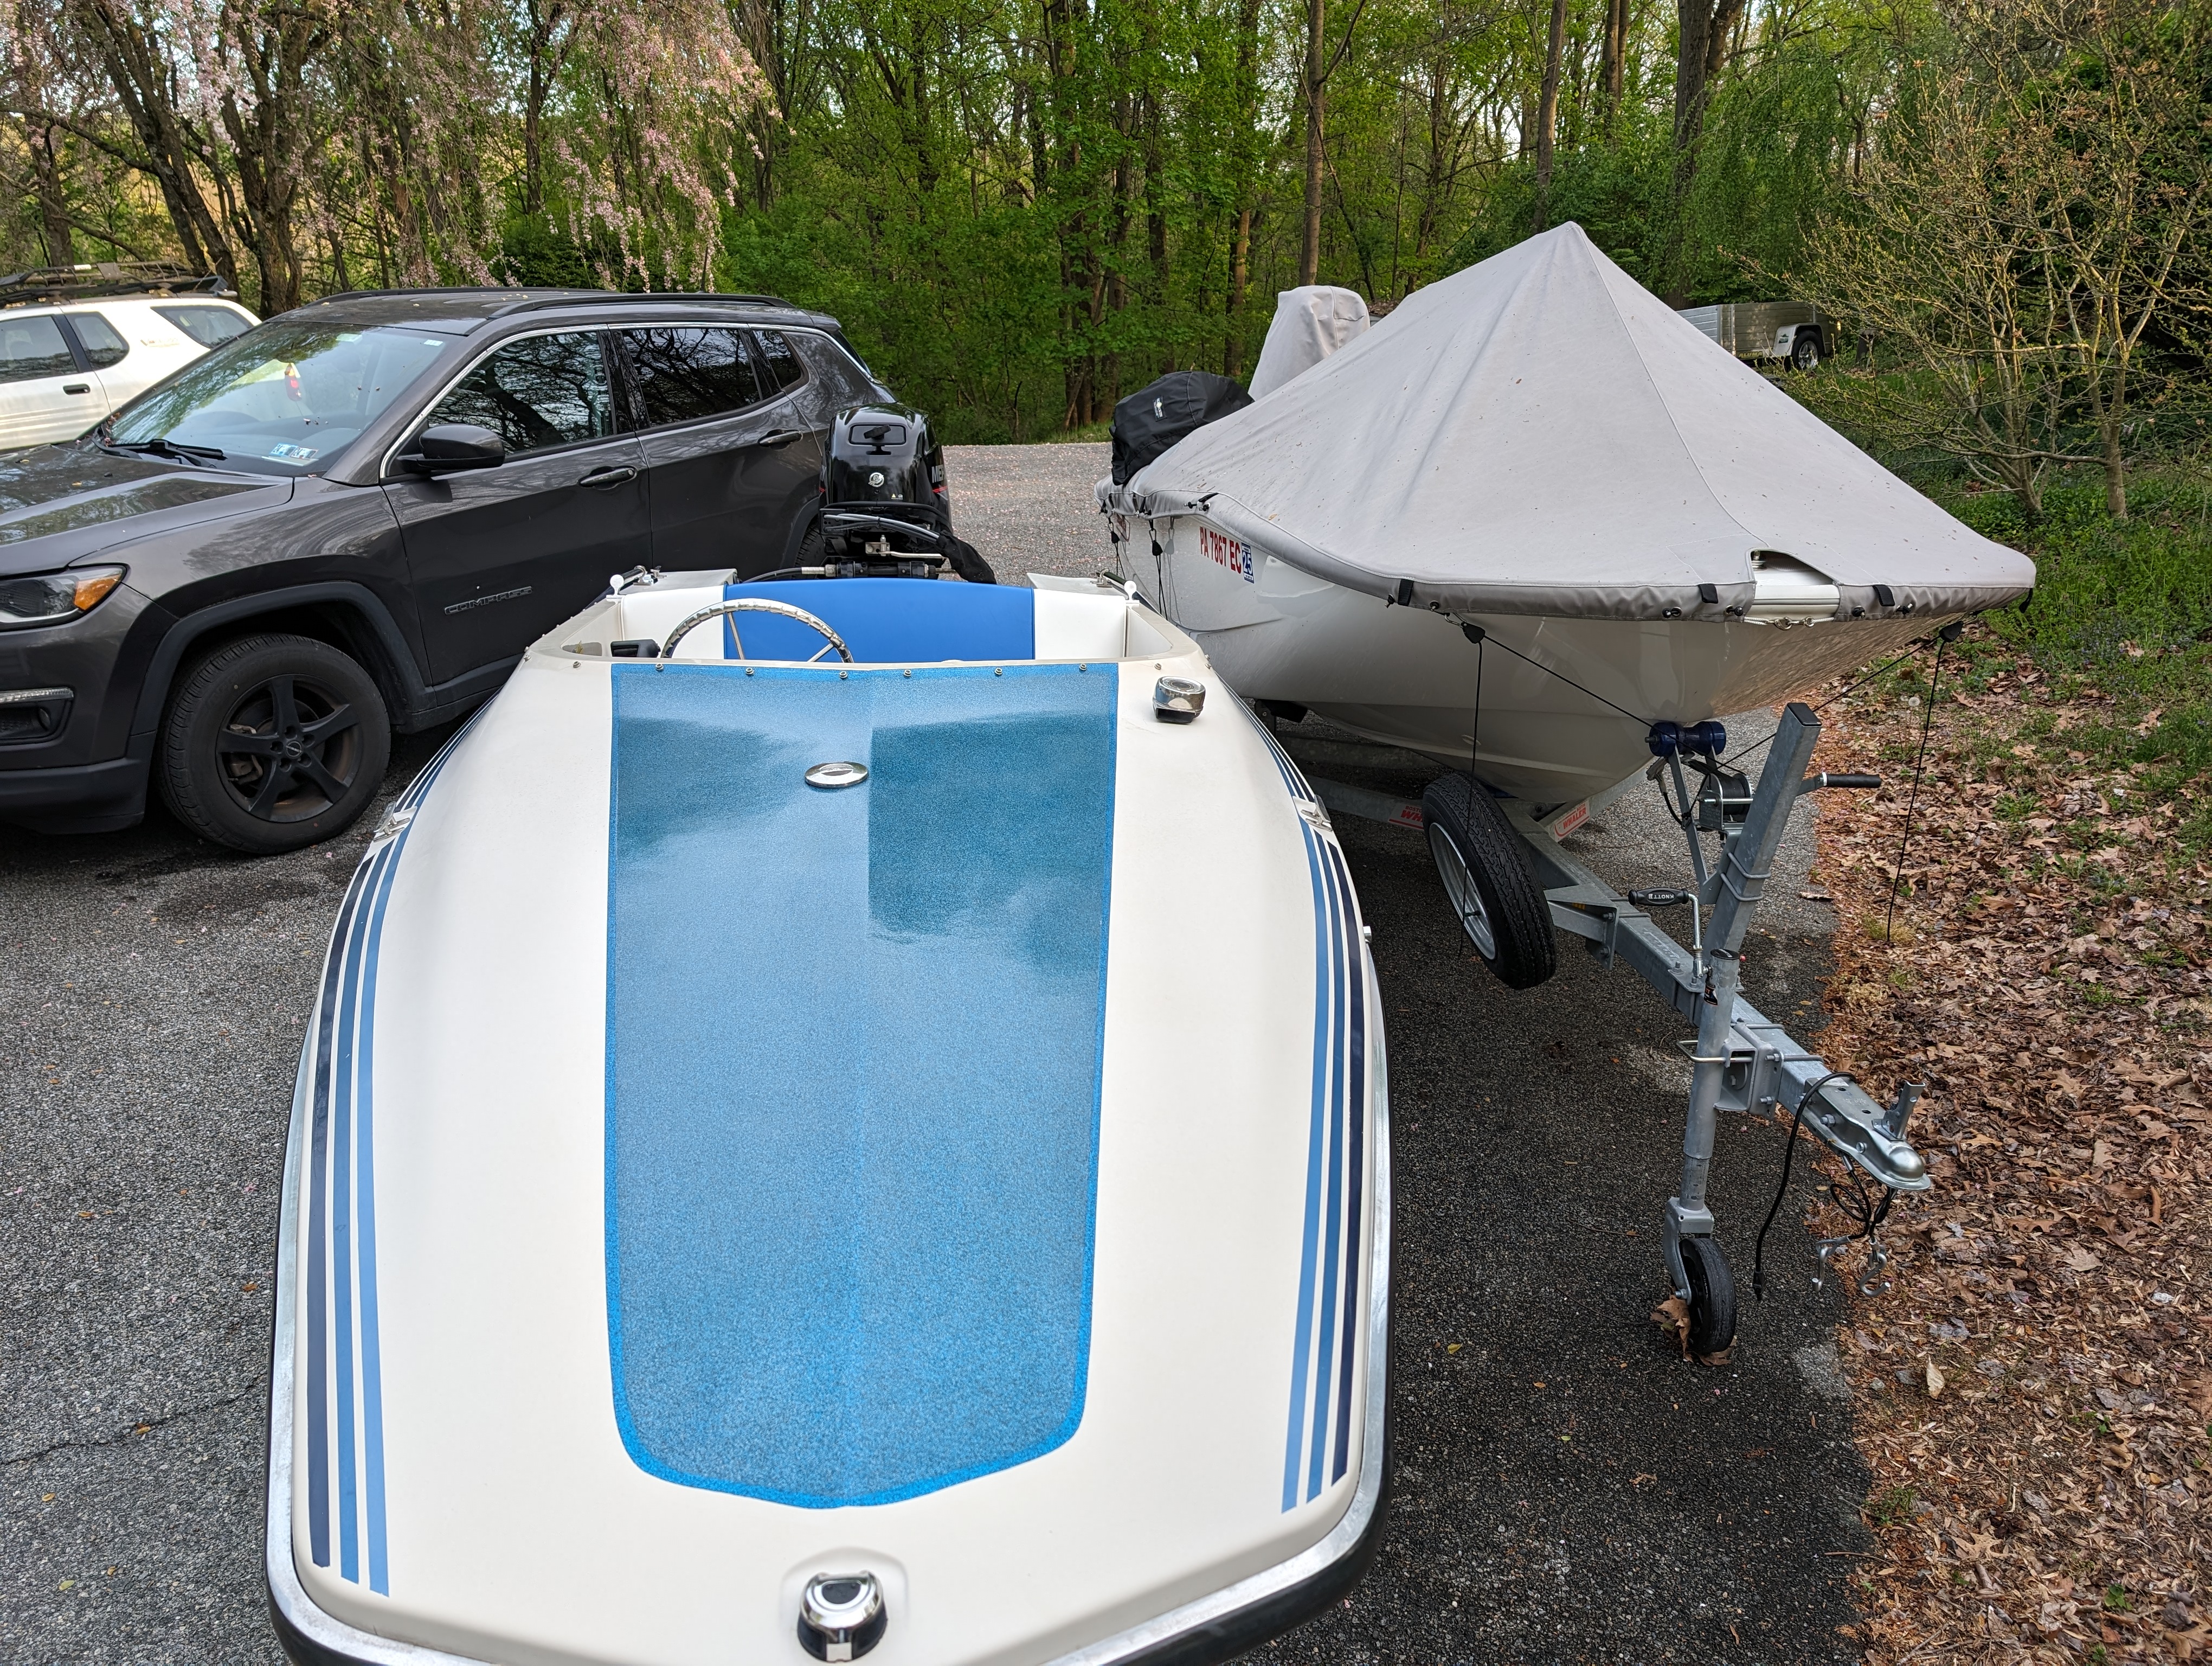
A Rough First Outing
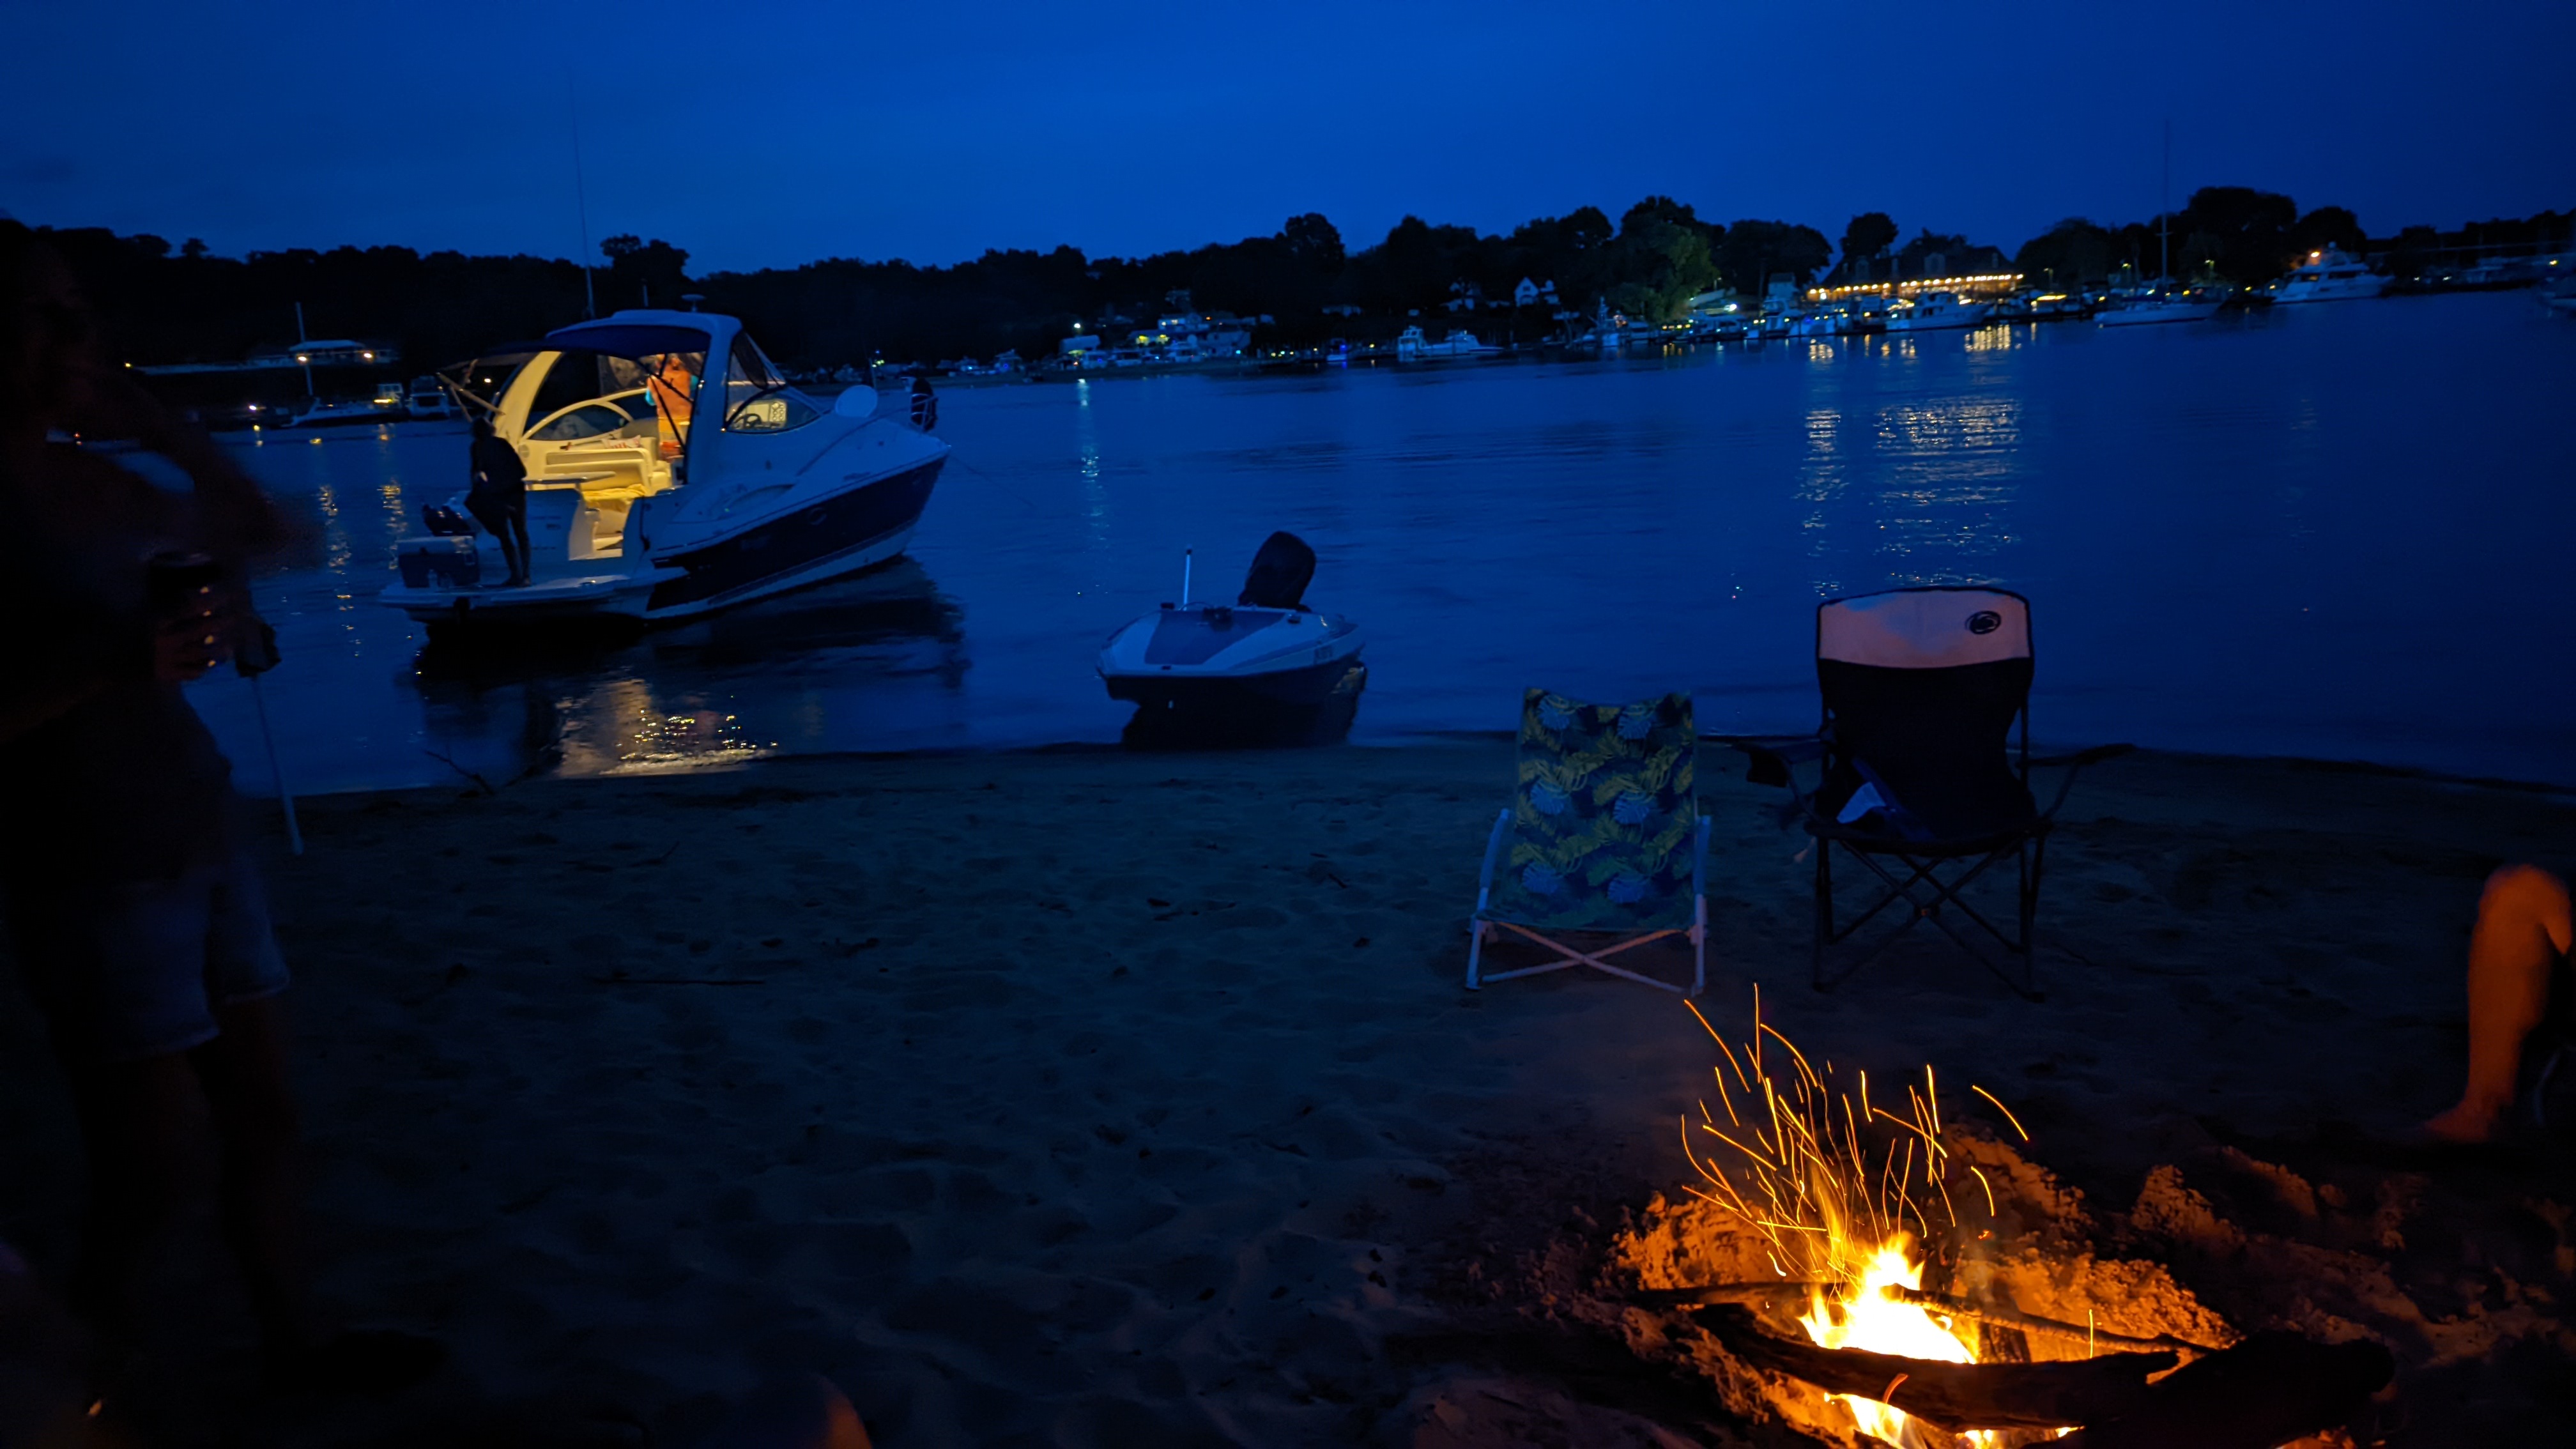
An evening on the water with the Sundance pulled up near the beach. Unfortunately, the night would end a little differently than planned.
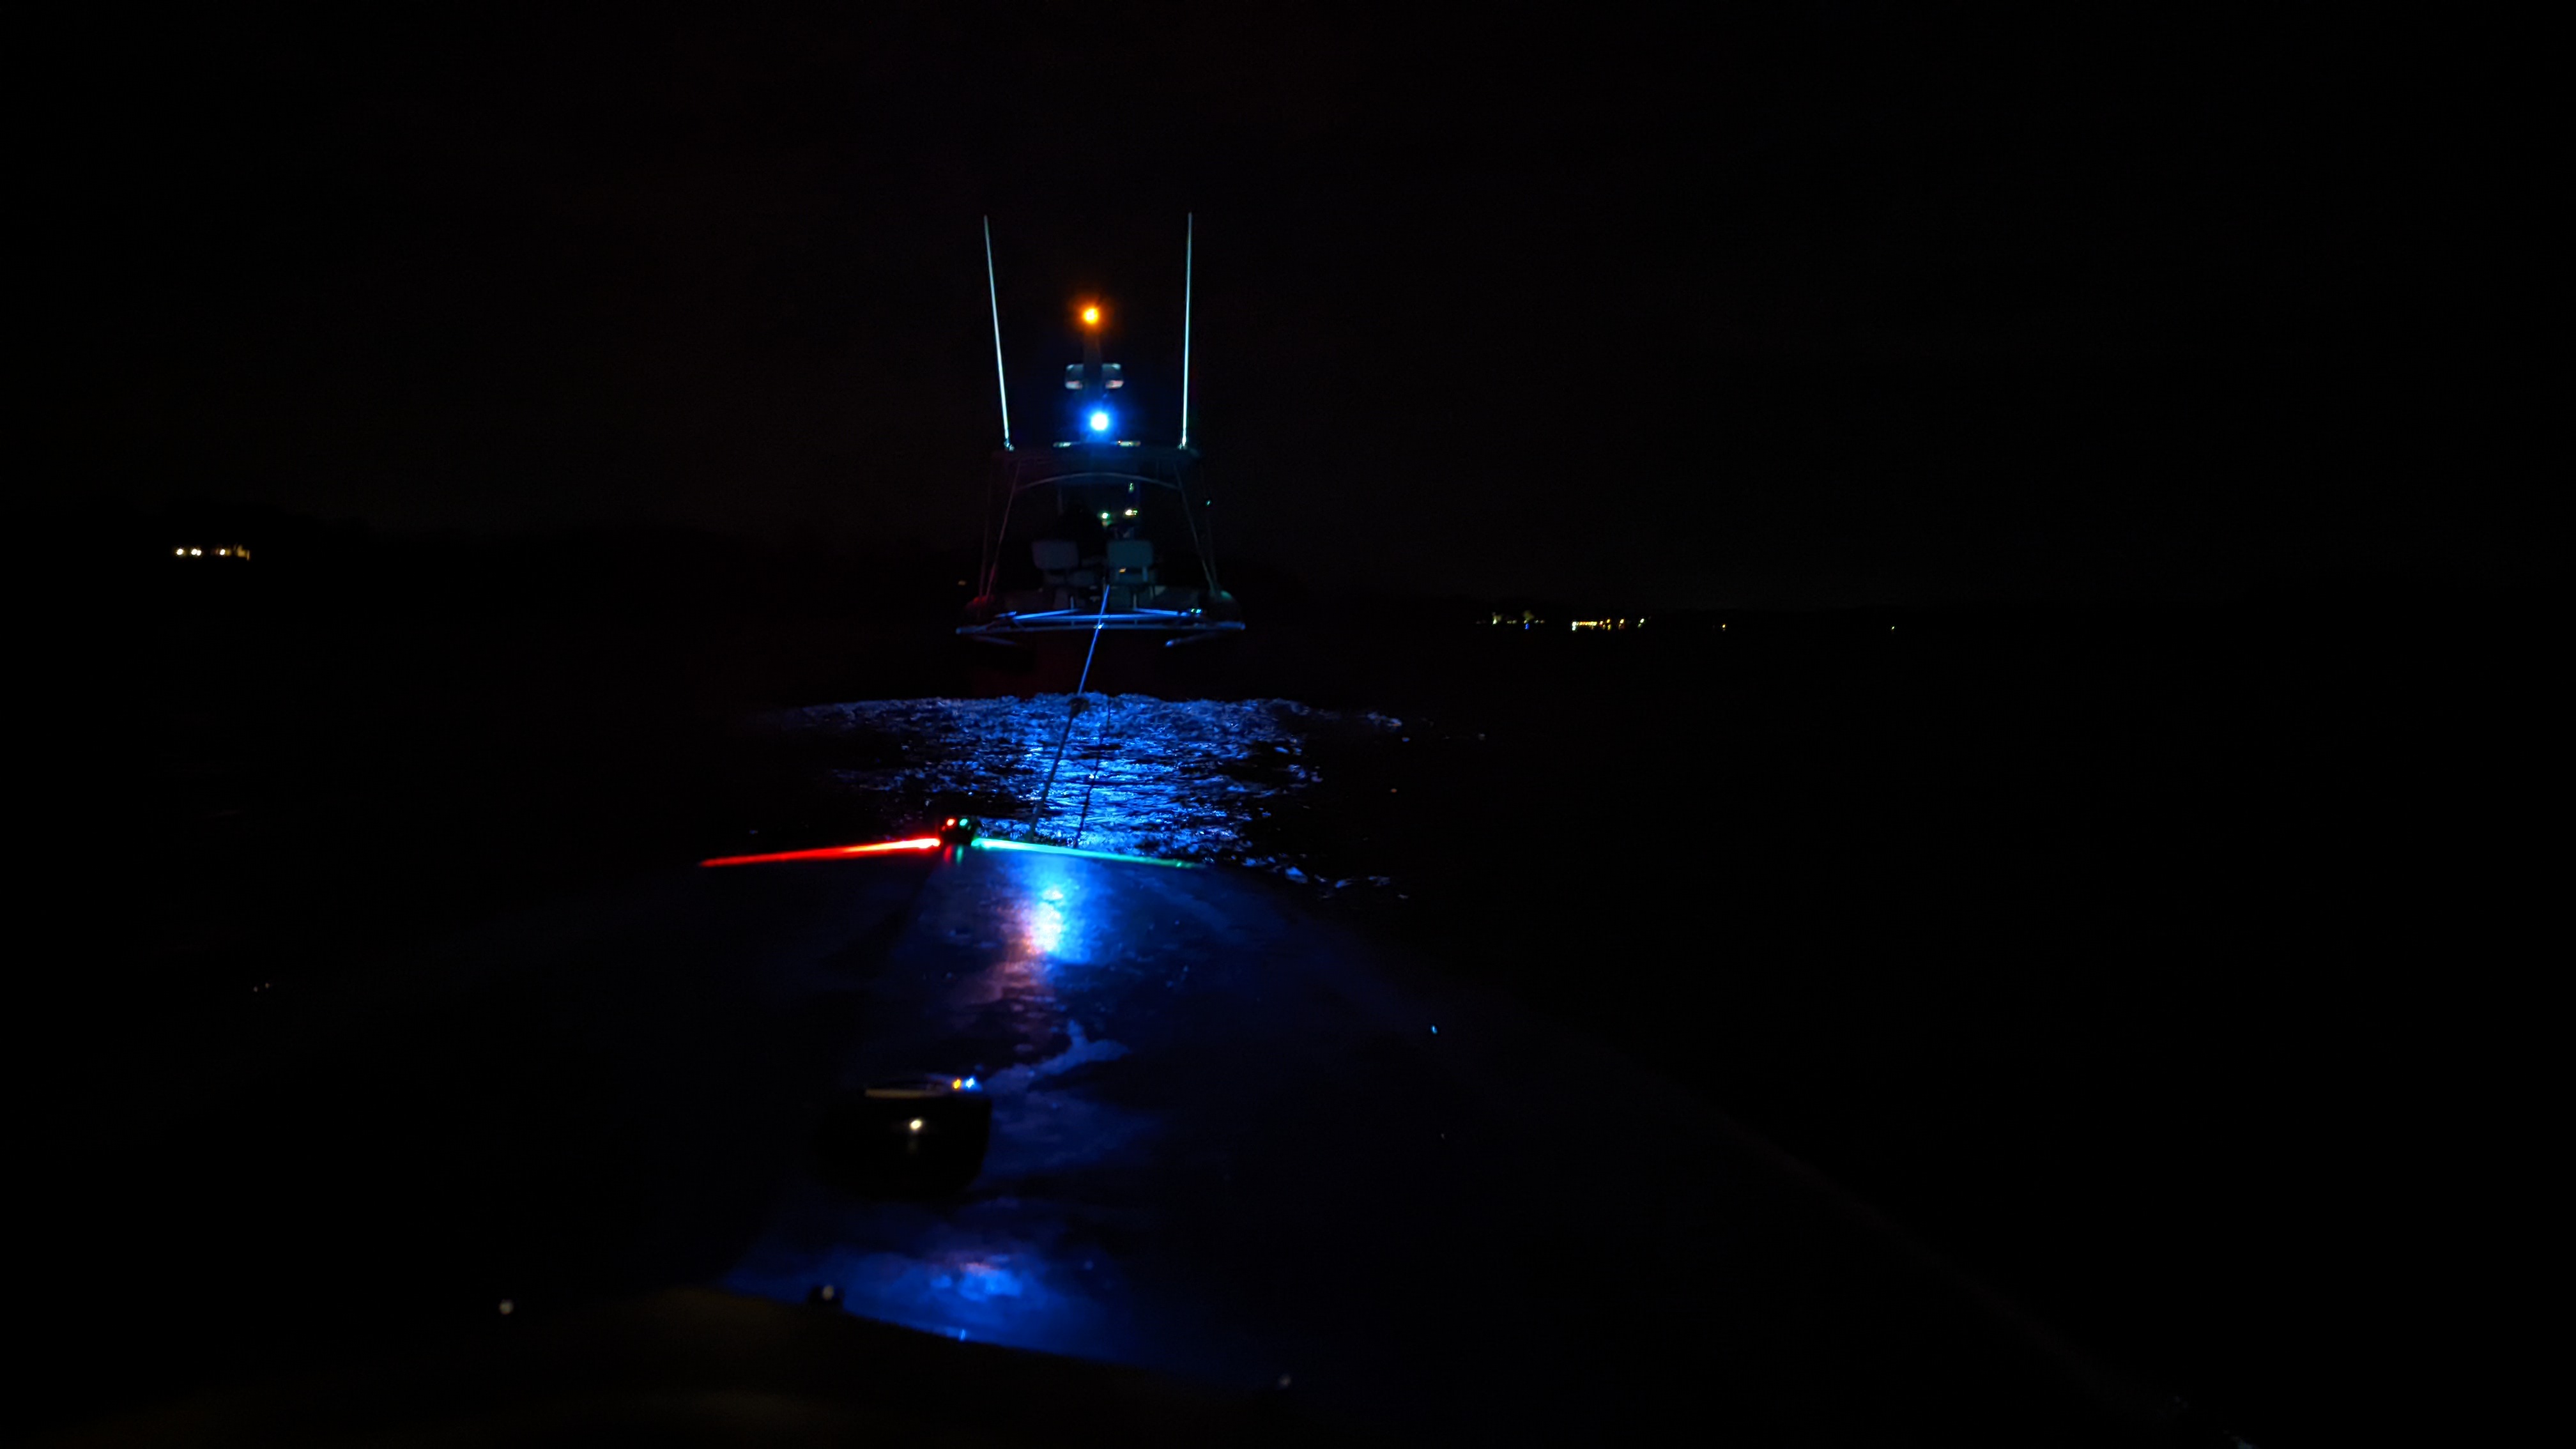
TowBoatUS arriving after the new Mercury suddenly lost propulsion and quickly began overheating, leaving the Sundance stranded after dark.
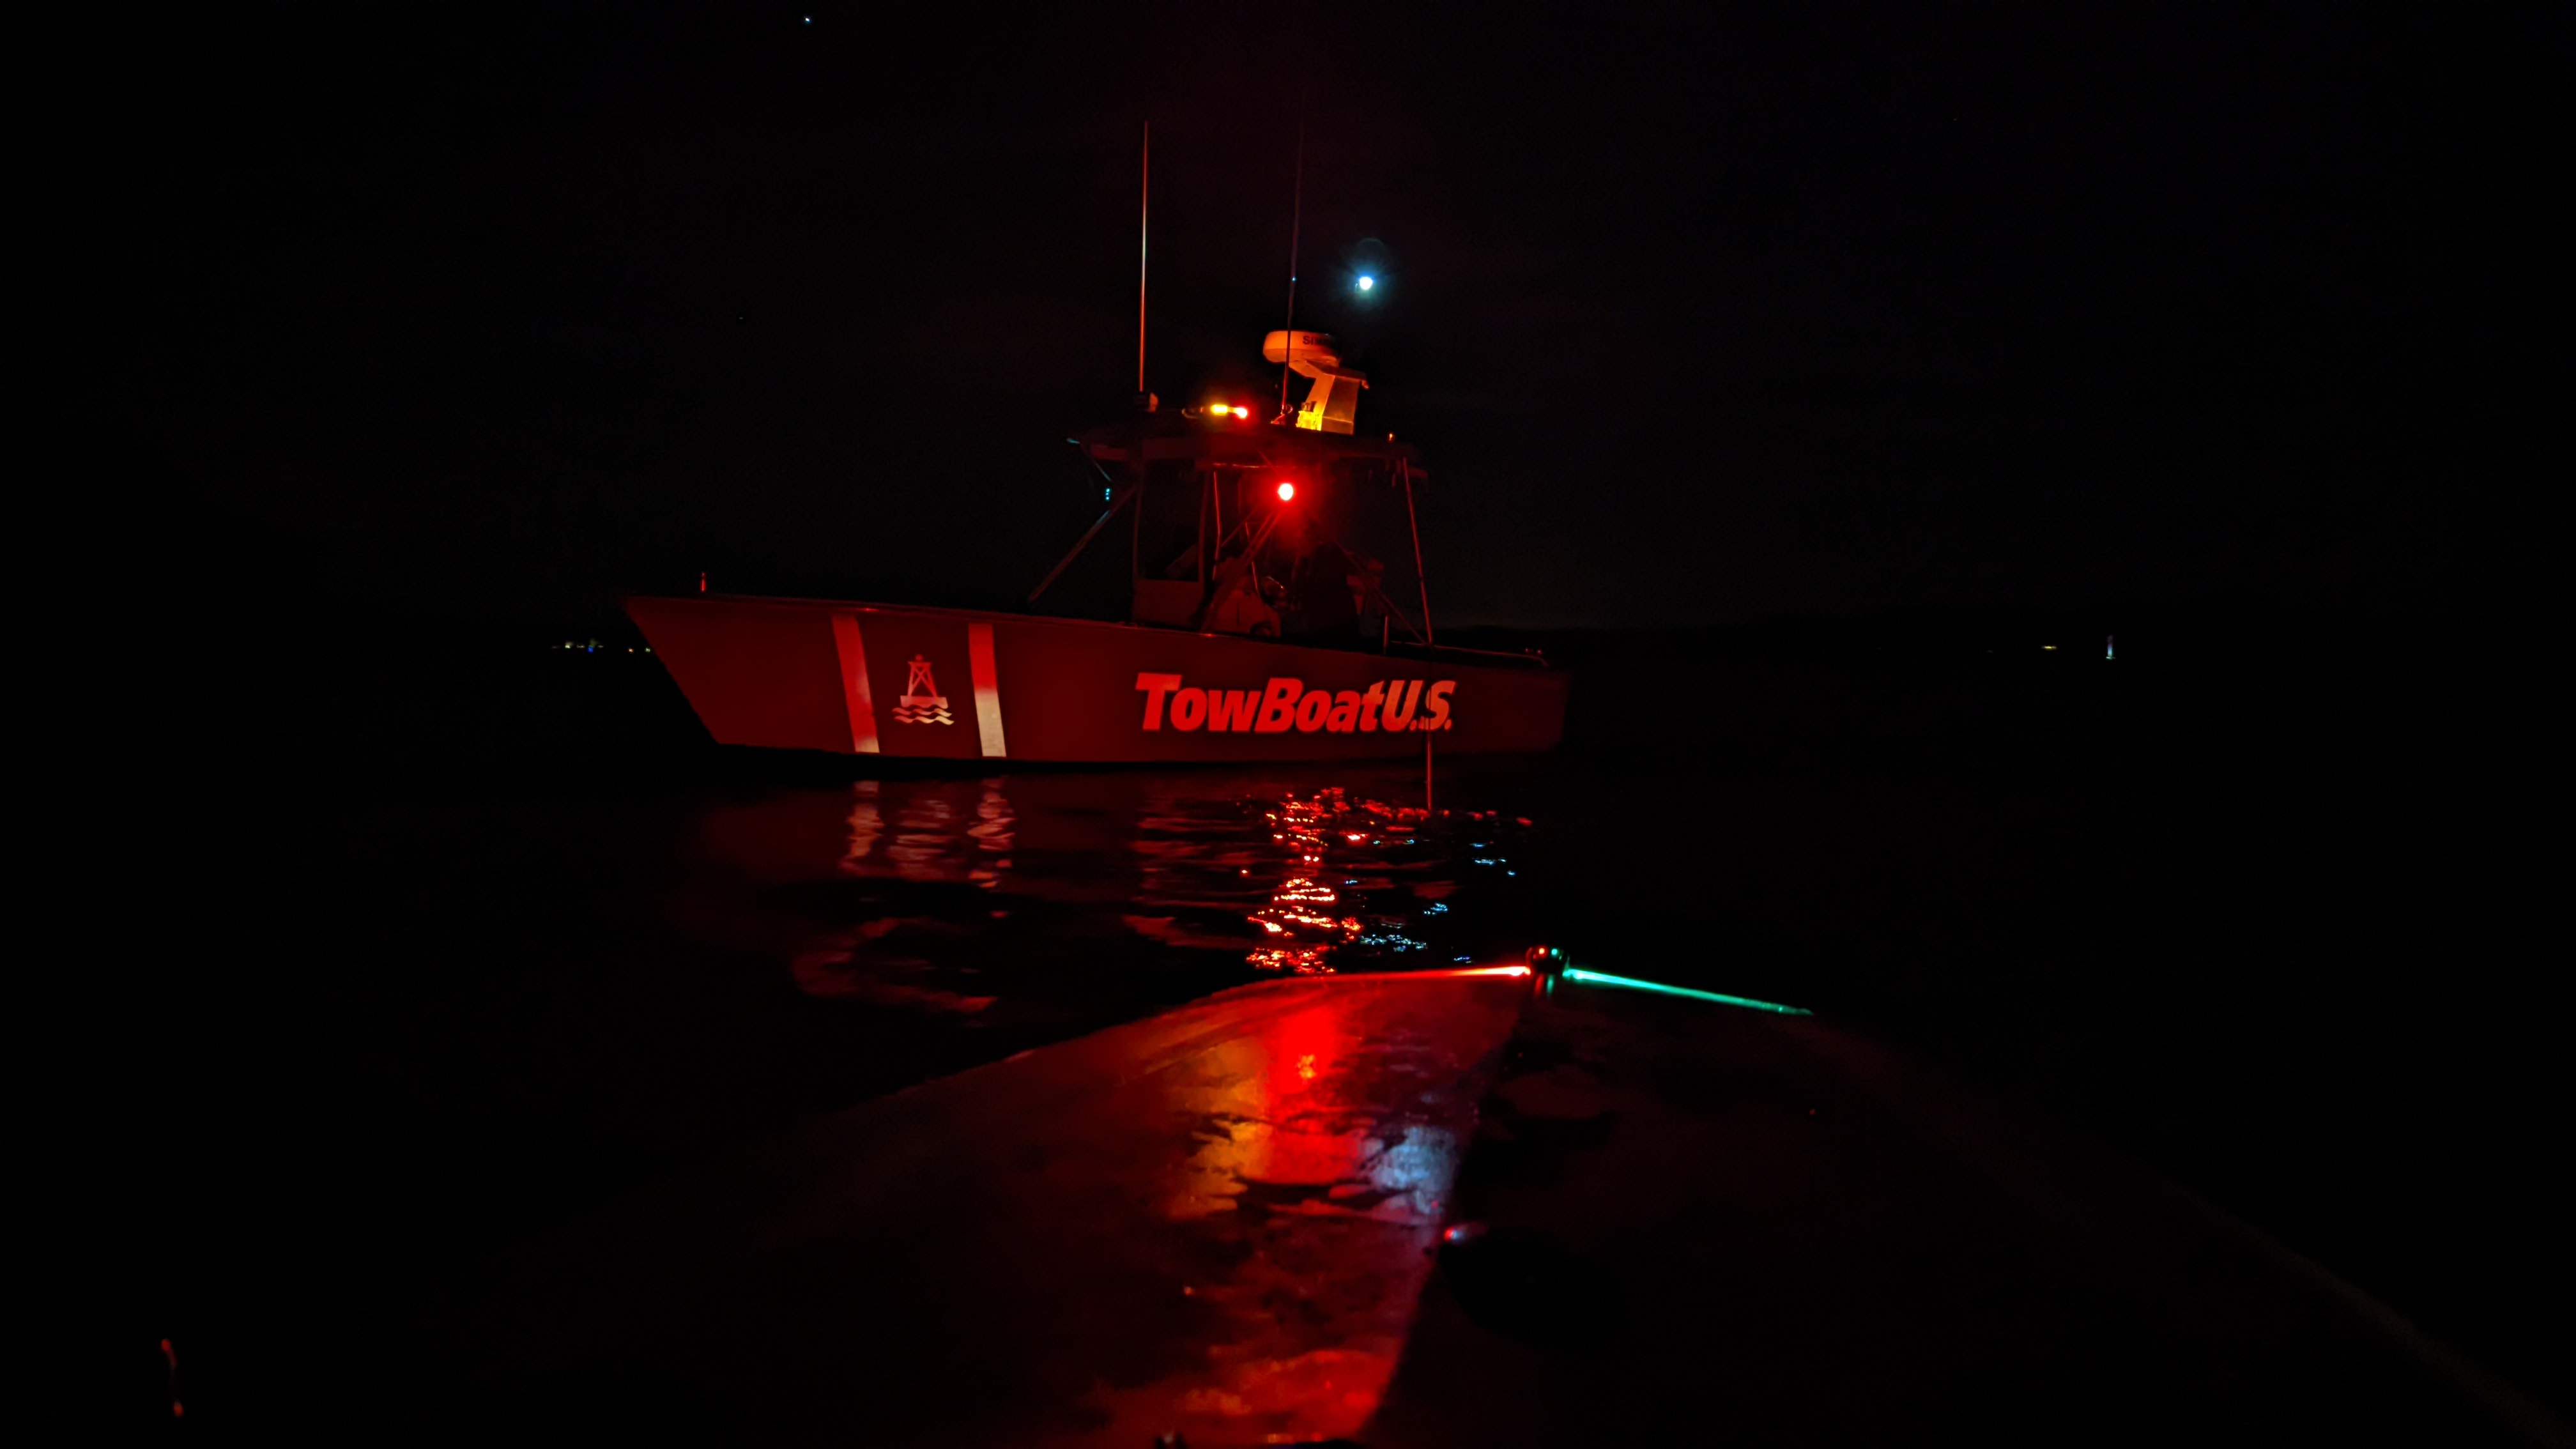
The long tow back in. A later warranty repair found what was best described as a manufacturing defect: a bolt had worked loose inside the motor and ultimately caused the driveshaft to snap.
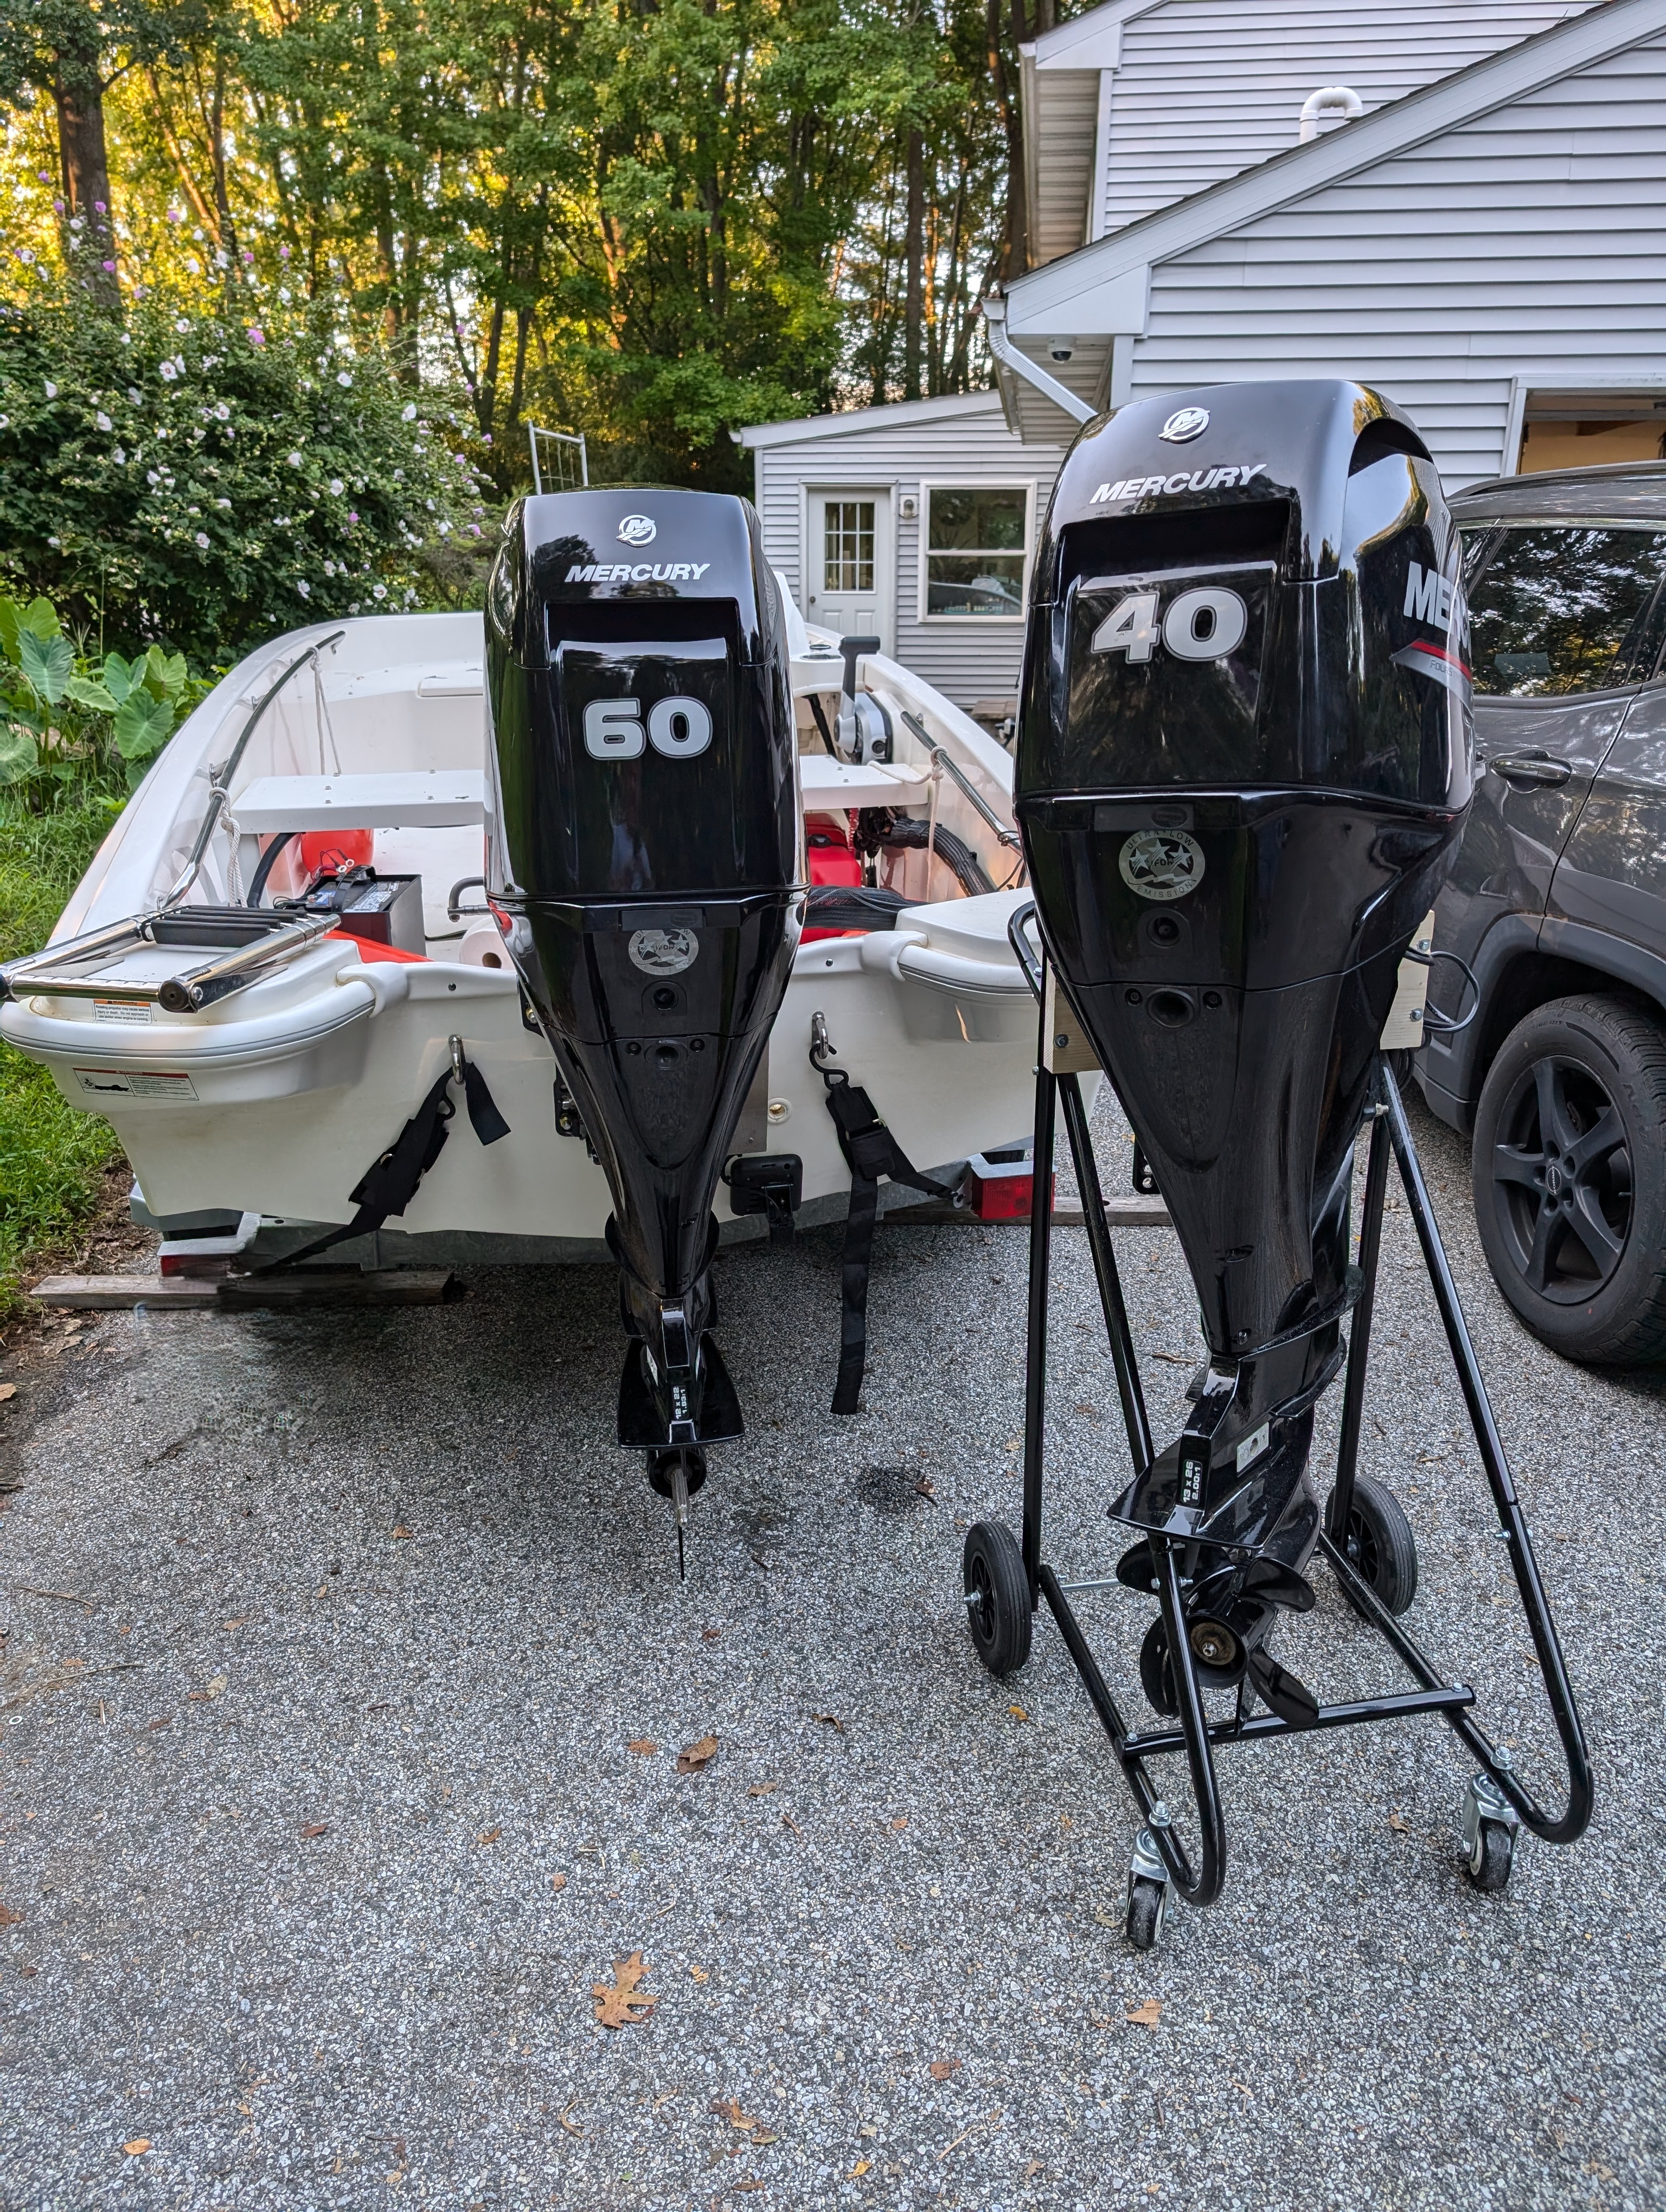
Upgrading to a 40 HP
A 40 hp and 60 hp Mercury side by side as the motor shuffle begins. The Whaler was getting the bigger motor, which meant the 40 hp was suddenly available for the Sundance.
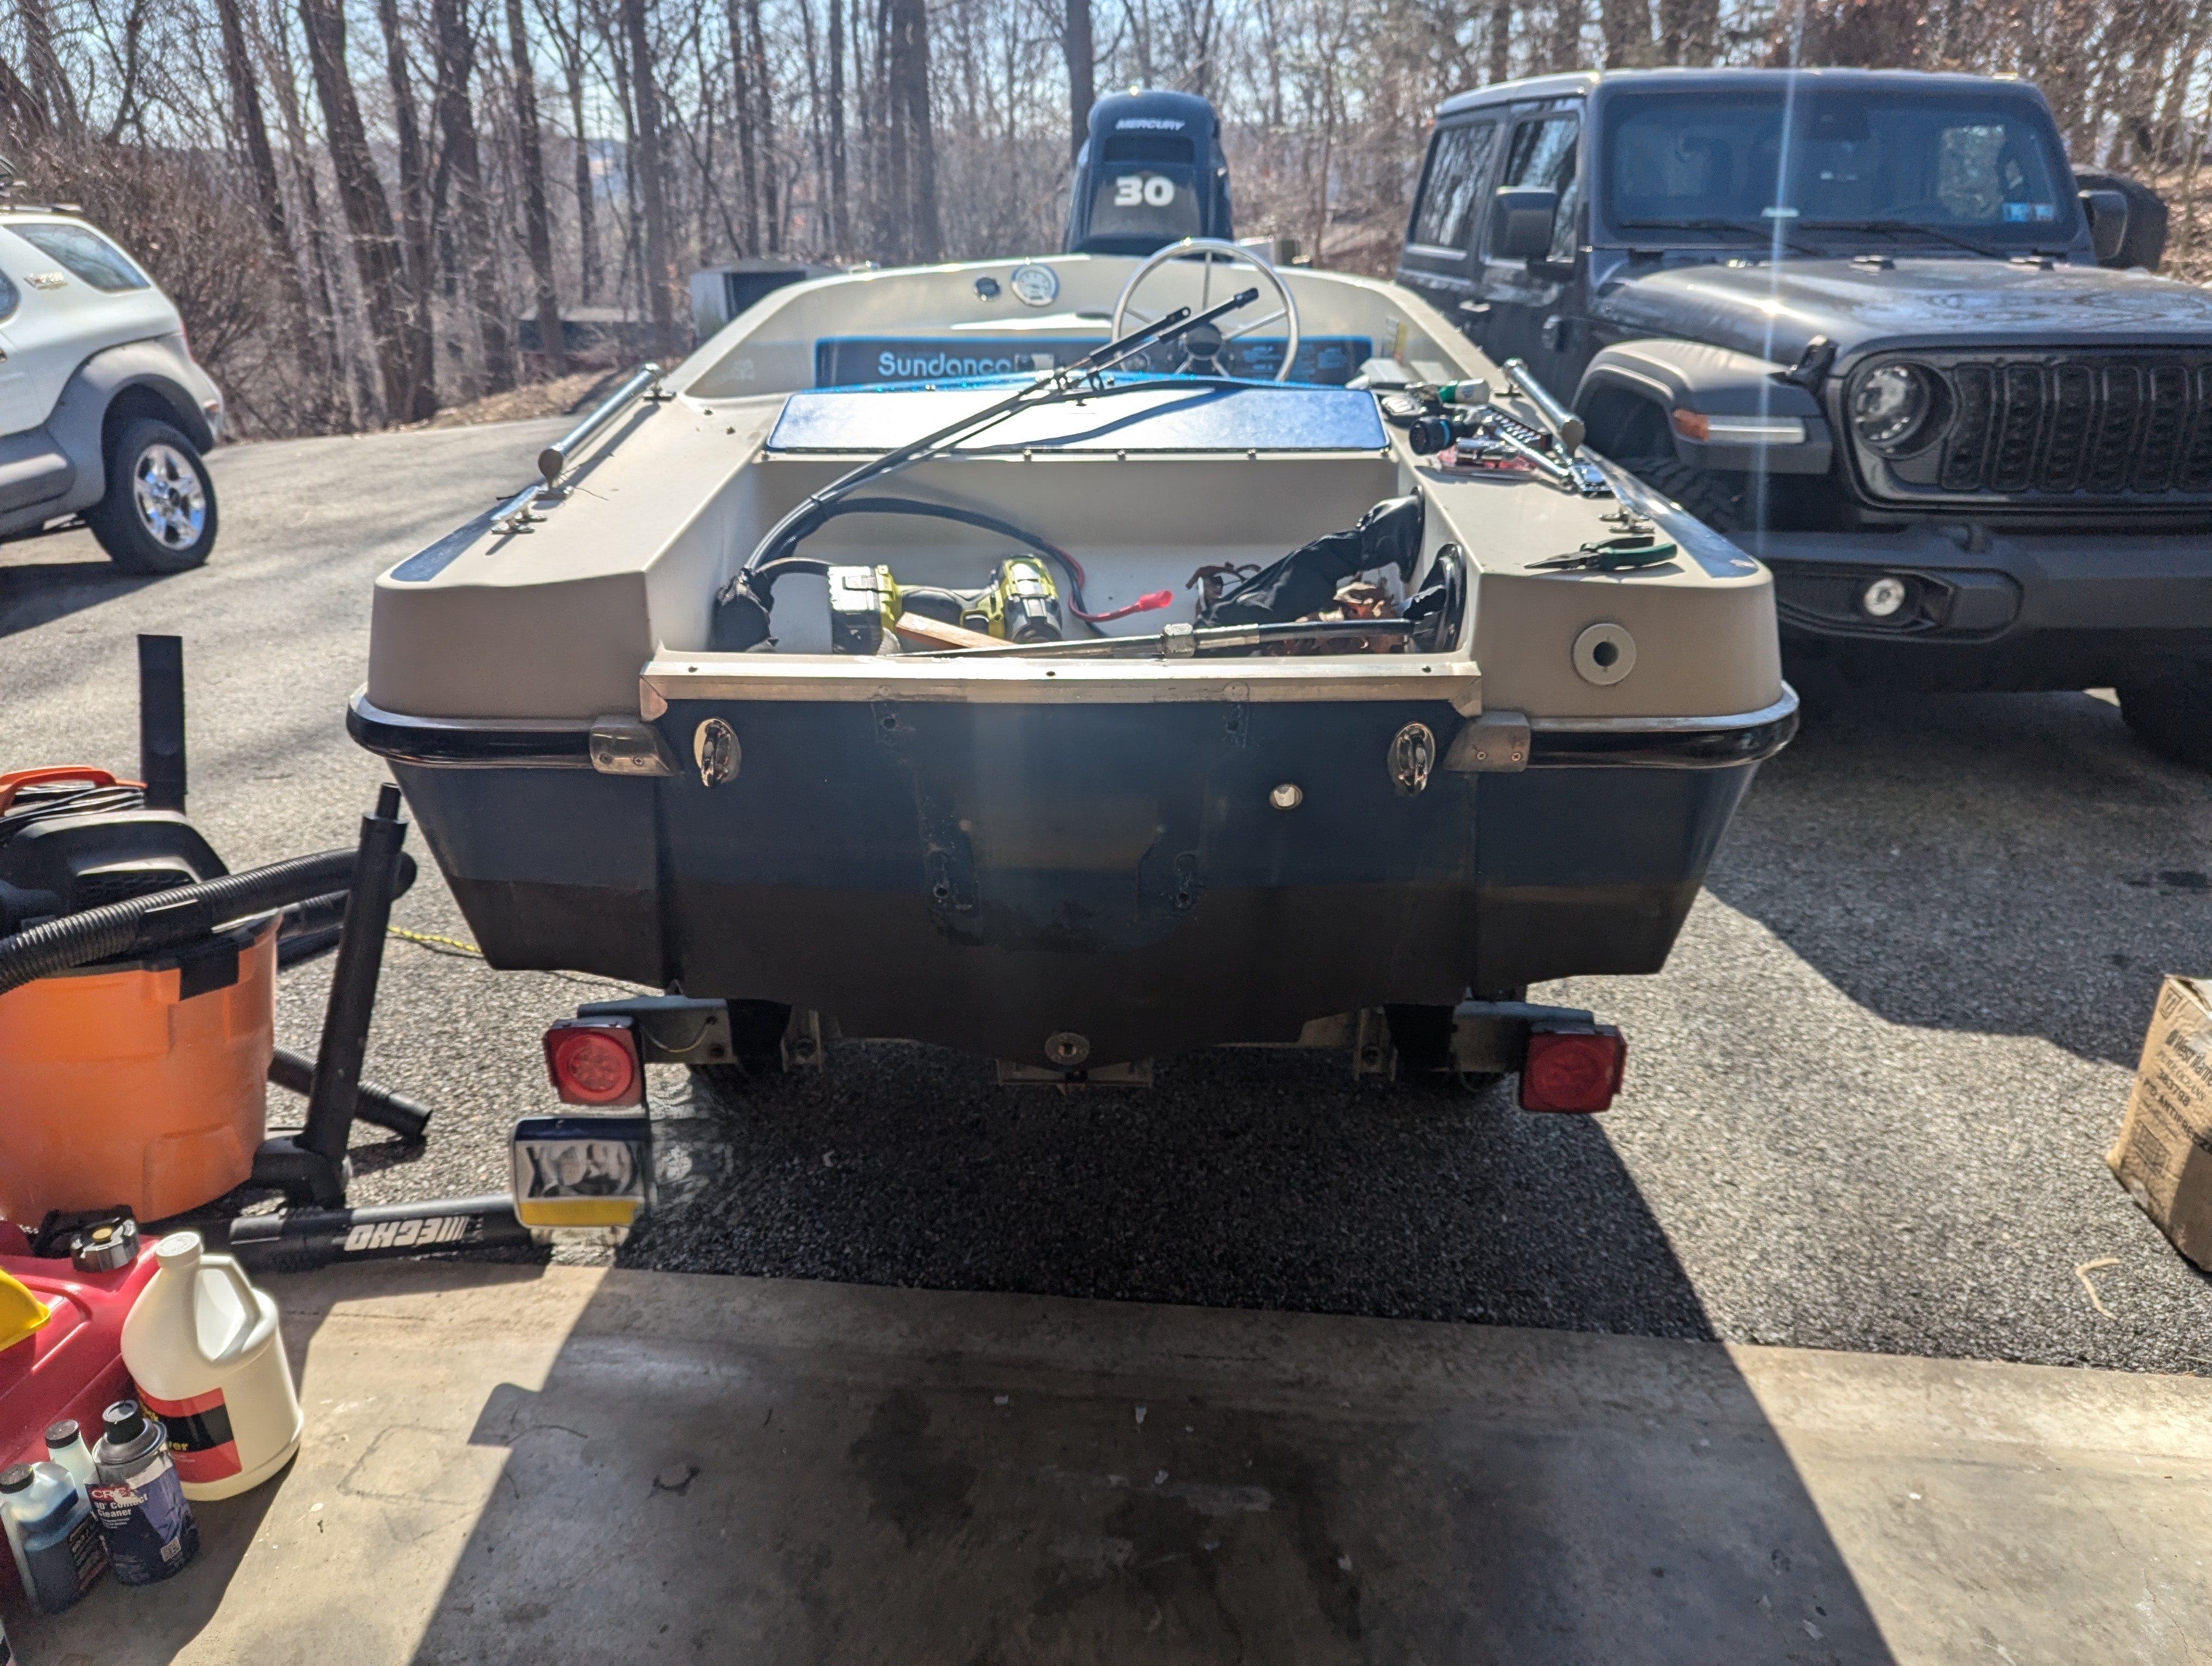
The Sundance with its 30 hp Mercury still installed, shortly before making the jump to the larger 40 hp.
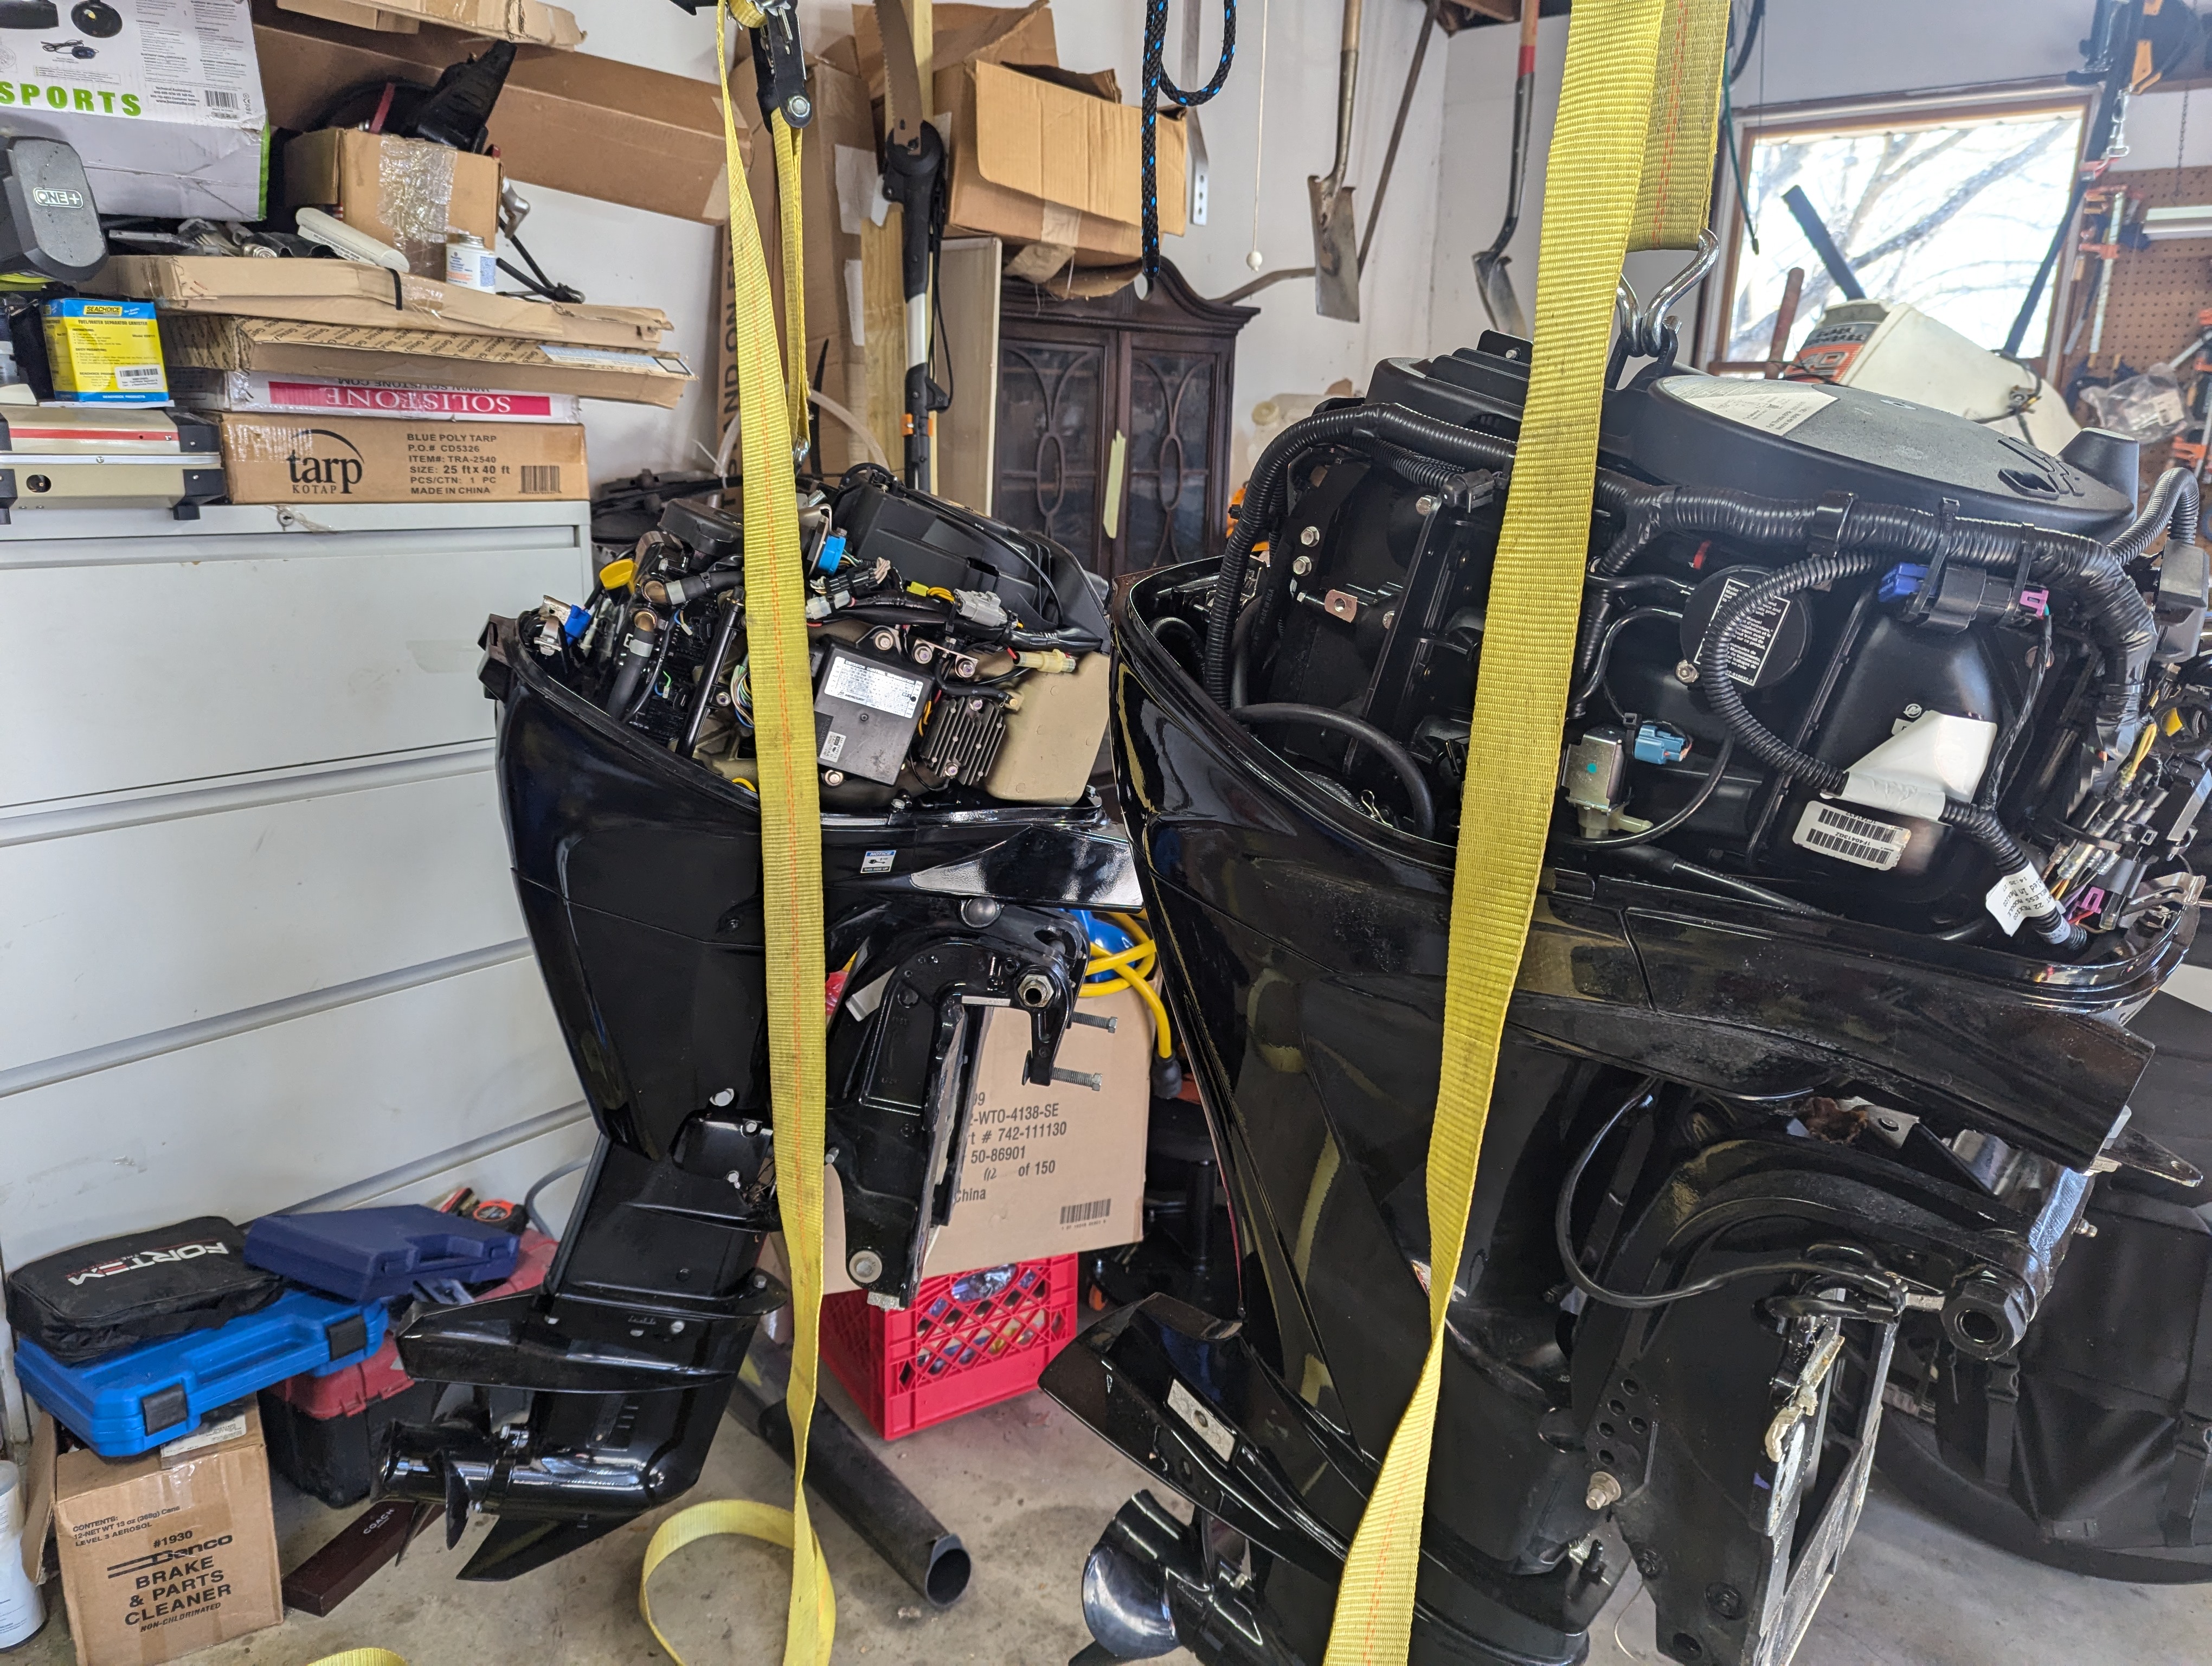
With warranties and dealer installs behind me, it was time to handle the swap myself. The 30 hp and 40 hp Mercurys are side by side during the changeover.
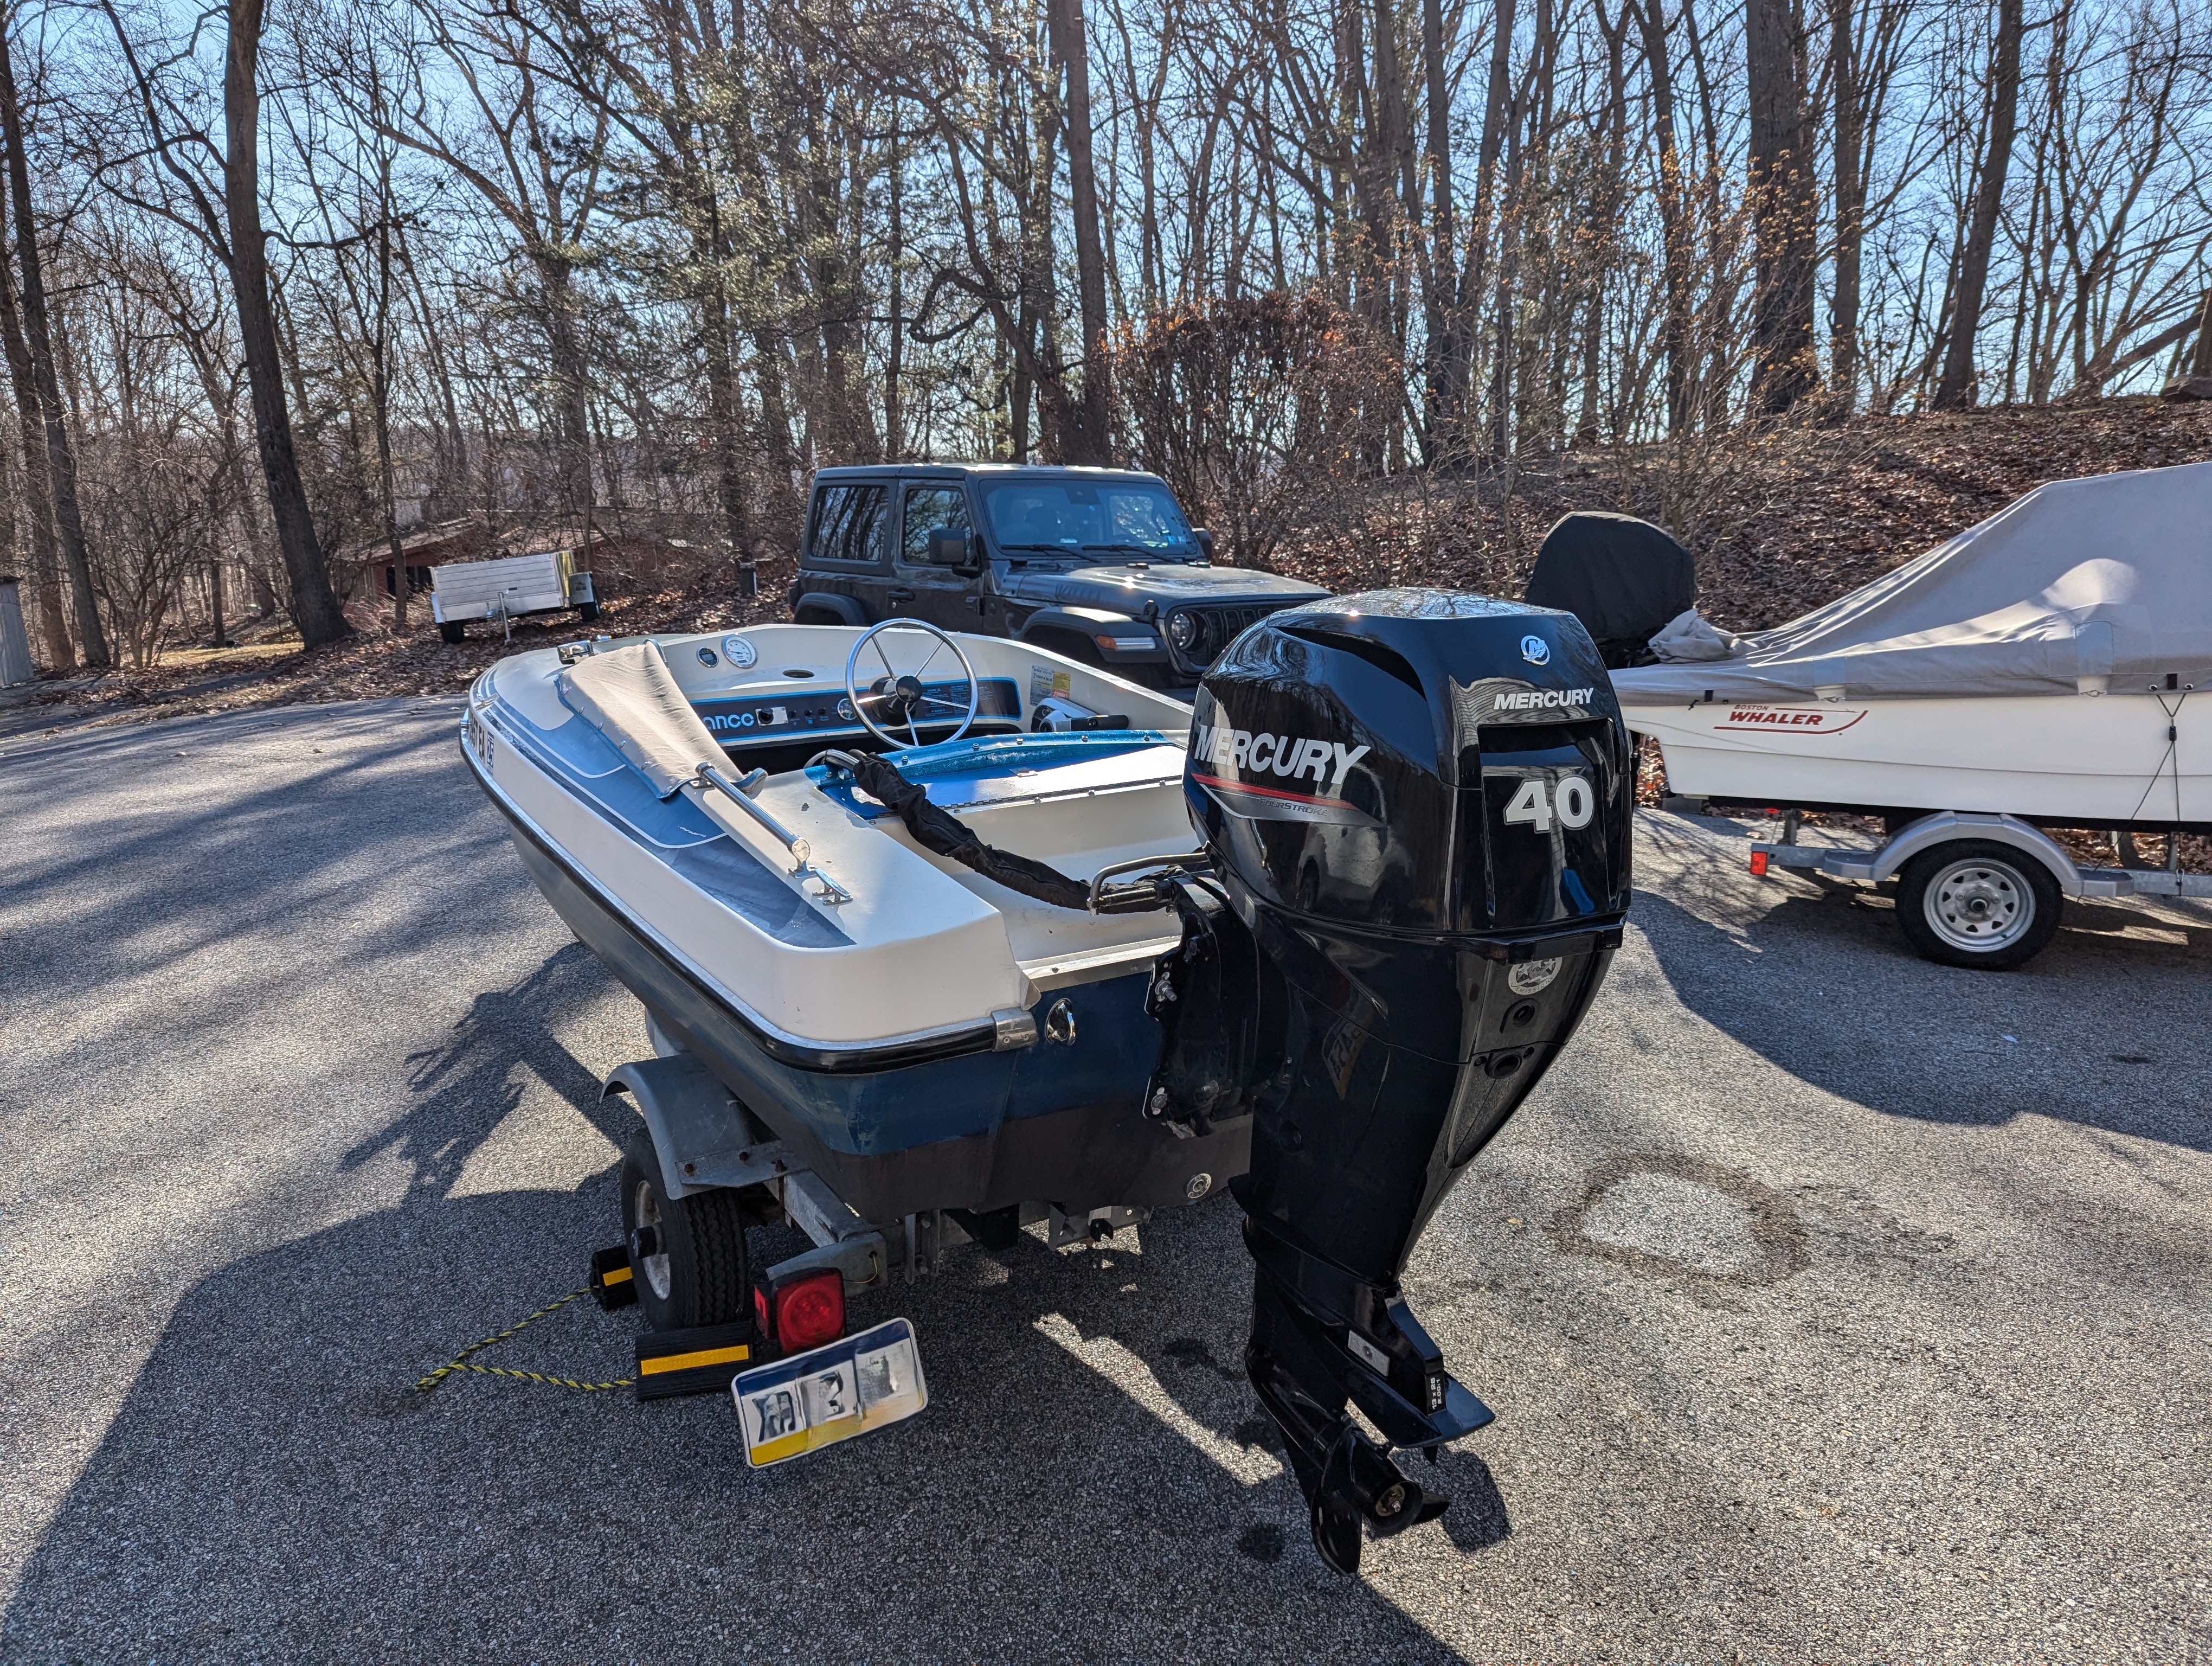
Full send: the 40 hp Mercury installed on the Sundance, replacing the 30 hp and giving the little 13-foot boat a significant bump in power.
On the Water
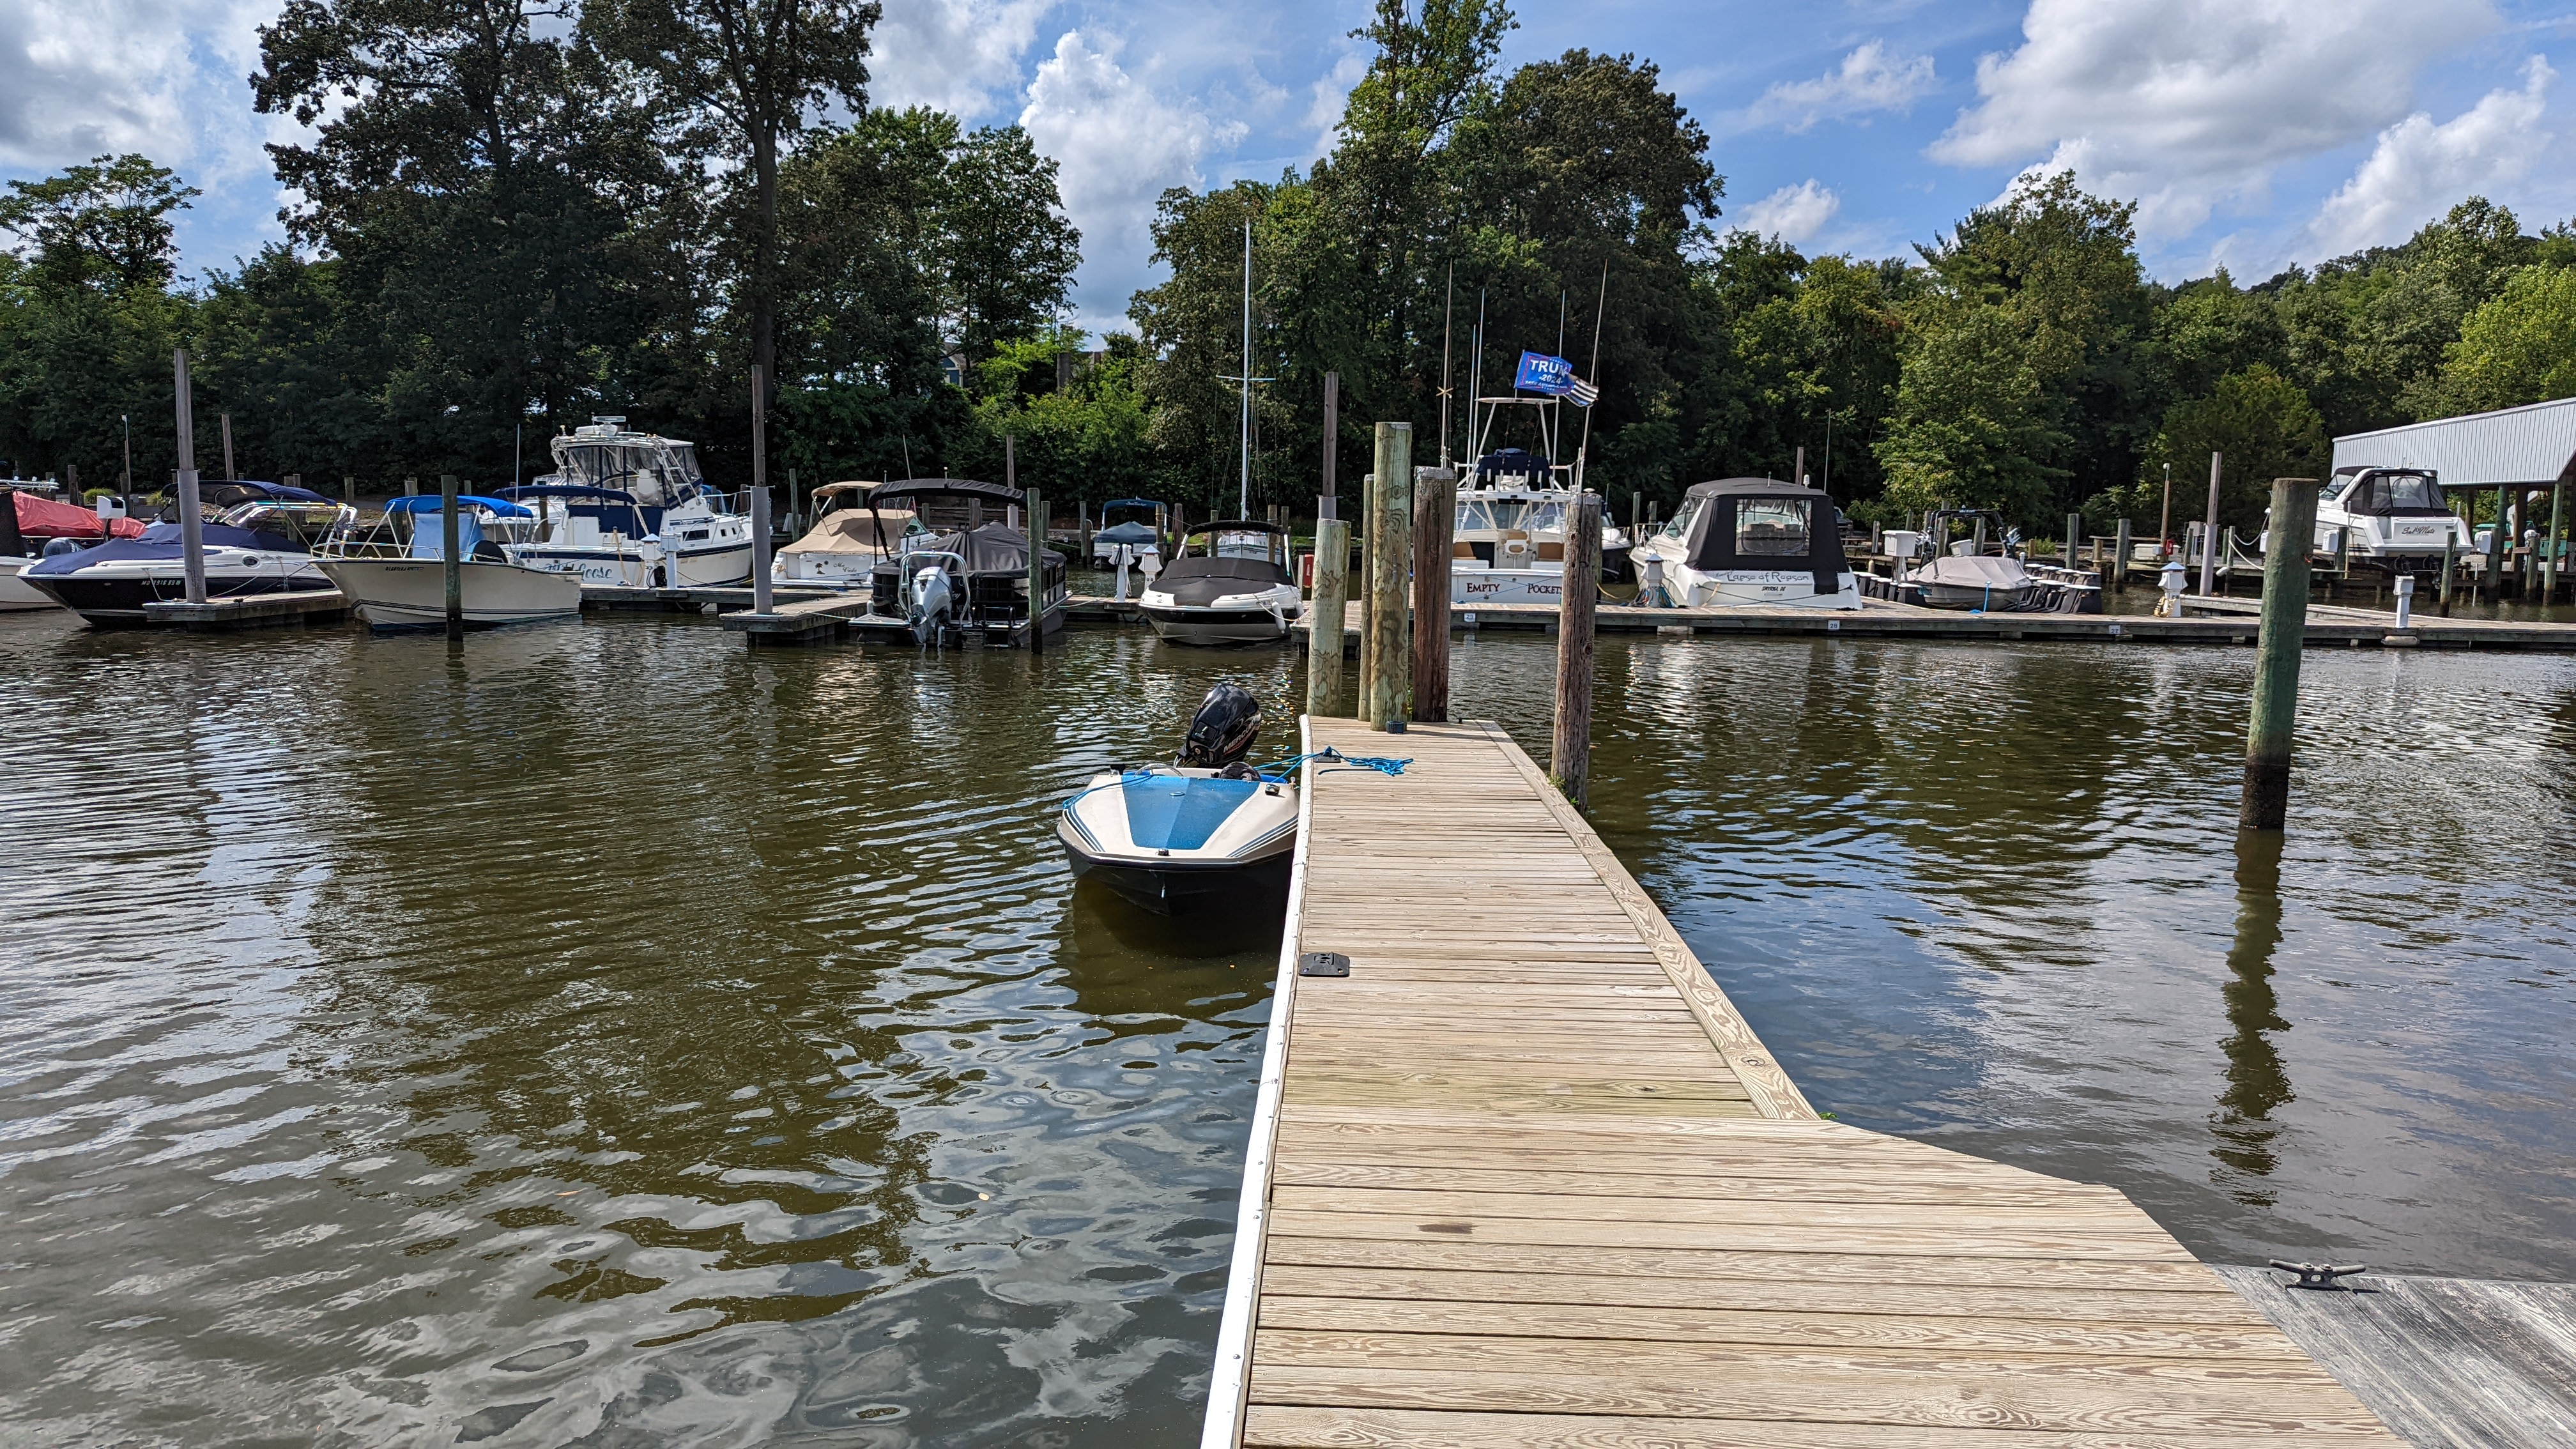
The finished Sundance tied up at the marina and finally being used for what it was rebuilt for.
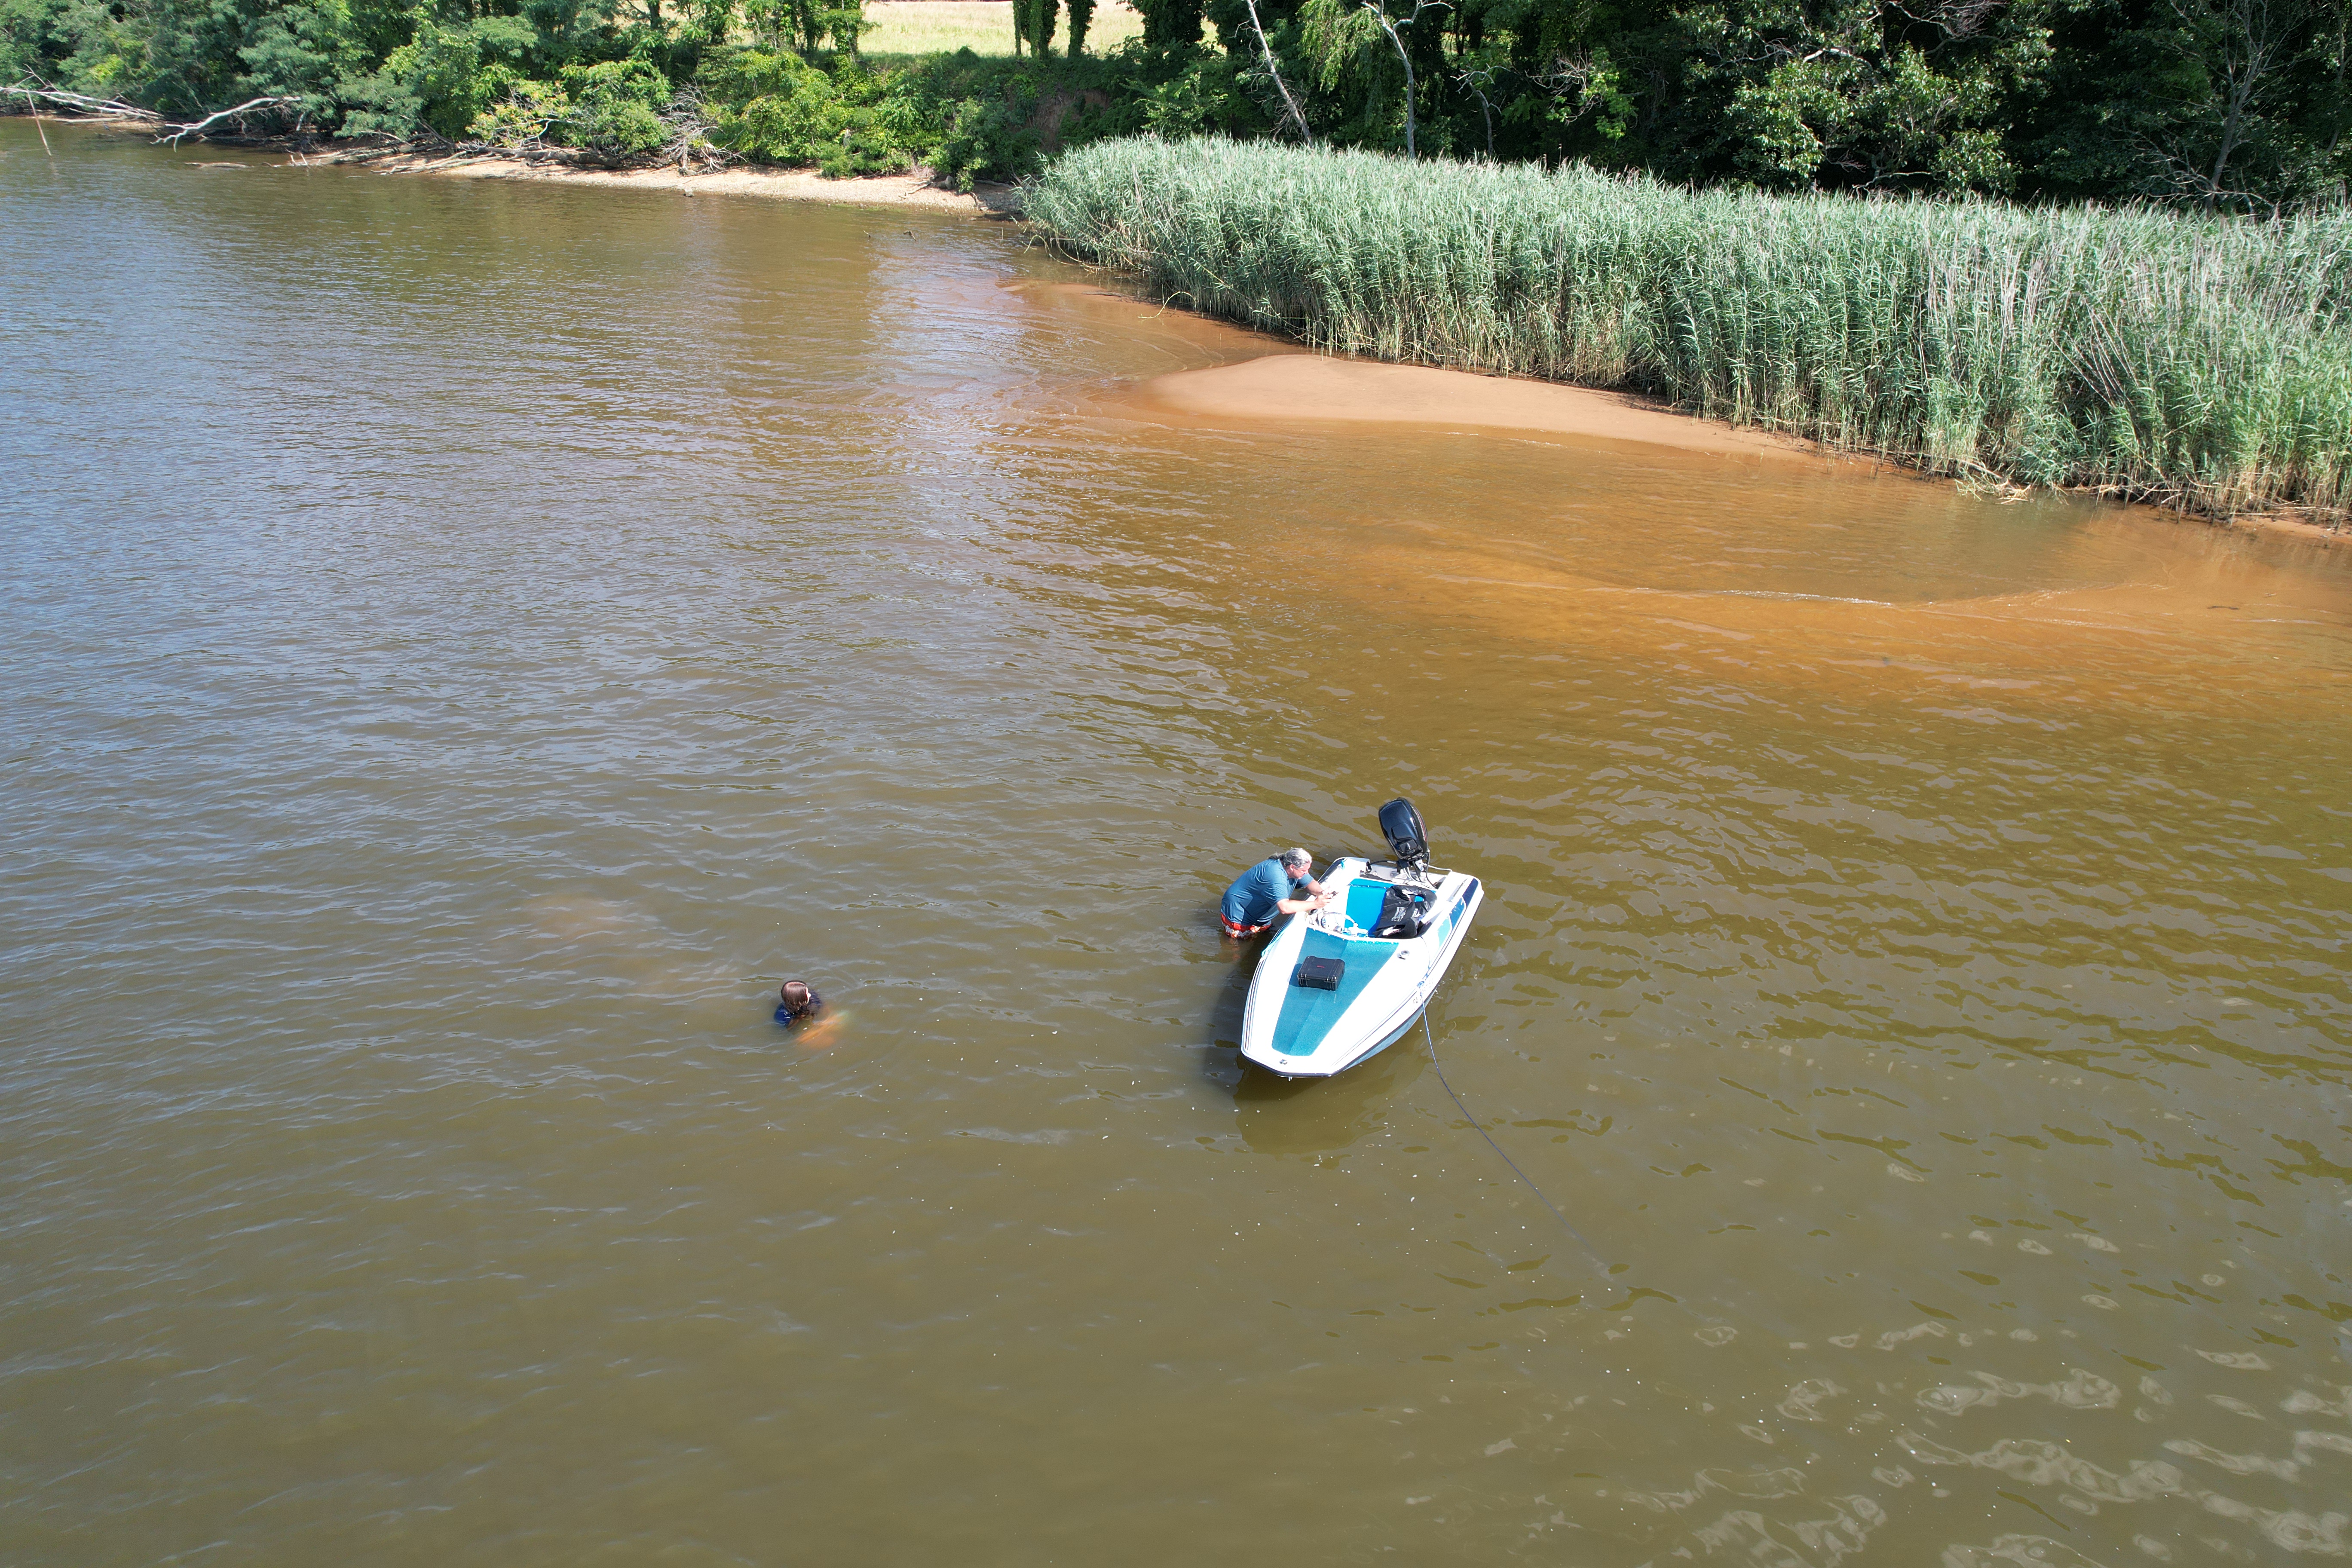
Aerial view of the Sundance anchored in a quiet cove during a day on the water.
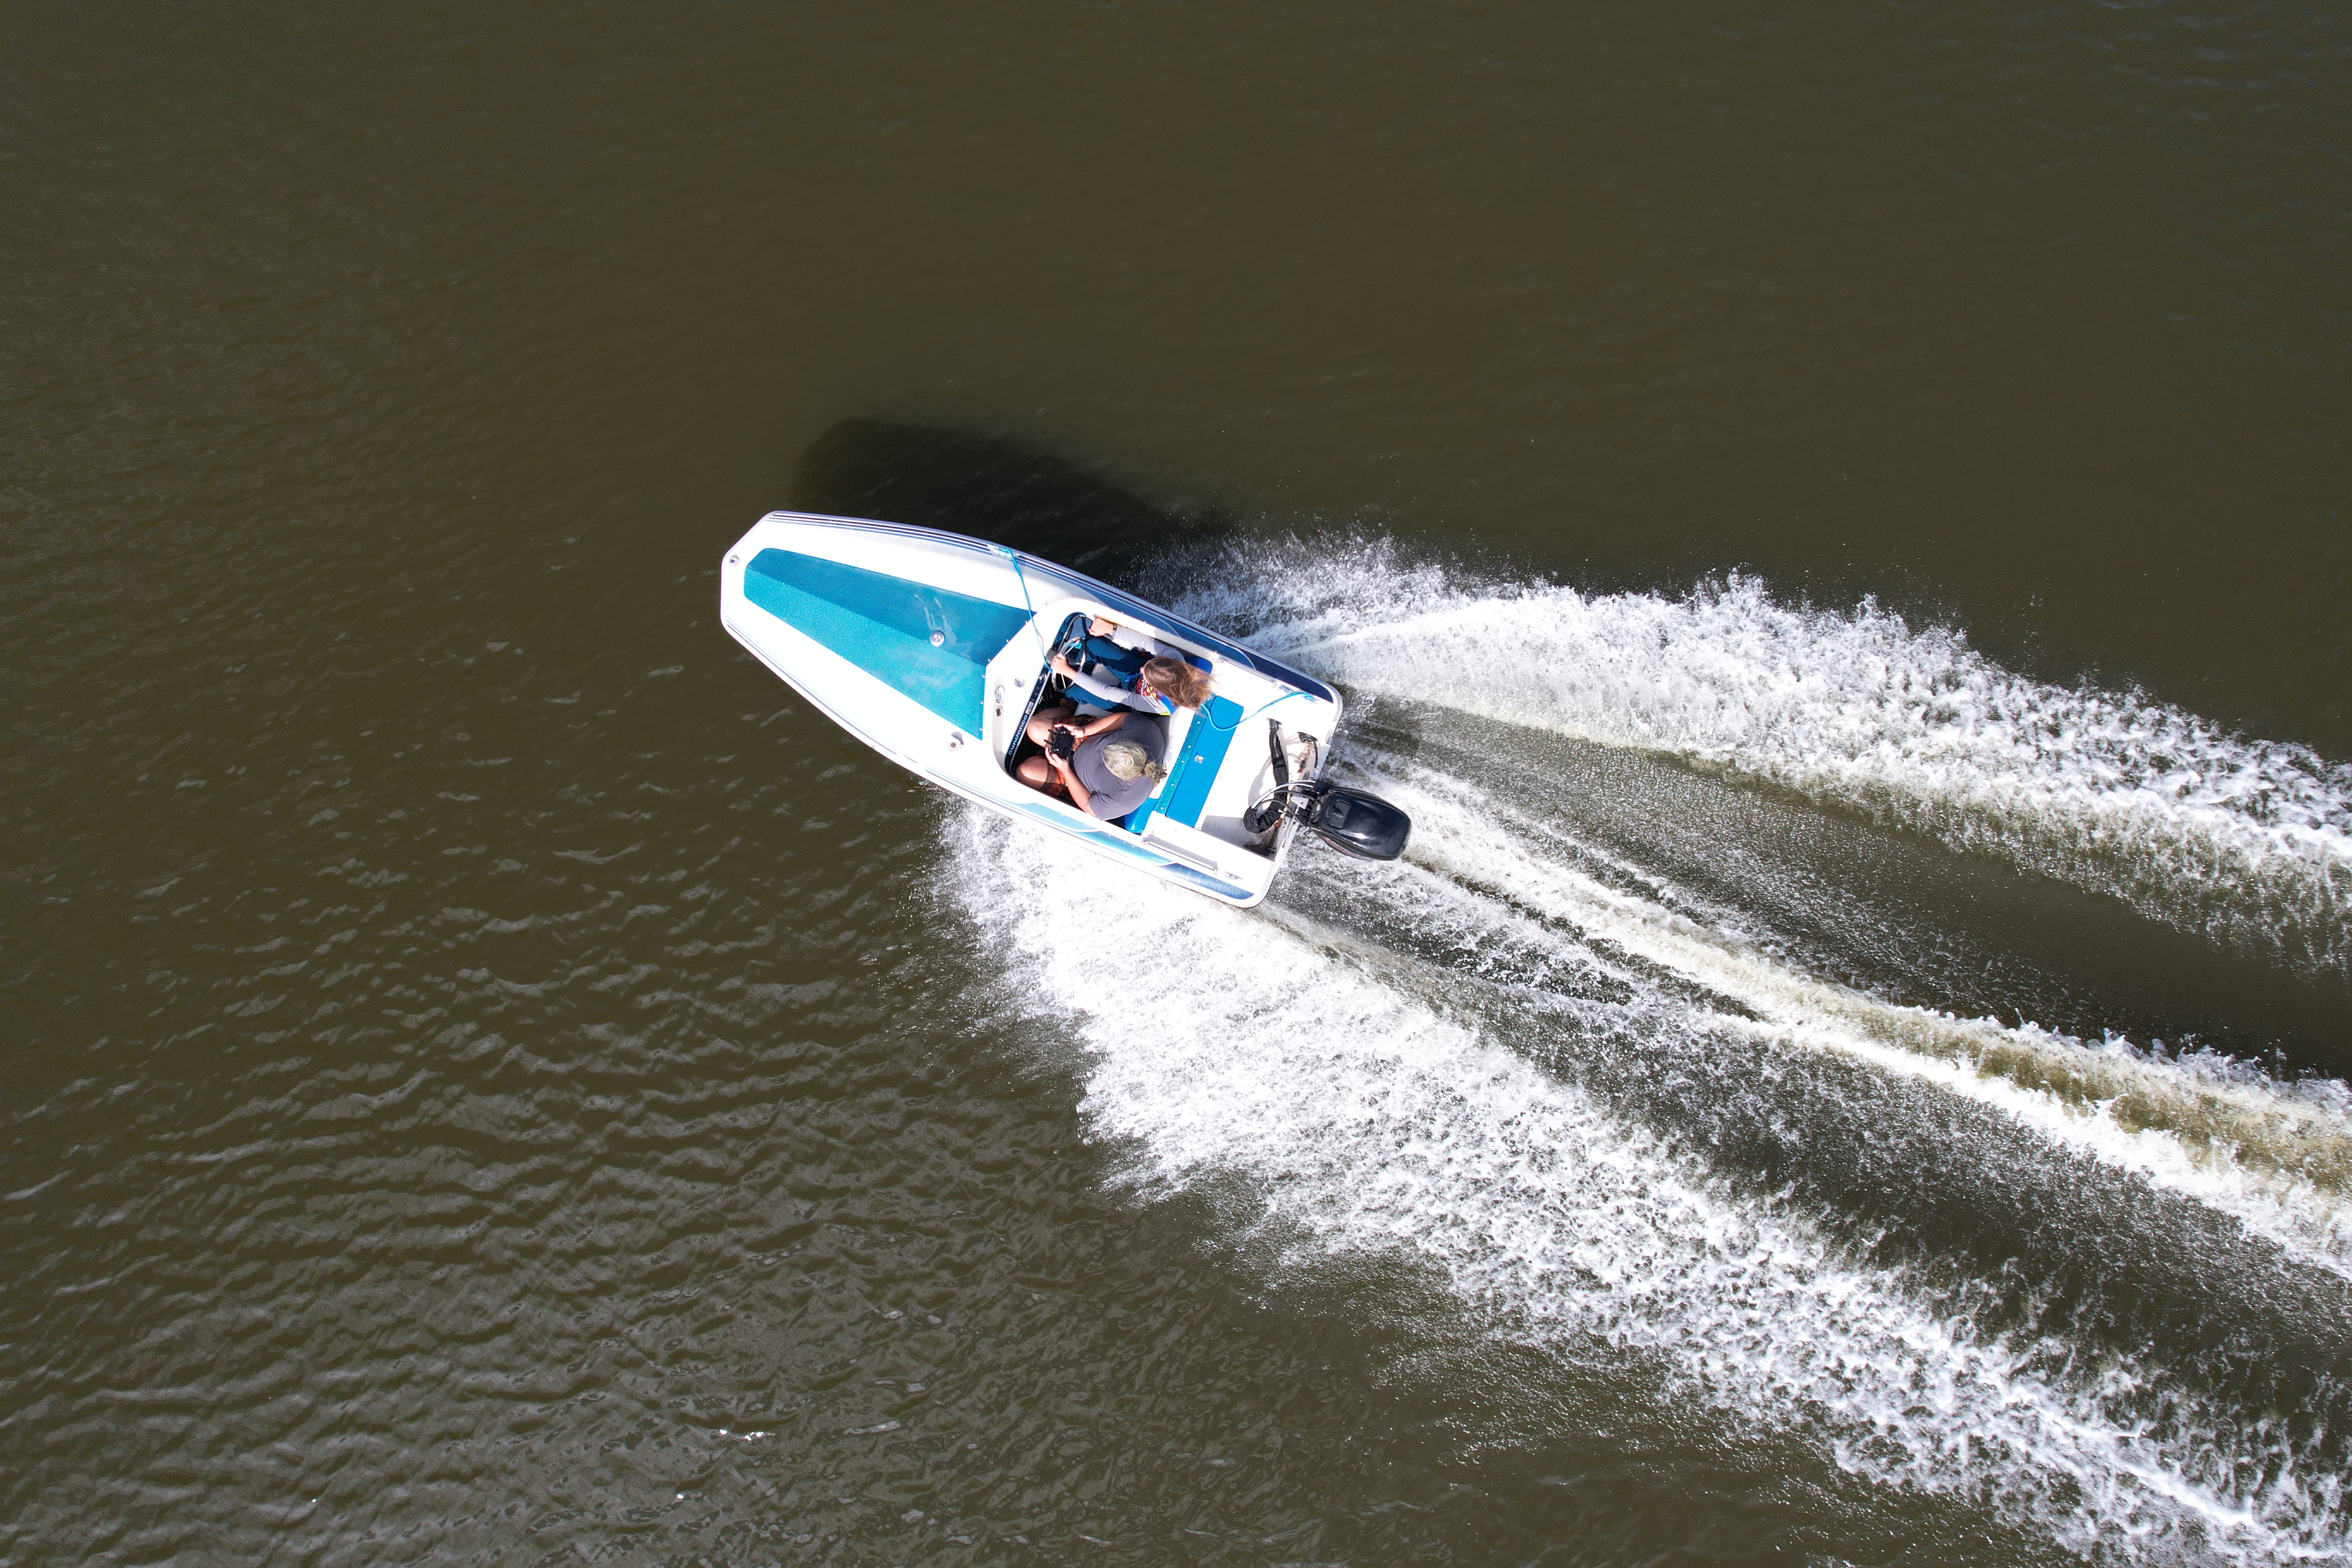
Drone shot of the Sundance underway, showing the little 13-foot hull up on plane and carving across the water.